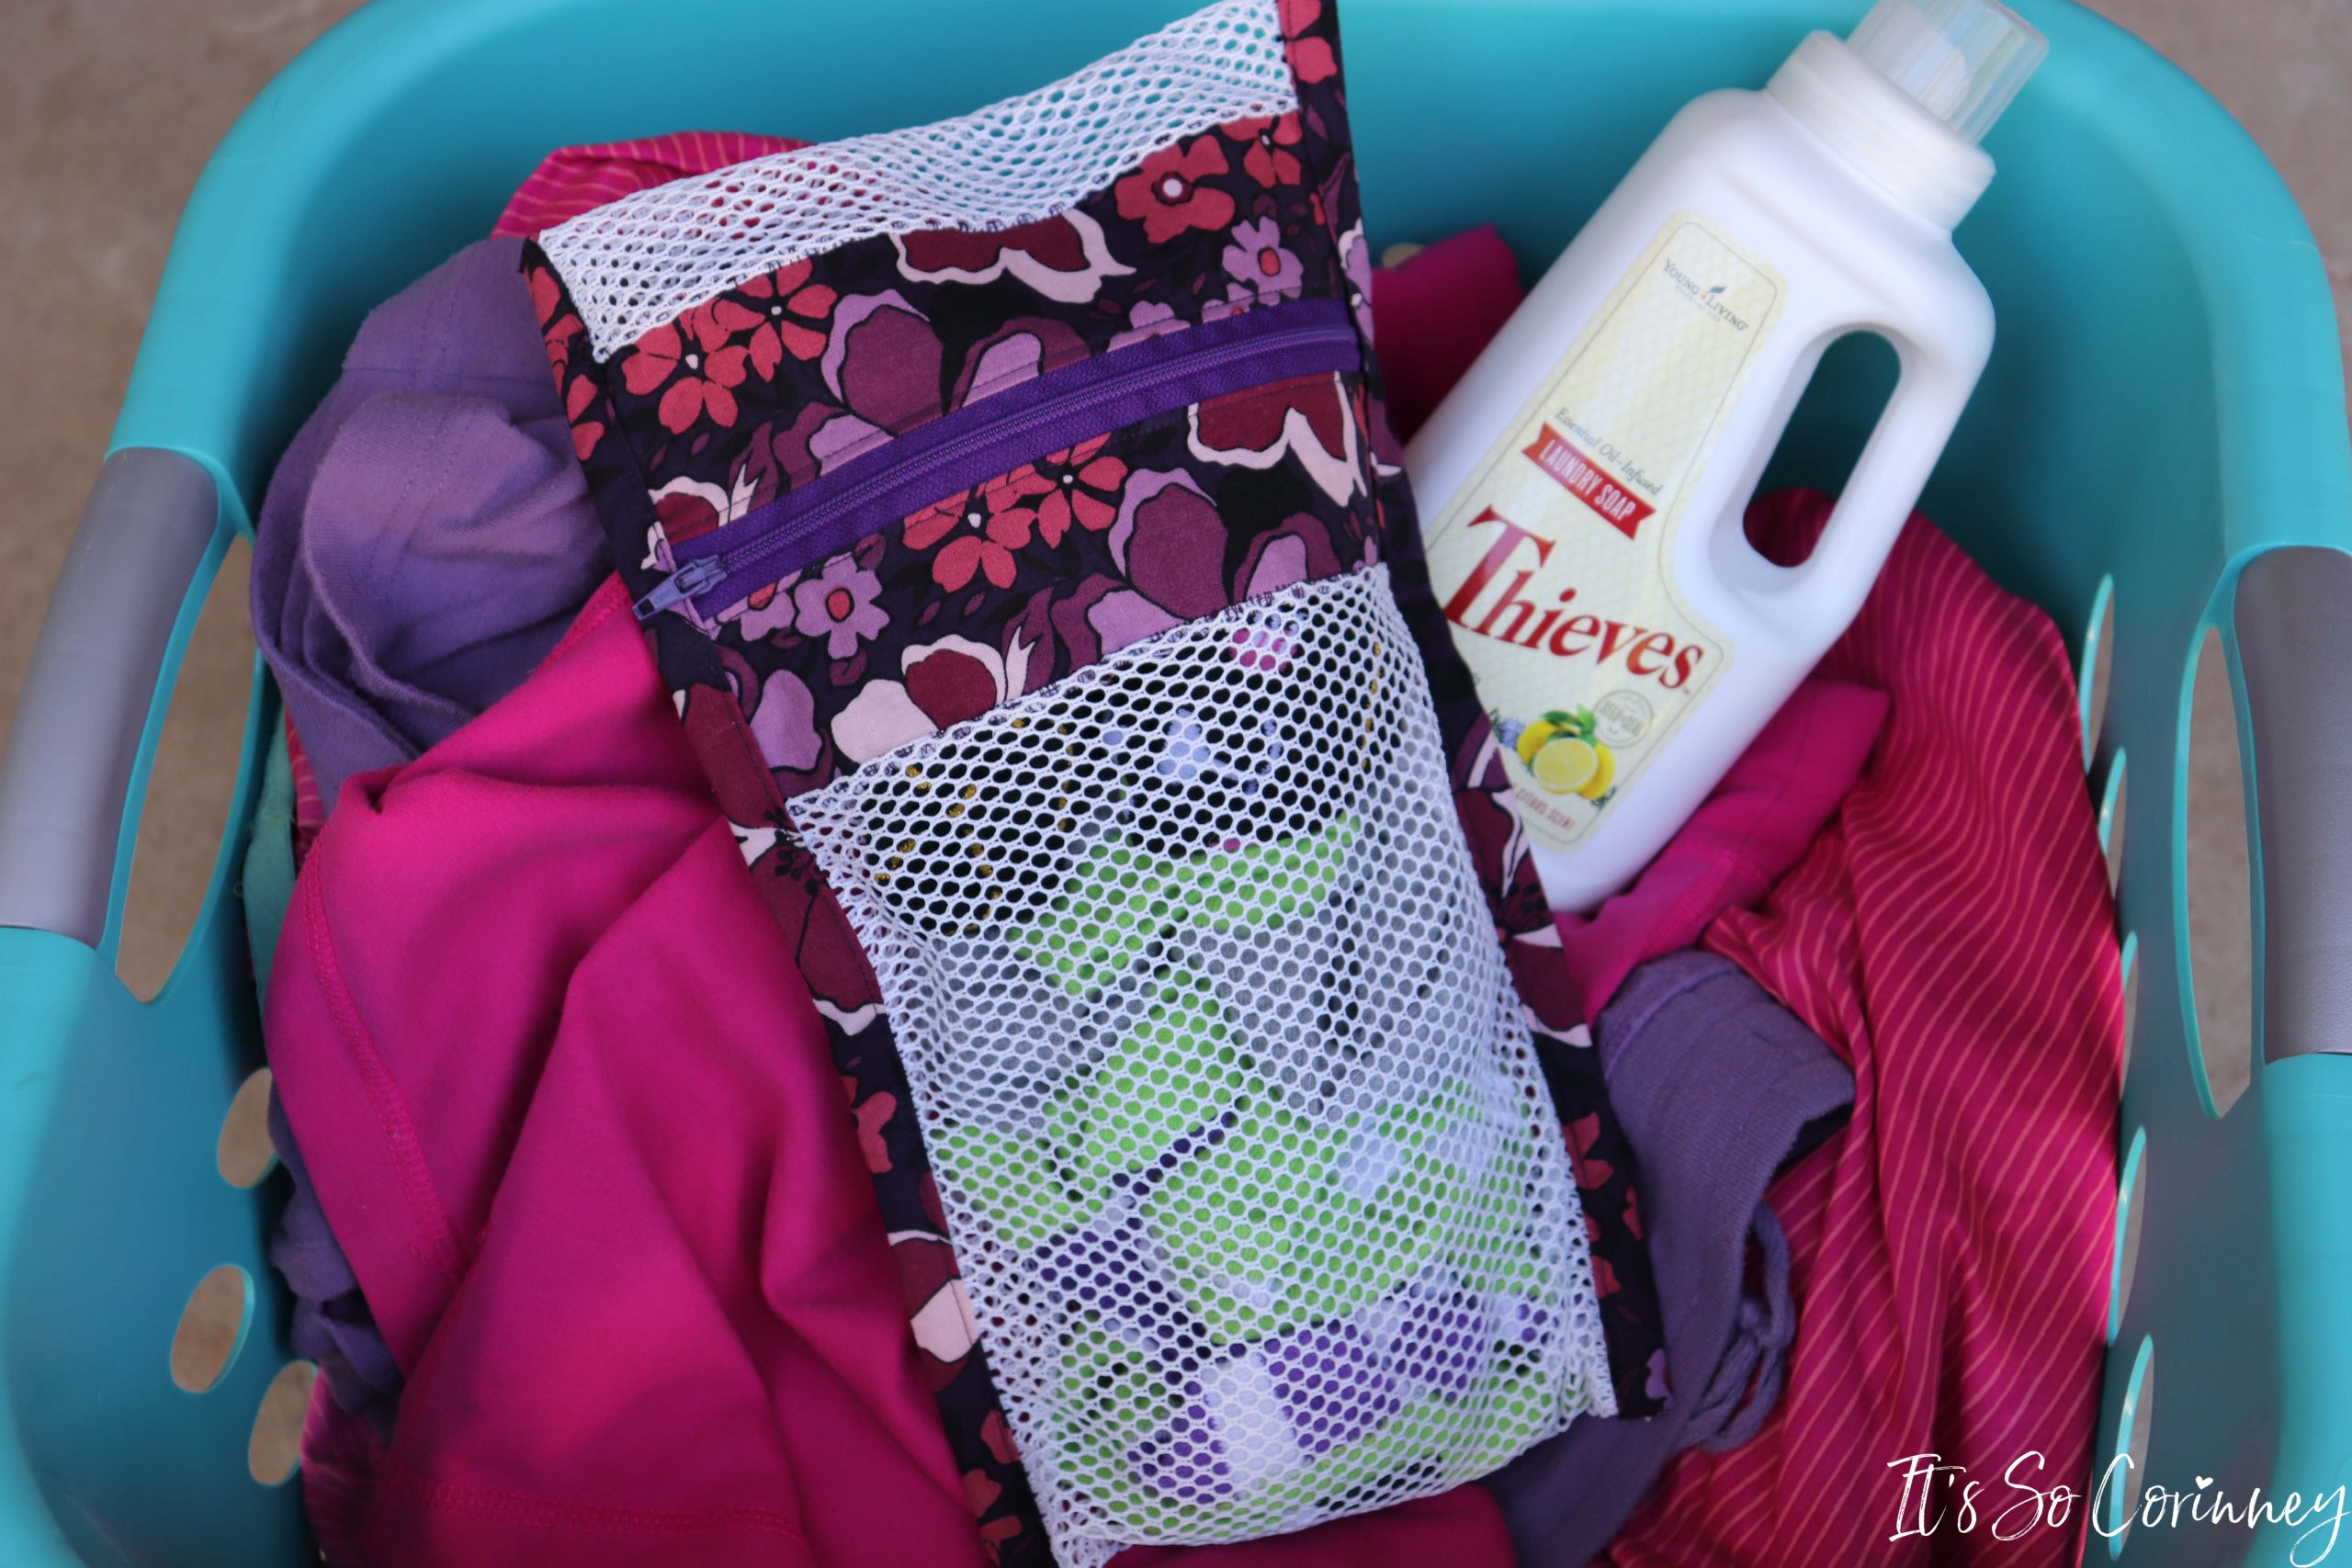
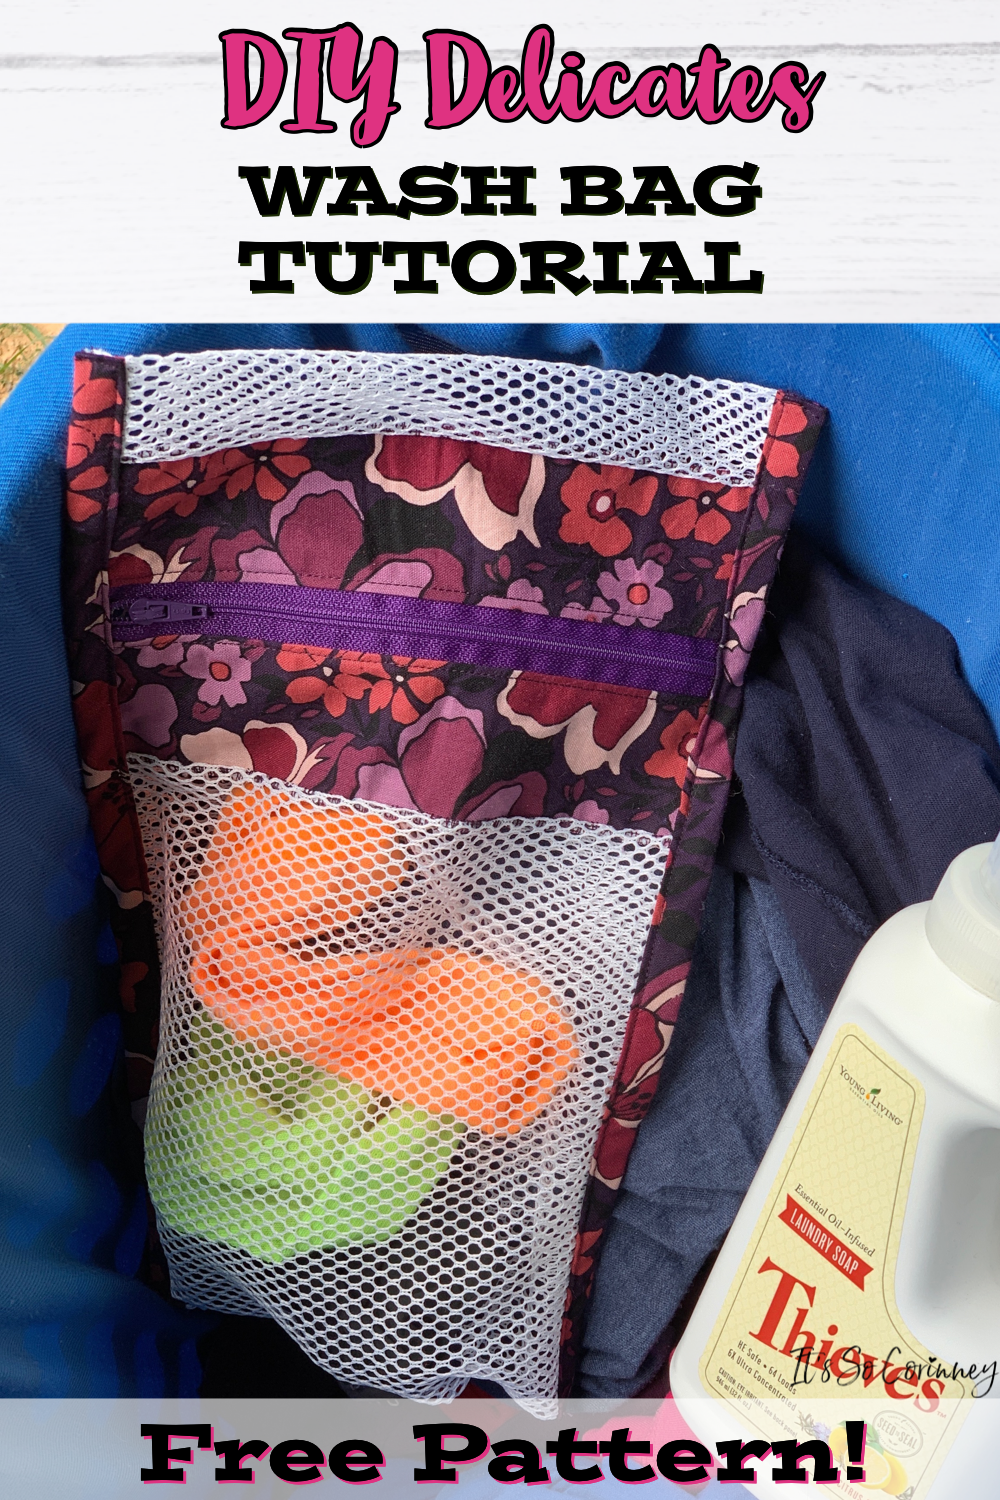
I swear there is a sock-eating monster living in my washroom. How else can you explain me losing SO many socks? It’s not like my socks left to find a better home! So, after I had lost my millionth sock, I decided that something had to be done! An easy solution that I found is to make a delicates bag that zips so no more missing socks.
Thank goodness, because I’m totally obsessed with my new Under Armour no show socks and think I would cry if I lost one! So, you may wonder if this bag can be dried in the dryer with the socks inside. The answer is HECK yes! I have dried my delicates wash bag countless times and it’s still fully functioning and still protecting my socks from the sock-eating monster!
This post contains affiliate links. That’s just a fancy way of saying if you click on a link and purchase something I get a little money (total score for me). For more information, see my disclosure here.
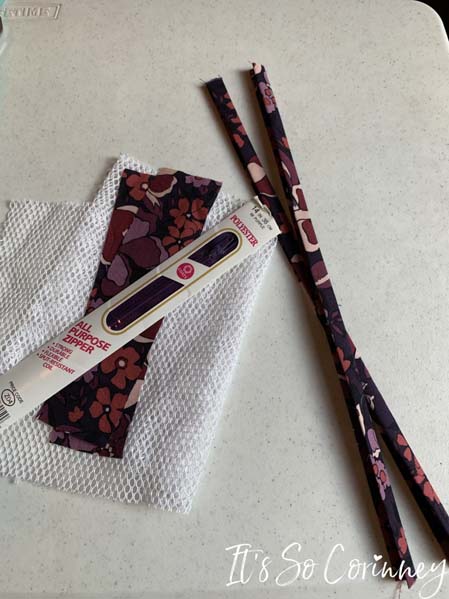
What You Need!
- Quilting Cotton
- Mesh Utility Fabric ~ I found mine at Joann Fabric
- 8 Inch Zipper ~ You can use larger and cut it down
- Matching Thread
- Free #31 ~ Delicates Wash Bag Printable Pattern ~ Available in The Pattern Stash! Head on down to the bottom of the page, fill out the form, and instantly receive an email with the password!
FYI!
All sewing is done with a 1/4 inch seam allowance.
Important Info!
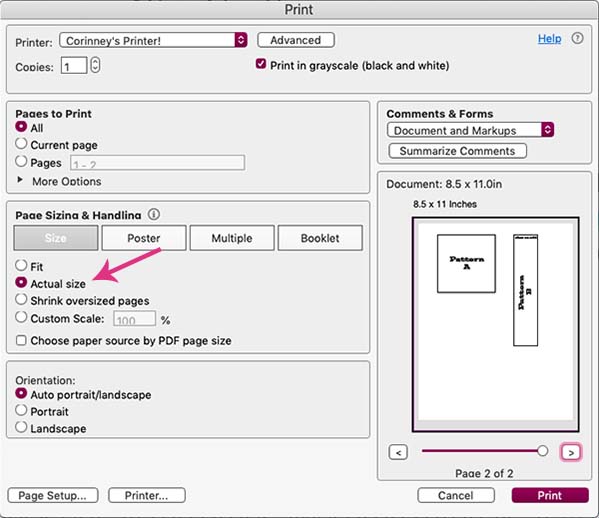
When printing the sewing pattern PDF make sure to adjust the print settings. After you click on the print button in the PDF the printer dialog box will come up. On this screen you want to change the default zoom page size to be Actual Size. If you don’t change this setting then the pattern will print smaller then intended (so sad!).
What To Do!
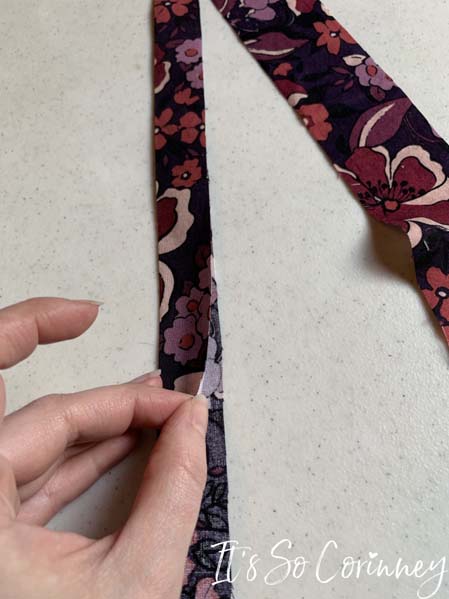
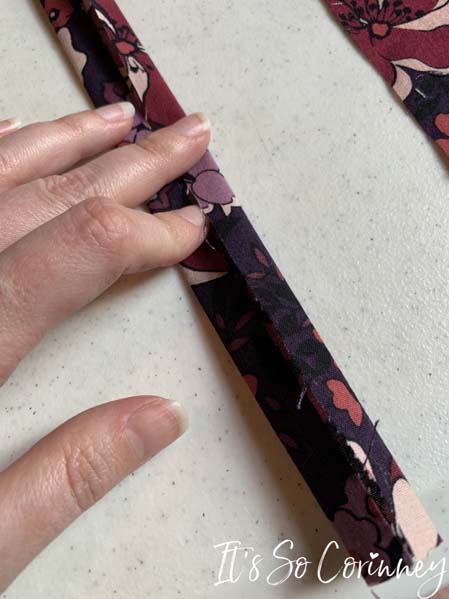
To begin the delicates wash bag you need to download the free pattern from The Pattern Stash and cut it out. Then you need to make bias tape for the delicates wash bag. If you have never made bias tape before don’t worry it’s super easy! Fold a bias tape strip in half making the two 15 inch sides touch each other and iron down.
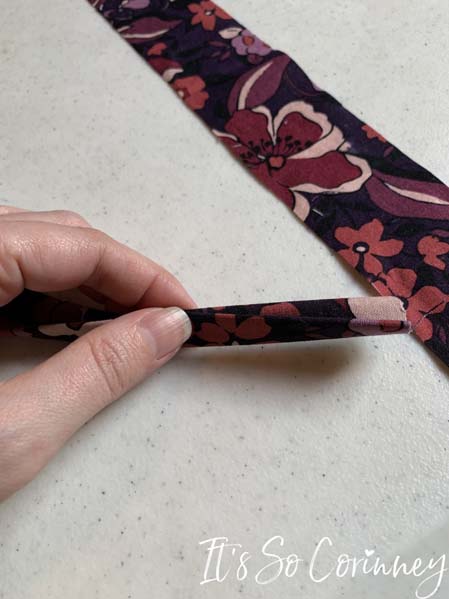
Open the strip you just ironed and fold the two side towards the center line and iron.
Close the strip back up and iron down. See? Super easy!
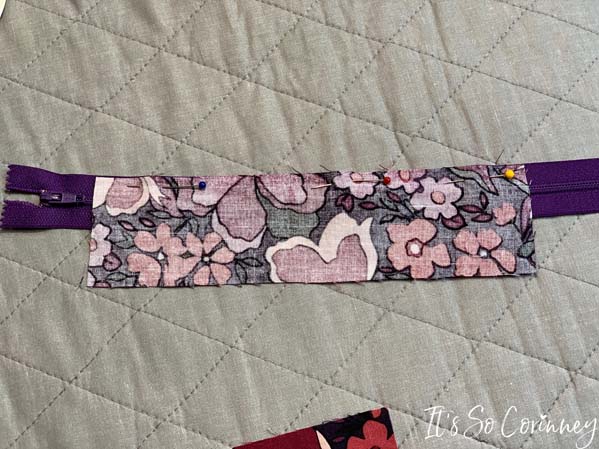
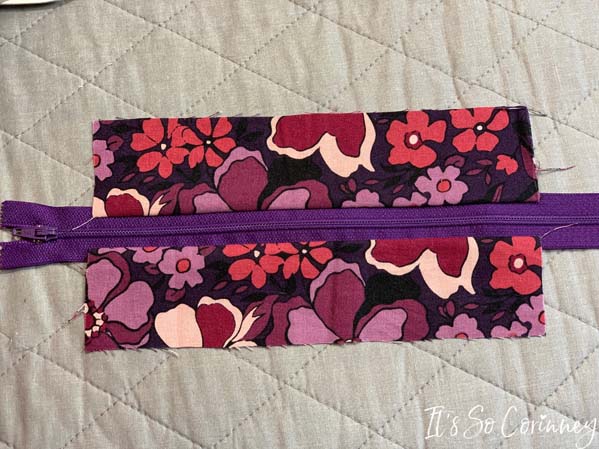
Make sure to iron your zipper before you start sewing! Then take one of your zipper strips and sew it to your zipper right sides together. My zipper is 14 inches long and will have to be cut down so I just centered my strip.
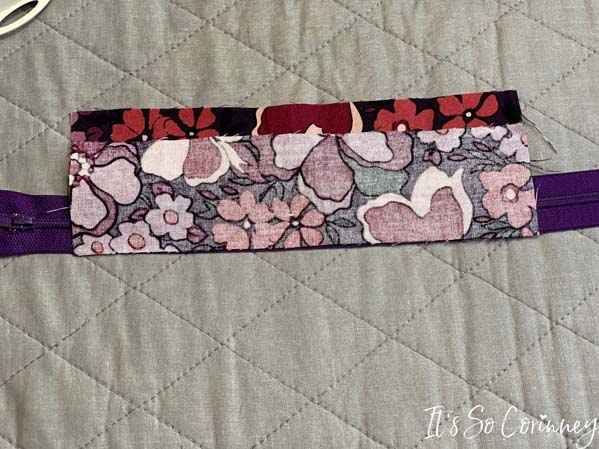
Take the next zipper strips and line it up with the one you just sewed. Then sew it to the other side of the zipper right sides together.
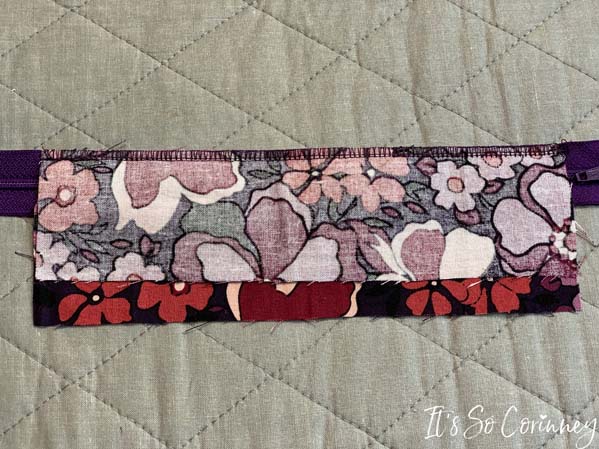
While using the overcast stitch on your machine, go over both seams of the strips and zipper. You could also use a zig zag stitch here but I think overcasting is more secure.
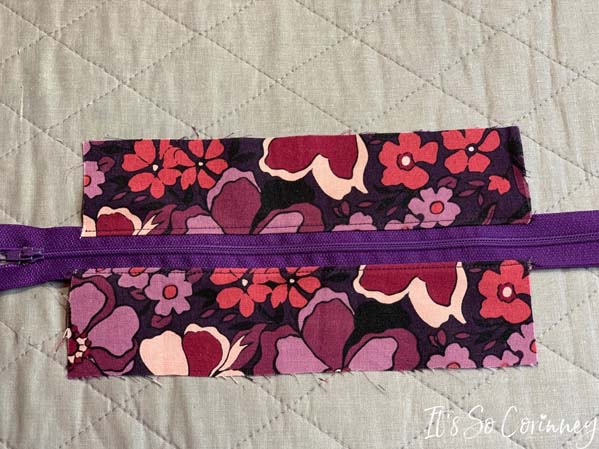
Then open up the strips you just sewed and iron flat.
While using a straight stitch sew down the strips close to the zipper. this will help reinforce the zipper.
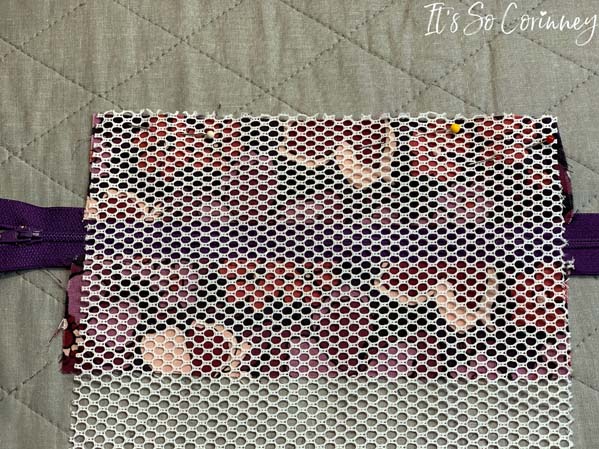
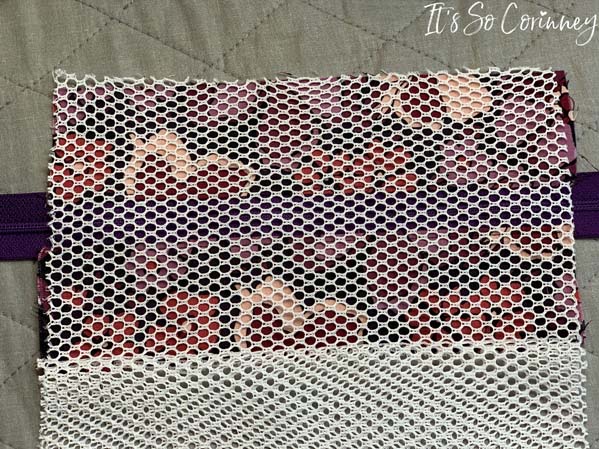
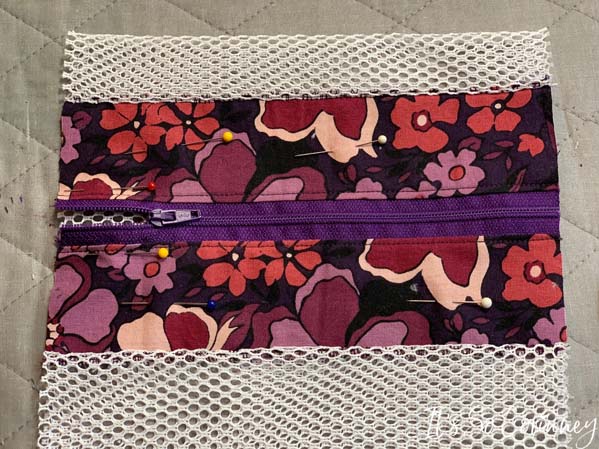
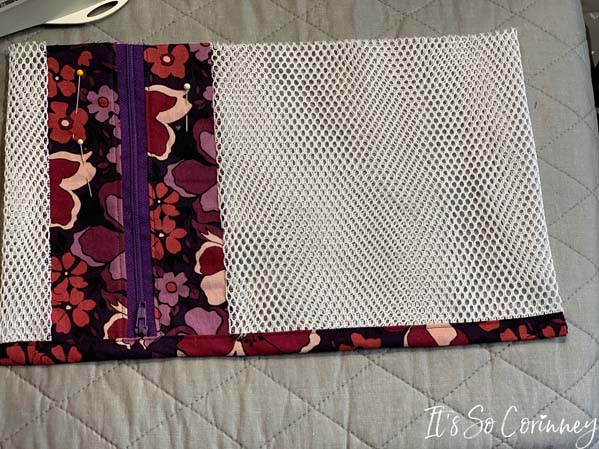
Sew one side of the mesh to the top strip raw edge.
Sew the other side of the mesh to the bottom strip raw edge. STOP! You need to make sure that the mesh is not twisted! An easy way to ensure this is to lay it down on the table then just fold up the mesh to the raw edge.
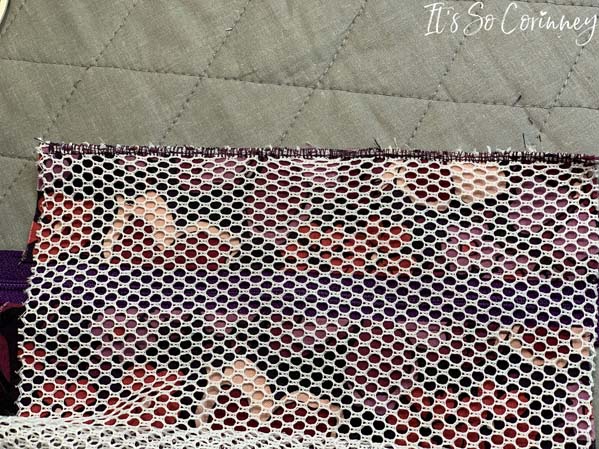
Overcast both edges of the mesh and strips that you just sewed.
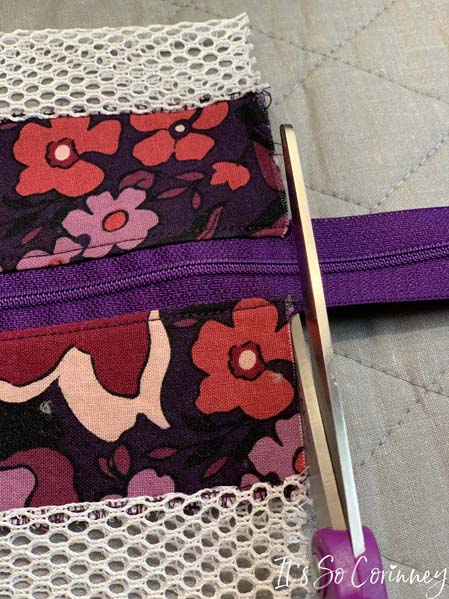
Using old scissors cut off the excess zipper on the right side of your bag. If you are using a zipper that is the exact size of your bag you won’t have to do this step.
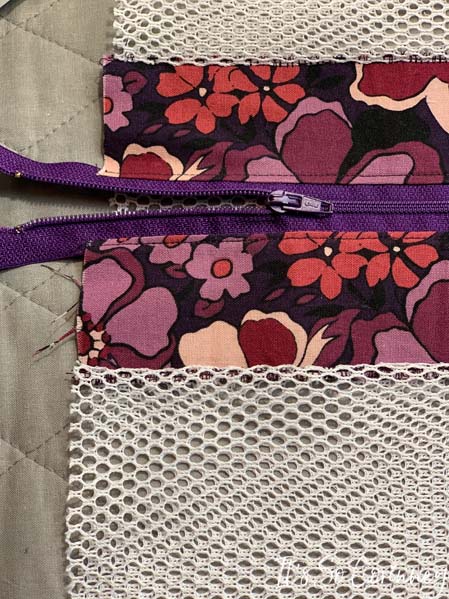
Open up the zipper to the center of the bag. Cut off the excess zipper on the left side of the bag.
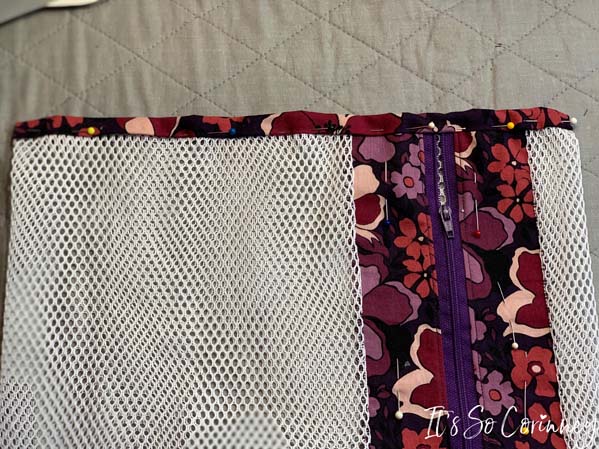
Lay down your bag on a table and figure out where you want the opening of your bag to be. Iron down and pin to the back mesh so it won’t move. Make sure that your zipper pull is on the left side of the bag!
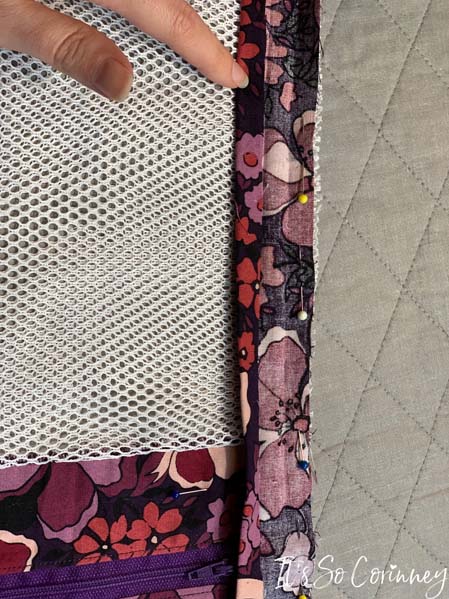
Open one of your bias tapes and pin it down to one side on the front of bag.
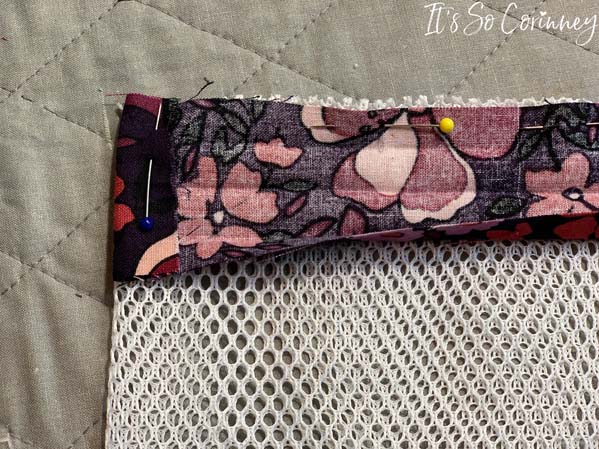
Fold over both ends of bias tape and pin as well. Using 1/4 seam allowance sew bias tape down.
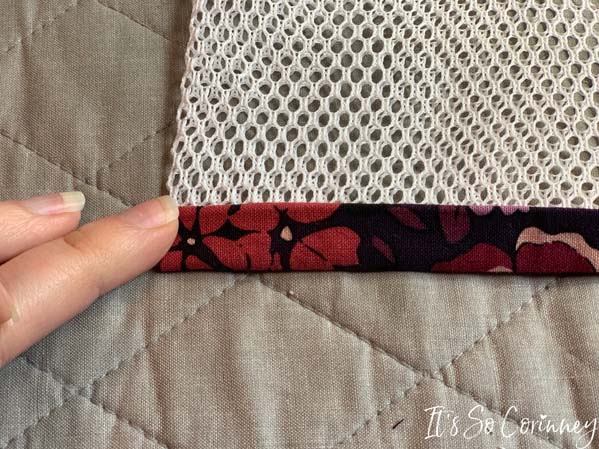
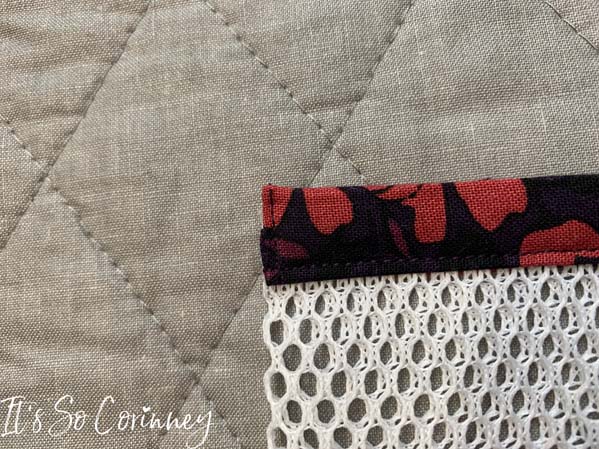
Fold bias tape over to the other side of the delicates wash bag. While folding the bias tape make sure to tuck all the mesh raw edges into bias tape and iron down.
From the front of the bag sew the bias tape making sure to catch the back side of the tape as you sew.
Then sew both bottoms of the bias tape.
Woo-hoo one side of the bias tape is complete! Now repeat the process for the other side.
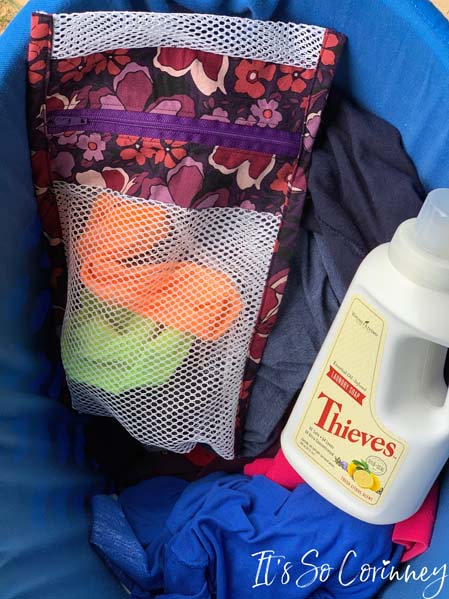
And….your new delicates bag is all done!
So, no more sock-eating monsters for us! Now I can keep my Under Armour Socks safe from their evil clutches and make my life a tad bitter easier!

Pin Me!
Want To Up Your Sewing Skills?
Are you ready to stop putting off sewing projects and gain confidence in sewing? This instant download digital book comes with over 50 pages of sewing knowledge to help you gain confidence in your sewing! Also included is 5 bonus printable sheets to help you keep your sewing projects and supplies more organized!
Love The Craft Tutorials On The Blog?

Do you enjoy the craft tutorials on the It’s So Corinney blog? If so, would you consider leaving a tip to help me keep the blog going? Your generous support would help me purchase more craft supplies and caffeinated products to create new and exciting craft tutorials to share with you!

