I remember when I stated hearing the buzz for the first Frozen movie. I thought there is NO way this cartoon is as good as everyone was saying. BOY, was I wrong! When I watched the movie I fell instantly in LOVE! The movie so beautifully depicts a sister’s love and the sacrifices that true love is willing to make. Every year since the release of the movie I have said that I’m going to do a Frozen inspired theme for Christmas. However, I have NEVER done it! I know you’re as outraged as I am. That all changed this year (so excited).
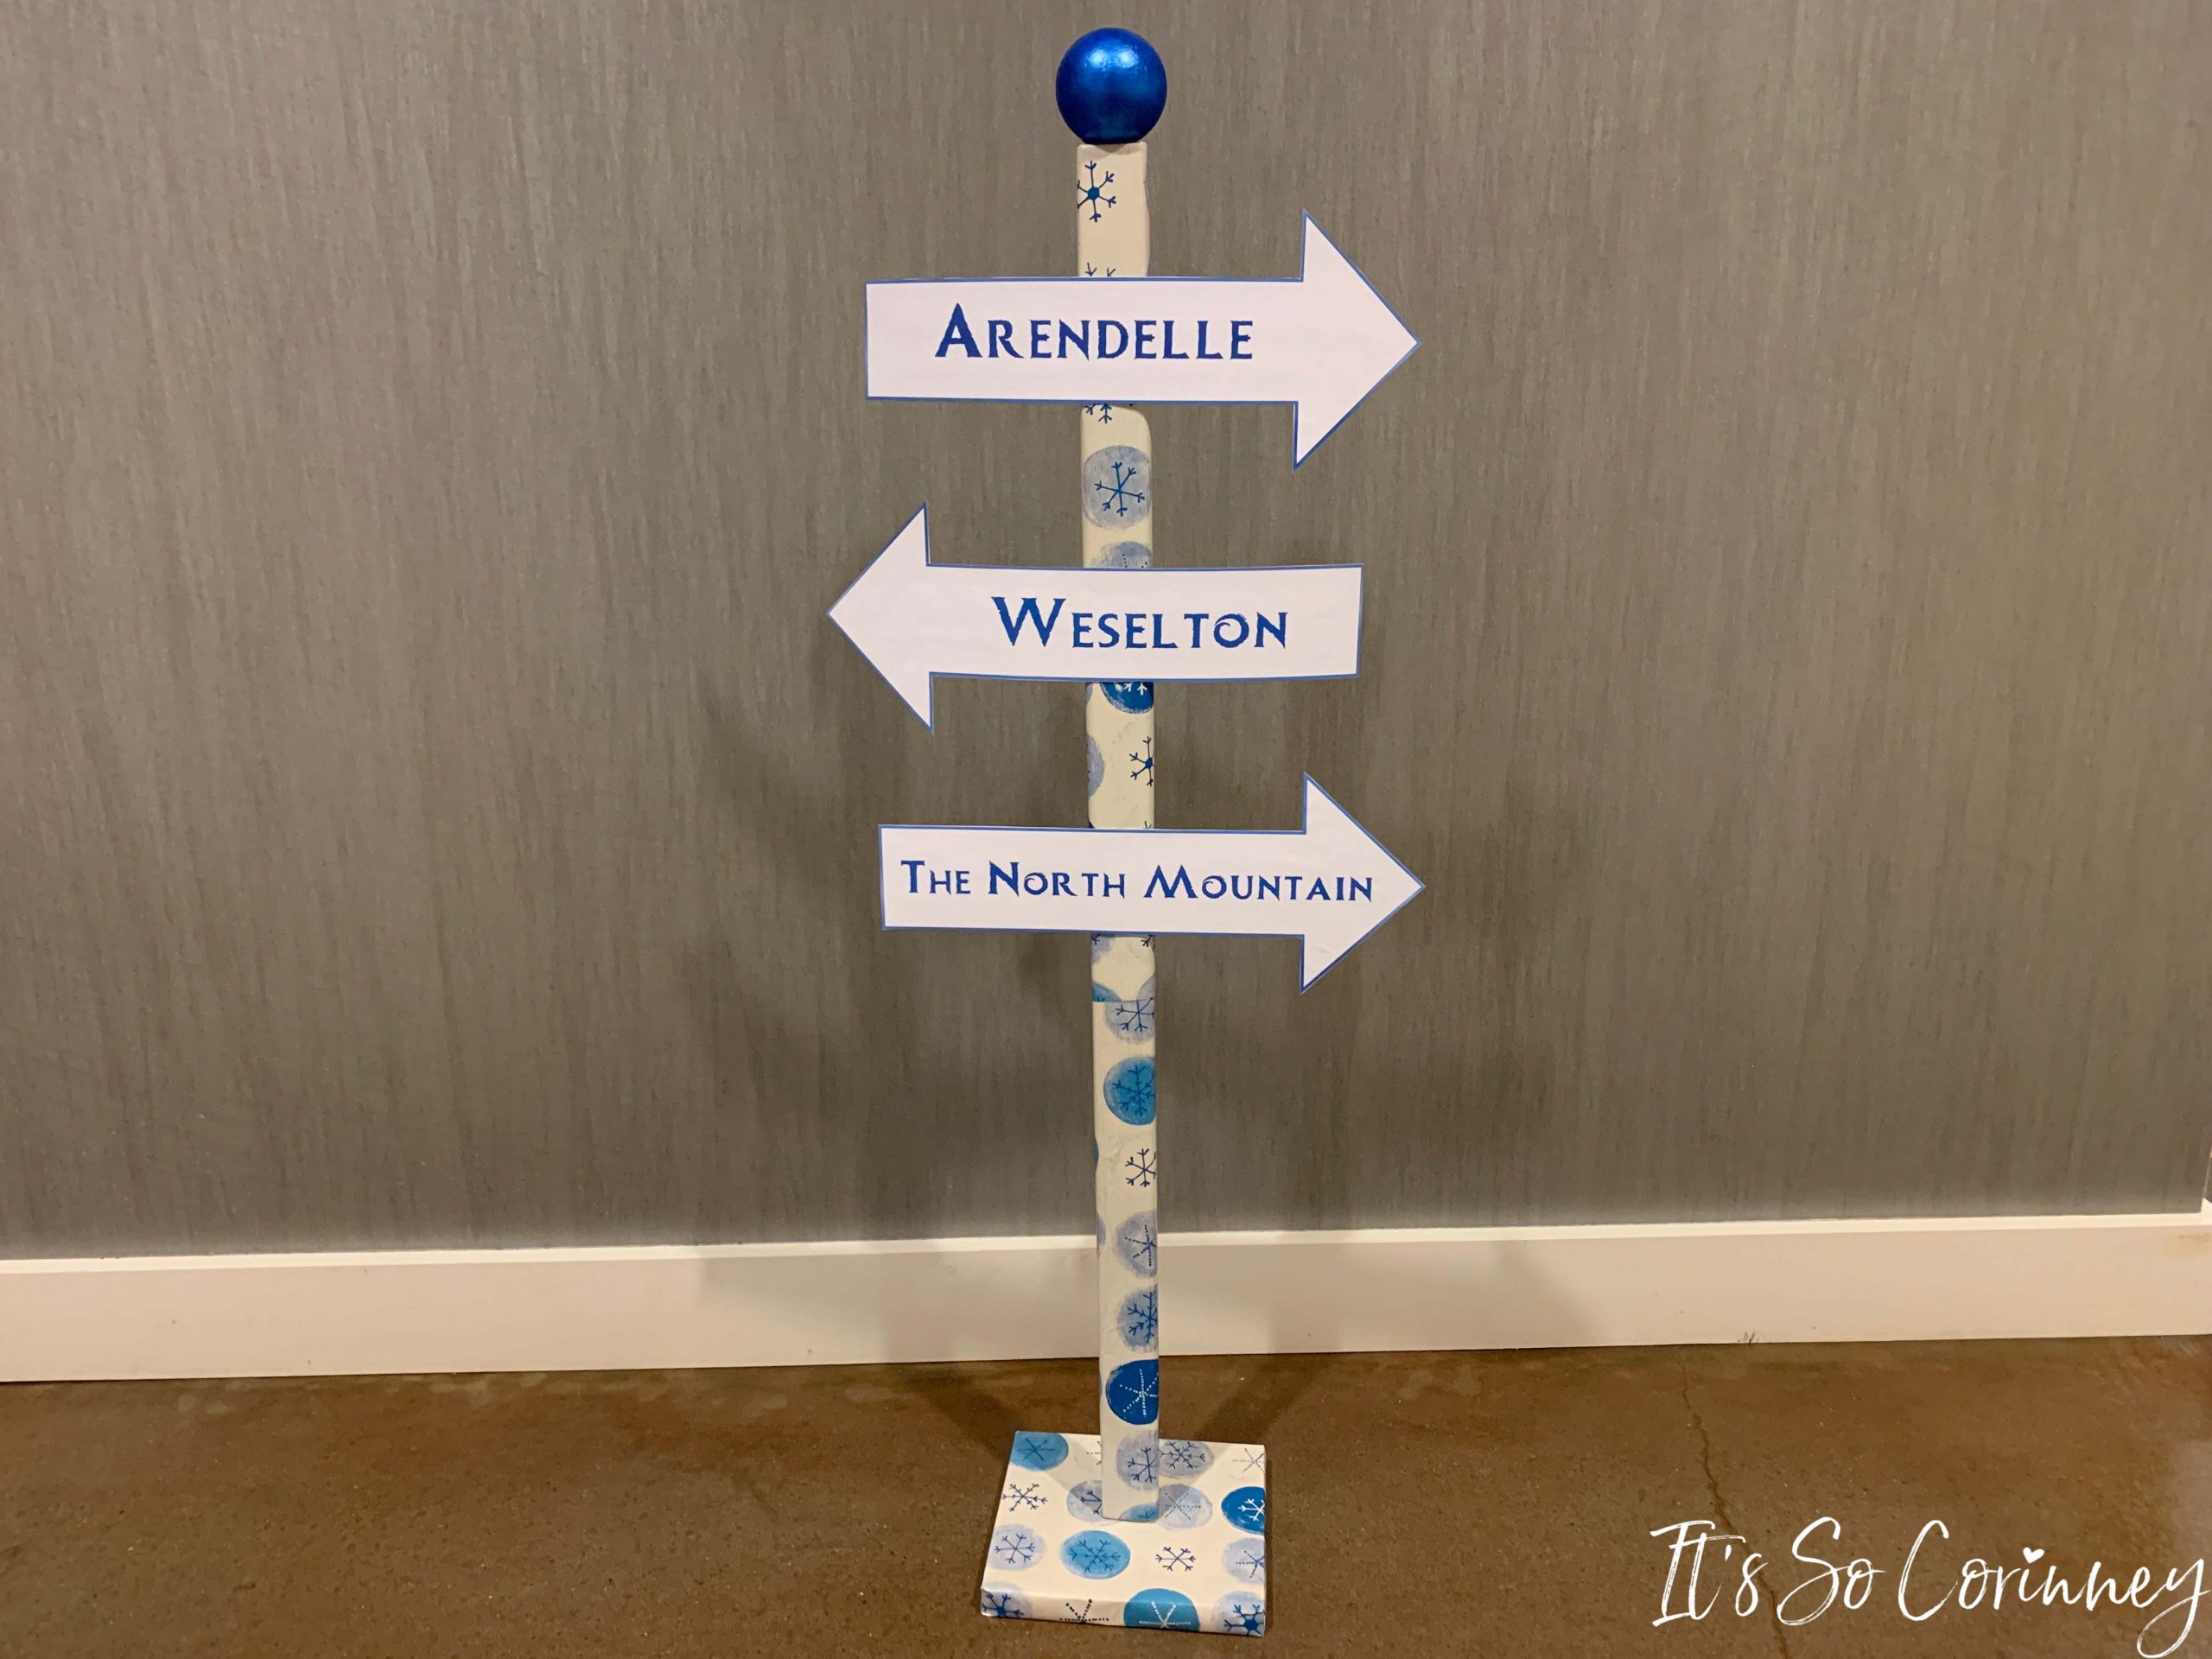
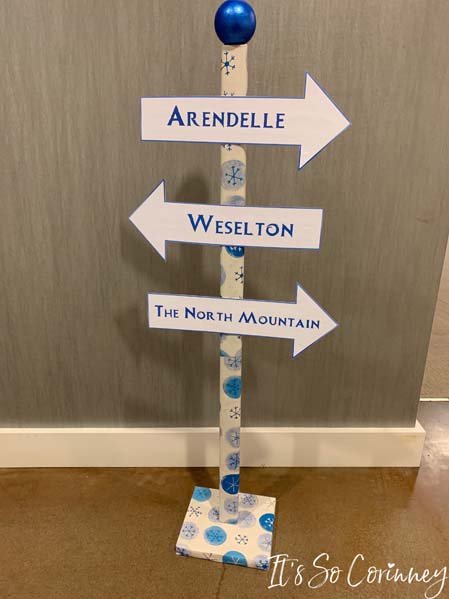
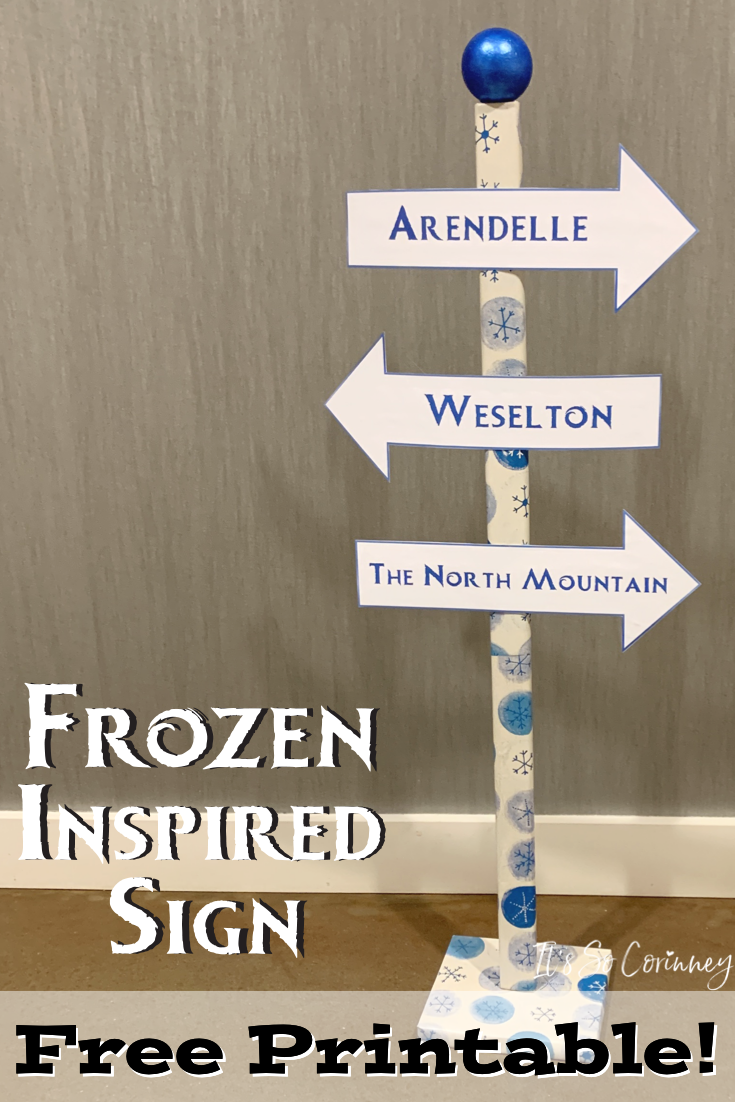
This year, I totally went all things Frozen in the space that I was decorating! I decided that I wanted to make a Frozen inspired direction sign that would match the theme. So, out came my searching skills and can you believe I found a Frozen themed font (my inner geek was thrilled). So, I whipped up this easy sign and you can too!
This post contains affiliate links. That’s just a fancy way of saying if you click on a link and purchase something I get a little money (total score for me). For more information, see my disclosure here.
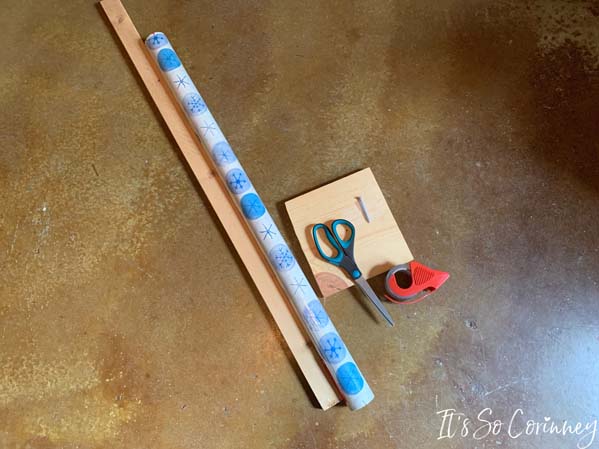
What You Need!
- 1 Inch Wood
- 1 x 2 Board
- 2 1/2 Inch Foam Ball
- Glue Gun
- Glue Sticks
- Acrylic Paint
- Tape
- Blue and White Wrapping Paper
- 2 Inch Screw
- White Poster Board
- Printer
- Free #6 ~ Frozen Inspired Sign Printable Pattern ~ Available in The Pattern stash! Head on down to the bottom of the page, fill out the form, and instantly receive an email with the password!
What To Cut!
- The 1 x 2 cut to three feet long
- The 1 inch board cut to 7 1/4 inches by 6 3/4 inches
FYI! I used a 1 inch board for the base because that is what I had on hand but you could easily use 1/2 plywood instead. Pretty much any wood that you have on hand will work just make sure it’s not too thin otherwise it will tip over once you add the post to it.
What To Do!
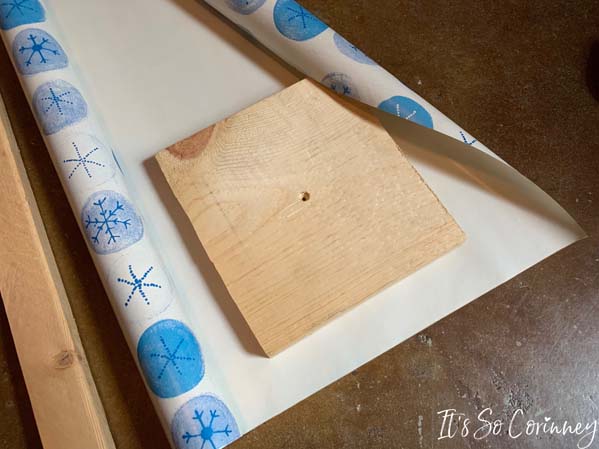
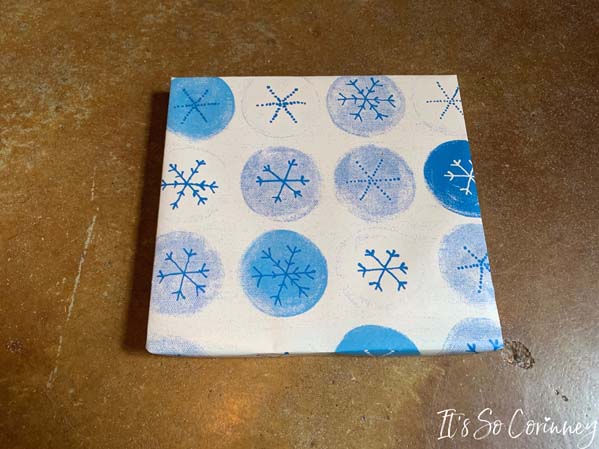
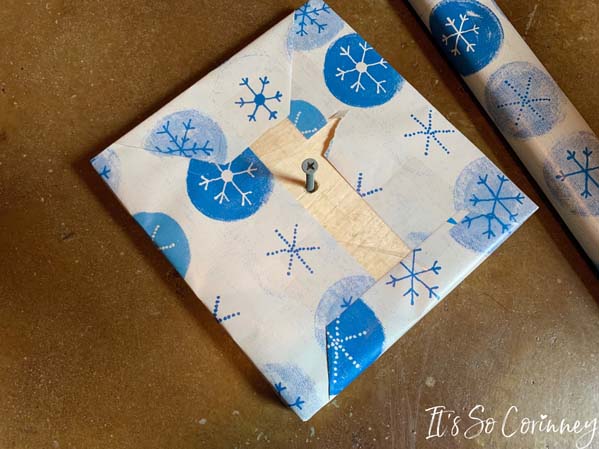
The first step in making this super easy Frozen inspired sign is to take your bottom block of wood and drill a hole in the center. Then wrap the block like it’s a present!
Here is the finished bottom piece of wood!
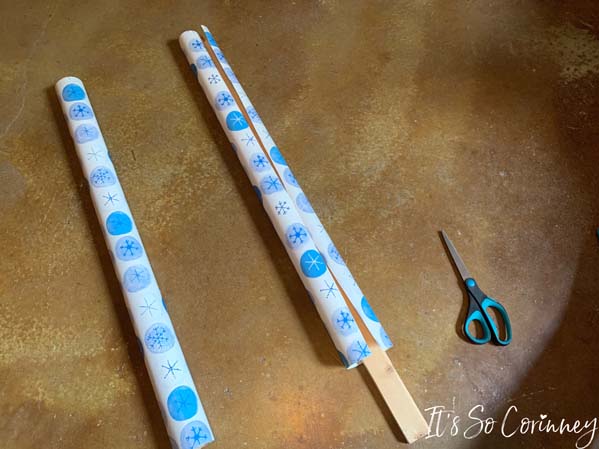
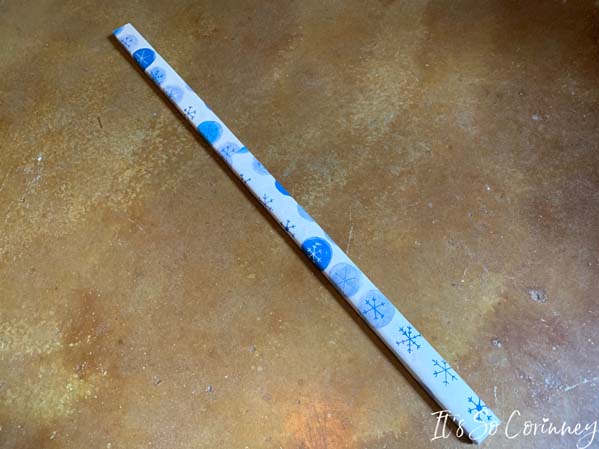
Next, you are going to wrap the 1 x 2 post. The wrapping paper I used was much shorter than the post. So, I just overlapped two pieces and wrapped it.
Because of the design of the paper you can barely see the seam of the overlap (total win)!
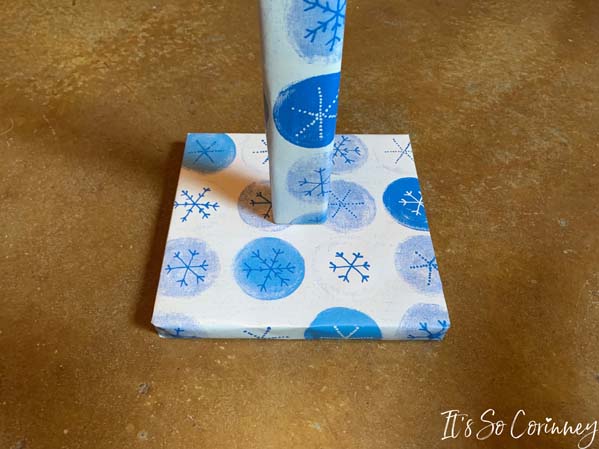
Start the screw in the pre-drilled hole in the bottom piece of wood.
Place the post on the center of the bottom piece of wood and screw the two pieces together.
Print Arrows!
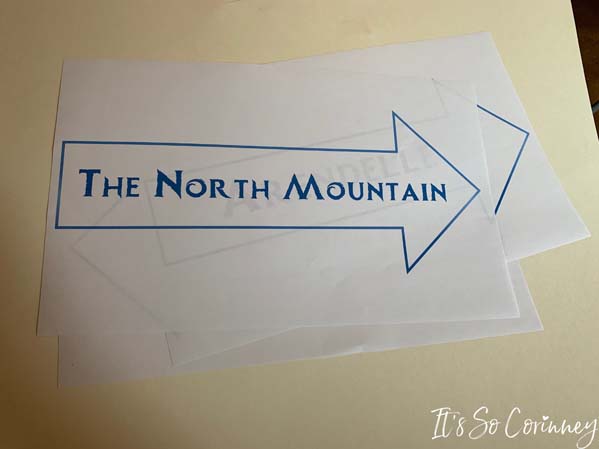
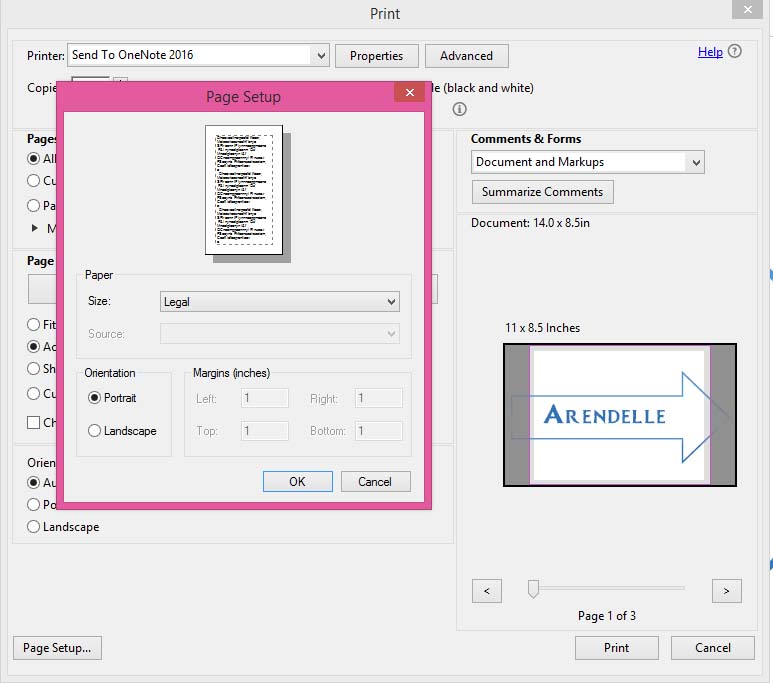
Print the snazzy arrows you downloaded from The Pattern Stash (get the password below) in color! Now, I designed these arrows to be printed on Legal size paper. You could totally print them on Standard size paper and just have smaller arrows. However, if you would like to print them on Legal size paper do the following.
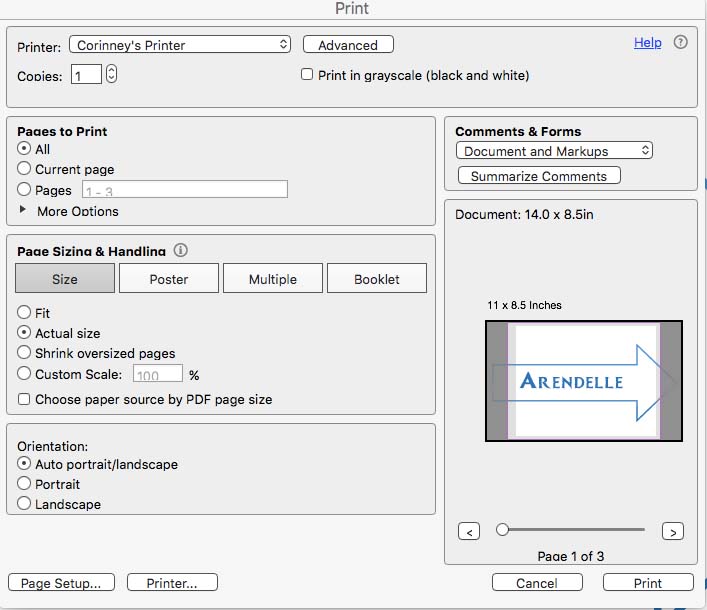
For Macbook
First load Legal size paper into your printer! Click your print button, then when the print option box pops up click the Actual Size button.
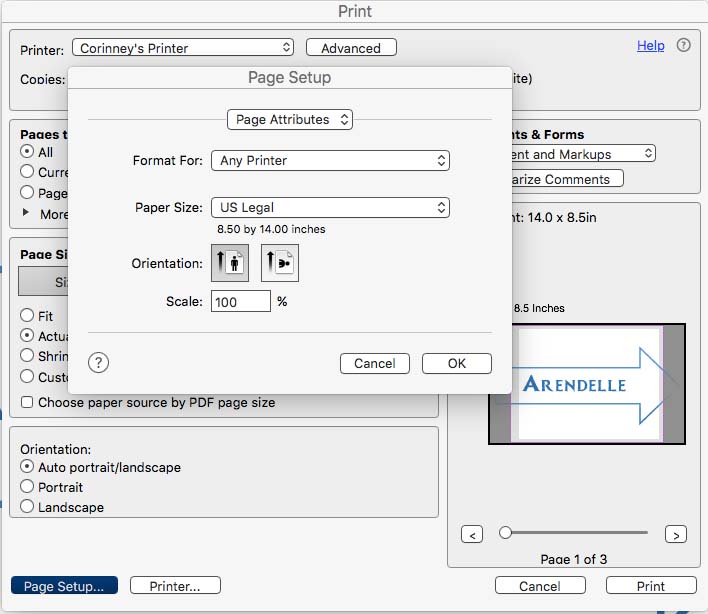
Next, click on the Page Setup button and choose US Legal from the drop down box for paper size. Hit OK to get out of that screen and then hit the Print button.
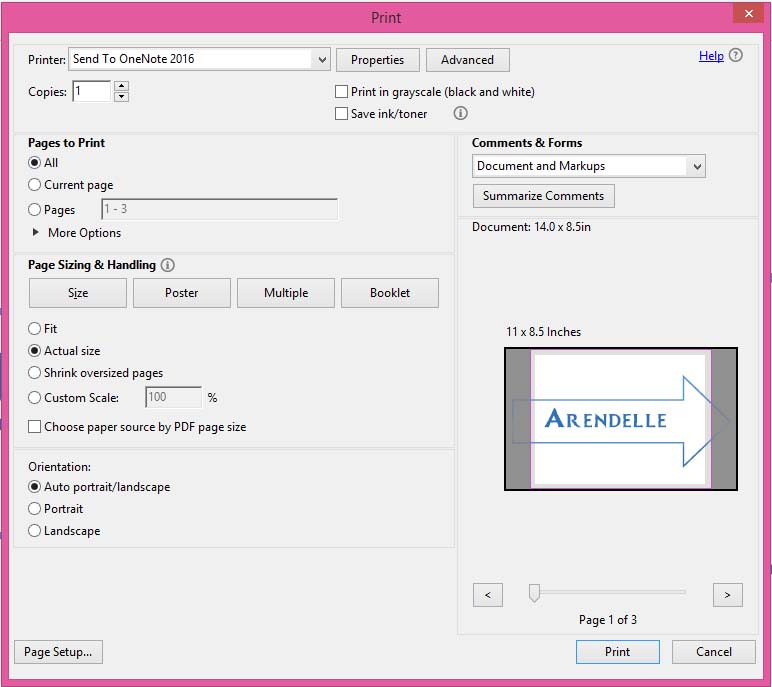
For Windows
First load Legal size paper into your printer! Click your print button, then when the print option box pops up click the Actual Size button.
Next, click on the Page Setup button and choose Legal from the drop down box for paper size. Hit OK to get out of that screen and then hit the Print button.
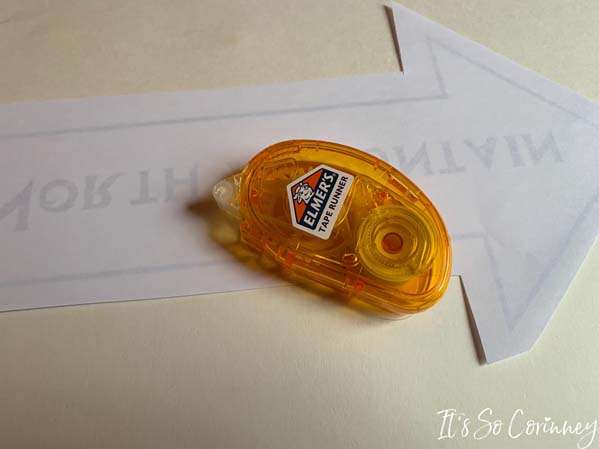
Roughly cut out the arrows and run tape around the inside edge of the blue outline of the arrow. If you need a suggestion on what tape to use then look no further! I absolutely LOVE Elmer’s Tape Runner for all my paper craft projects.
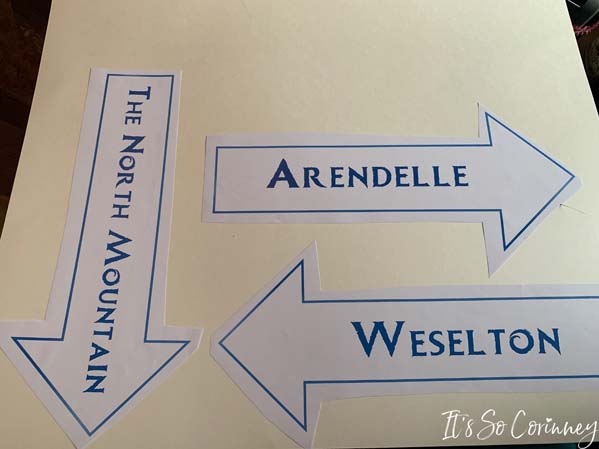
Attach the arrows to the white poster board.
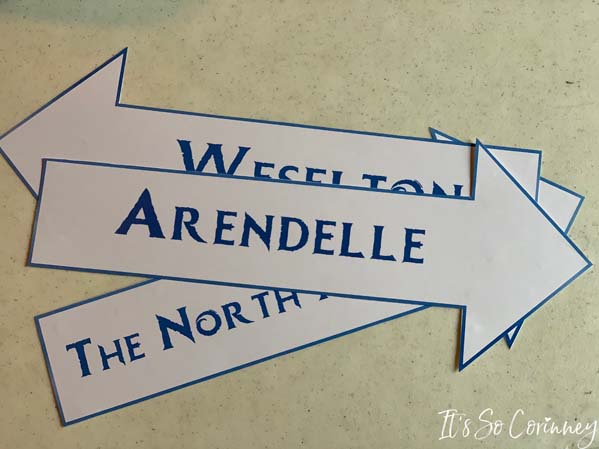
Carefully cut out the arrows making sure to not cut off the blue outline.
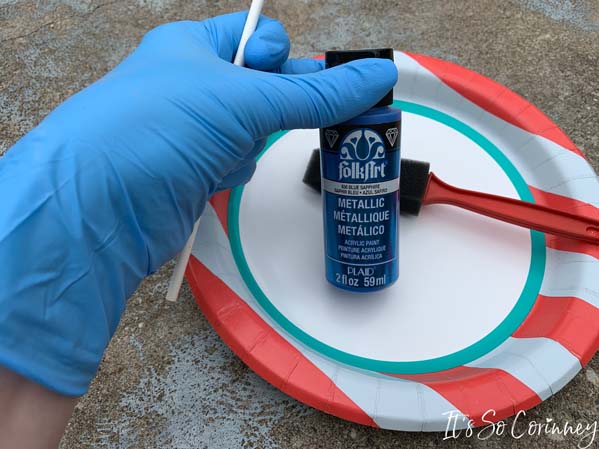
For the top of the post I decided to use a foam ball but you could use a plastic ornament. That was originally my plan but for the life of me I could not find a plastic one that was blue! To paint the foam ball I used FolkArt metallic paint in Blue Sapphire. I was going to spray paint the ball but it turns out that spray paint melts foam (who knew?).
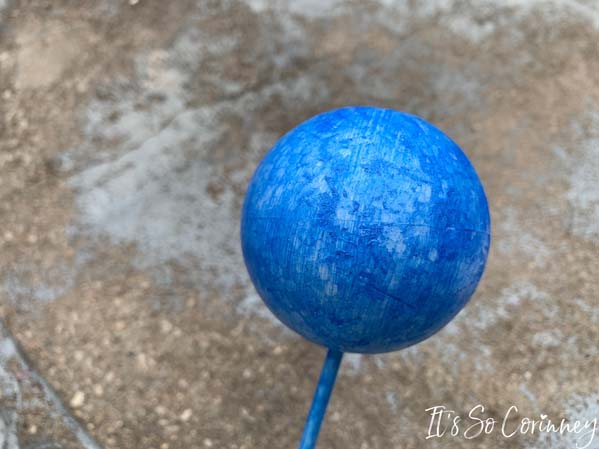
I shoved a cake pop stick into the bottom of the ball to make it easier for me to hold while painting. Honesty time! After the first coat of paint I seriously thought this wasn’t going to work because it looked so bad!
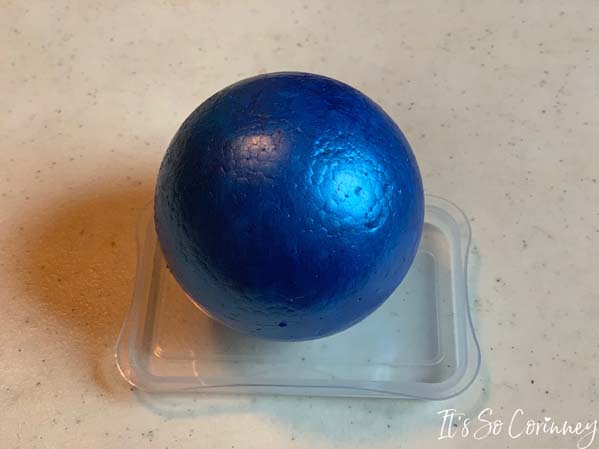
However, after SIX coats of paint (yep, I said six) the foam ball looked so good and the perfect color for the sign!
Once your foam ball is dry all that is left to do is hot glue all the pieces together! Then your Frozen inspired sign is complete and ready to be super cute in your decorations.
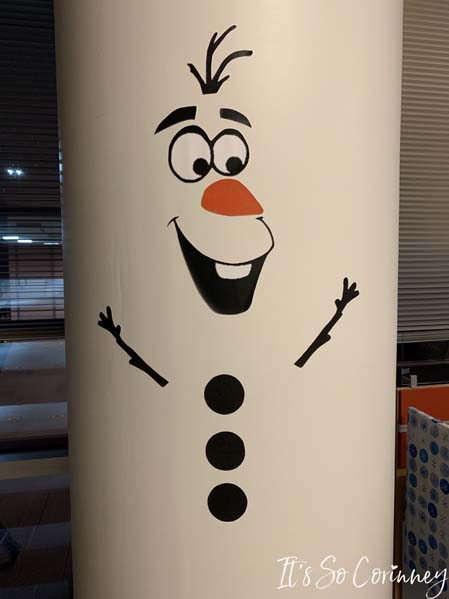
Here’s another fun Frozen inspired decoration! The space I was decorating had a HUGE white pillar that I thought would be so cute as Olaf. This was SO easy to do and took me under 30 minutes to accomplish. All I did was find Olaf’s picture online, put the picture in Microsoft Word, and resized it REALLY big. Then after I printed it I cut out the pieces and attached to the pillar using double sided tape. This was a huge hit and everyone thought I had stenciled it on the pillar!
Both the sign and Olaf pillar were super inexpensive to make and turned out super cute! Just a side note, these Frozen inspired decorations aren’t just for Christmas and would be super adorable at a birthday party for a Frozen fan!

Pin Me!
Love The Craft Tutorials On The Blog?
Do you enjoy the craft tutorials on the It’s So Corinney blog? If so, would you consider leaving a tip to help me keep the blog going? Your generous support would help me purchase more craft supplies and caffeinated products to create new and exciting craft tutorials to share with you!

