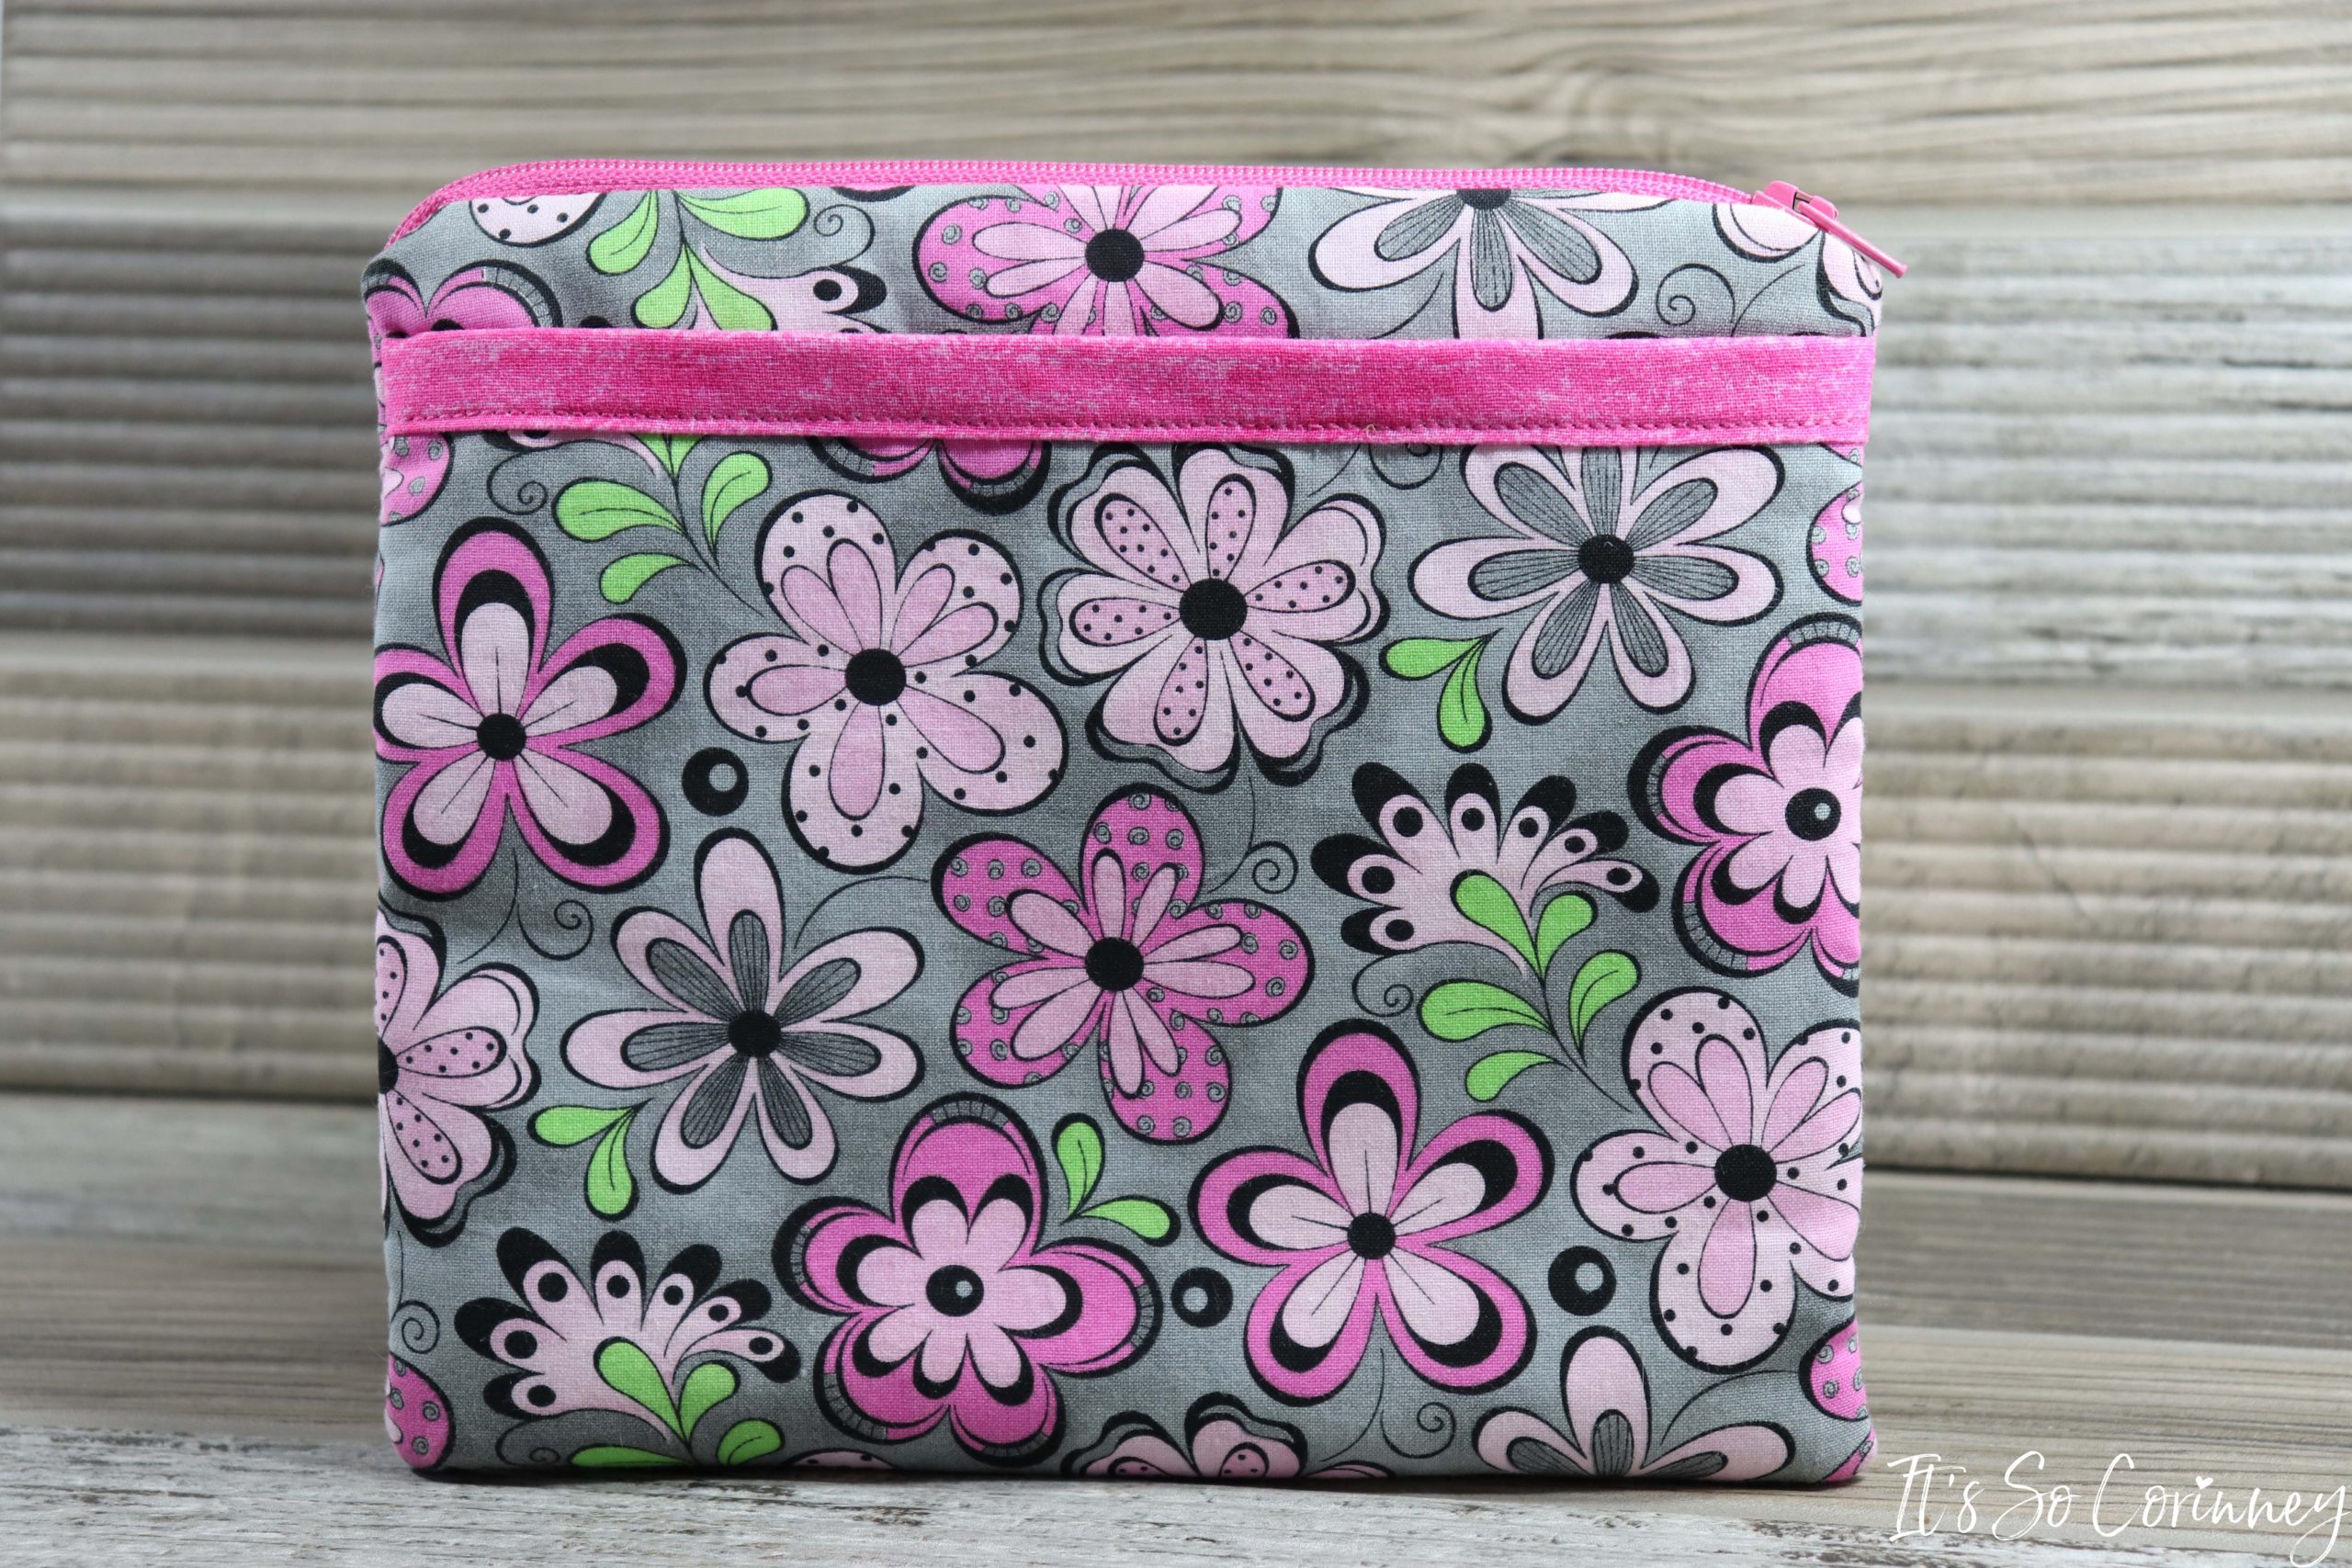
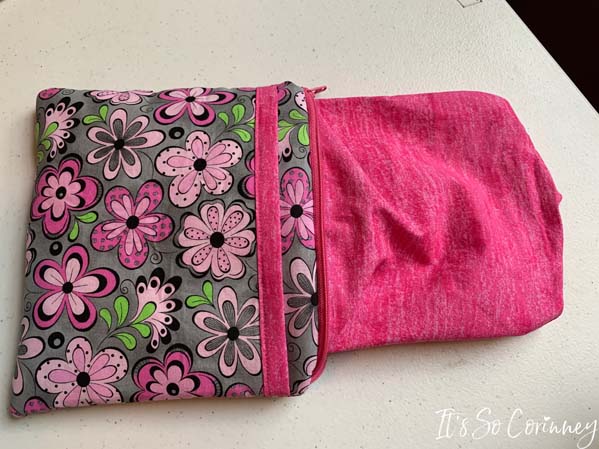
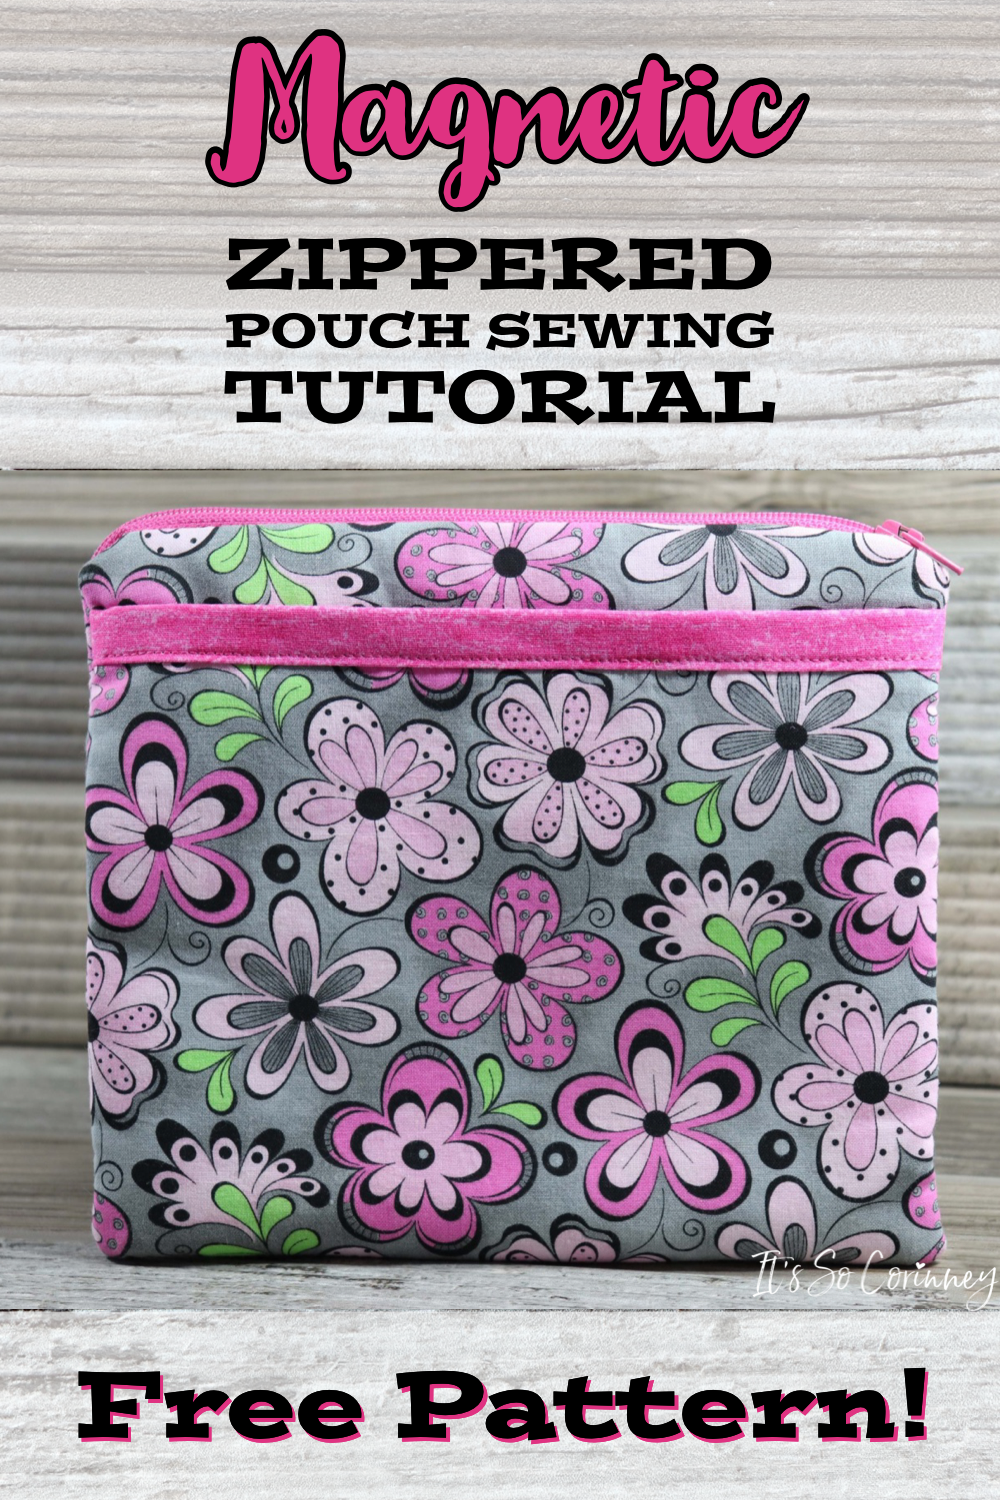
A long time ago in a world far, far away I worked in a jewelry store. Each of the employees got a locker to store their personal belongings in. I wanted something to put in the locker to keep little things in such as toothbrush, girl products, and Band-Aids. So, I looked at the store for magnetic holders but nothing was exactly what I was looking for.
That’s when a girl I worked with looked at me with an are you serious look and told me “Just make something”. This started me on the journey of figuring out how to add magnets to a pouch! The finished pouch was so cute I ended up making all the other girls at work one for Christmas! Also, an added bonus is that the pouch will attach to anything metal. Which means that you could use it practically anywhere!
This post contains affiliate links. That’s just a fancy way of saying if you click on a link and purchase something I get a little money (total score for me). For more information, see my disclosure here.
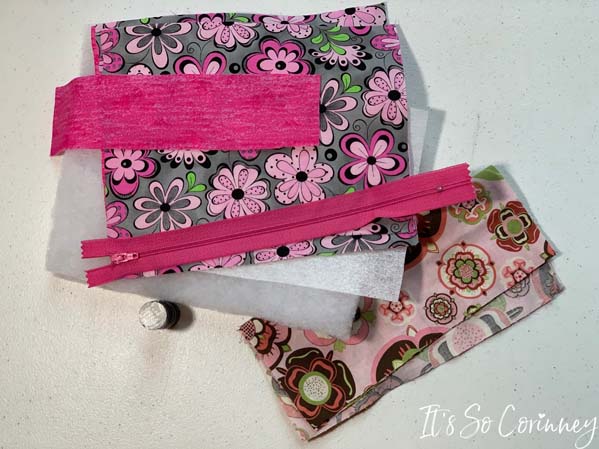
What You Need!
- Quilting Cotton
- (5) 3/4 Inch Round Magnets
- Lightweight Batting
- 9 Inch Zipper
- Lightweight Fusible Interfacing
- Matching Thread
- Free #37 ~ Magnetic Zippered Pouch Printable Pattern ~ Available in The Pattern Stash! Head on down to the bottom of the page, fill out the form, and instantly receive an email with the password!
FYI!
All sewing is done with a 1/4 inch seam allowance.
Important Info!
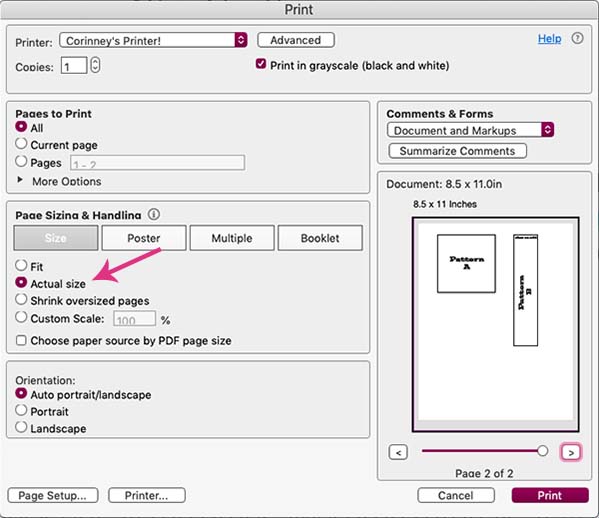
When printing the sewing pattern PDF make sure to adjust the print settings. After you click on the print button in the PDF the printer dialog box will come up. On this screen you want to change the default zoom page size to be Actual Size. If you don’t change this setting then the pattern will print smaller then intended (so sad!).
What To Do!
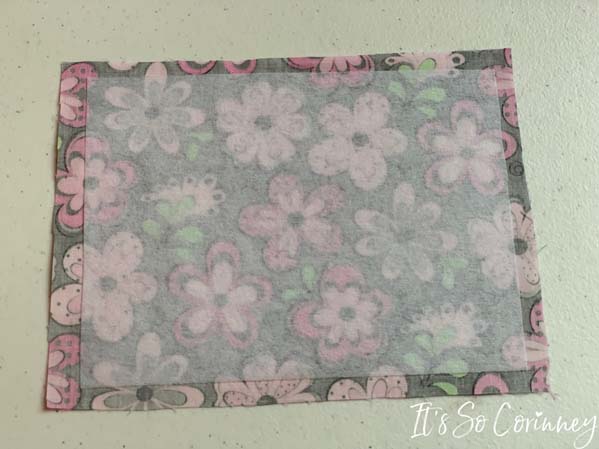
To begin the magnetic zippered pouch you need to download the free pattern from The Pattern Stash and cut it out. To begin the magnetic zippered pouch tutorial, press the interfacing to the wrong side of the Fabric A outside pocket piece. I like to trim my interfacing away from the edges of the piece before I press to help reduce bulk.
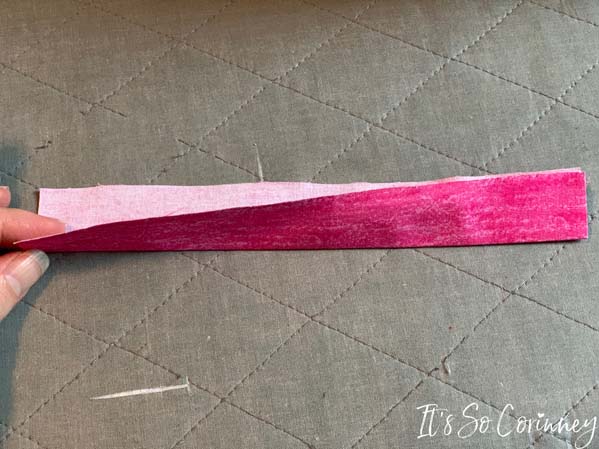
Then take the binding piece and press in half wrong sides together making the 8 inch sides touch.
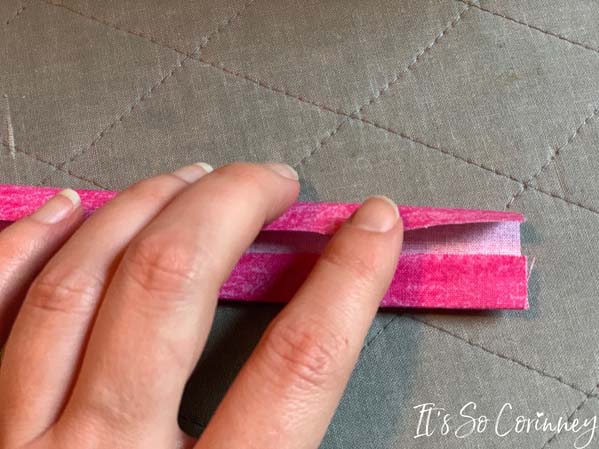
Open the binding and fold in the two sides in towards the middle and press with iron.
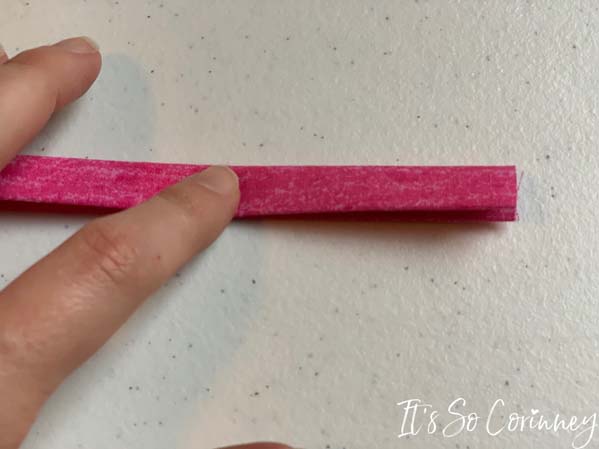
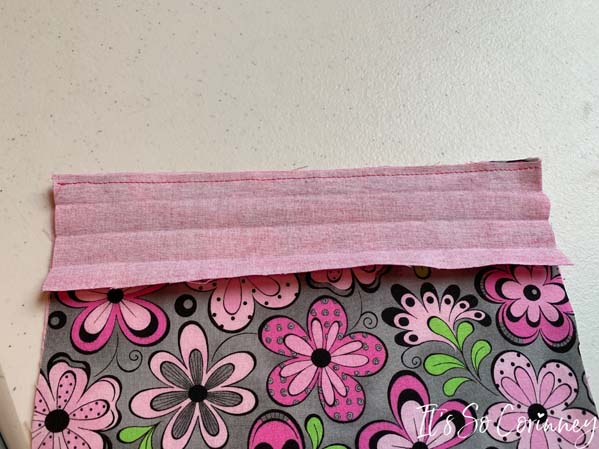
Fold the binding in half again and press with iron.
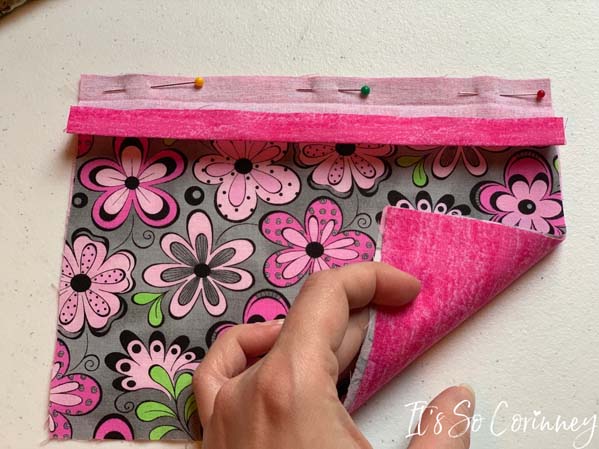
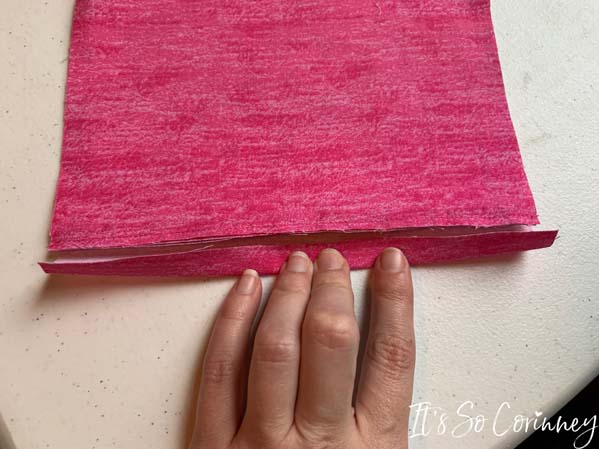
Then take the two outside pocket pieces and lay them wrong sides together. Unfold the binding and pin to the top 8 inch side of the pocket pieces.
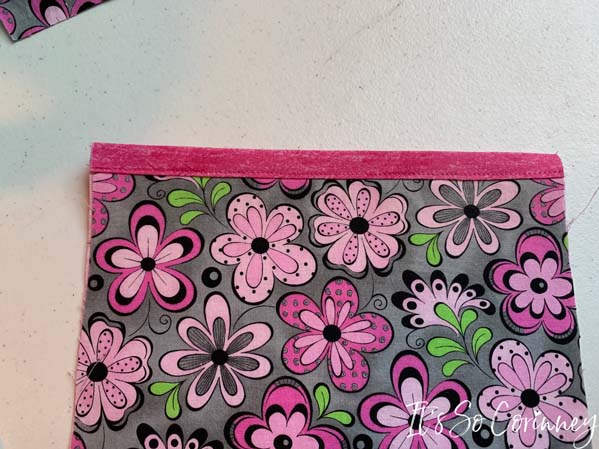
Using a straight stitch sew the binding down to the top of the pocket pieces.
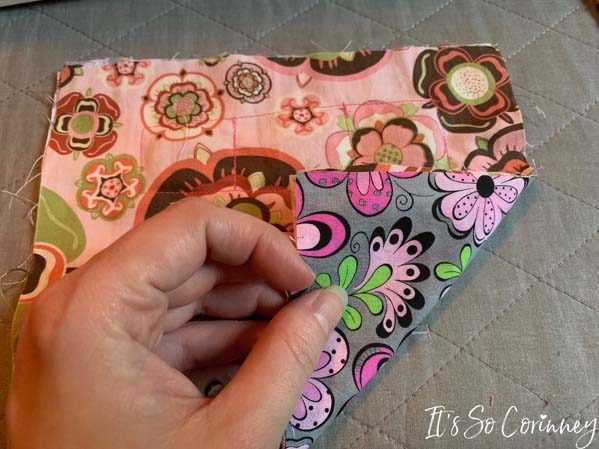
Fold the binding back up making sure to enclose the raw edges of the pocket pieces.
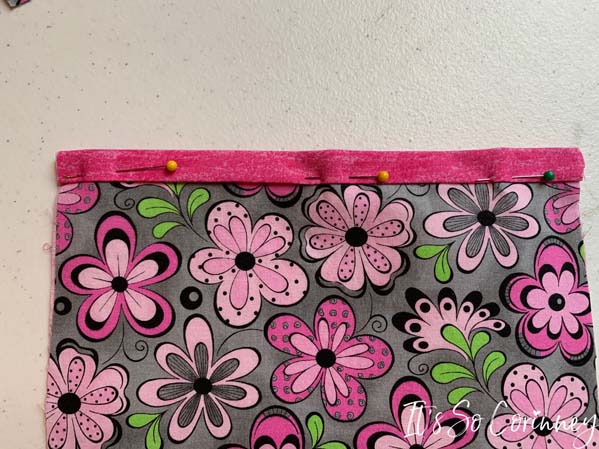
Then press with iron and pin the binding down from the front of the outside pocket.
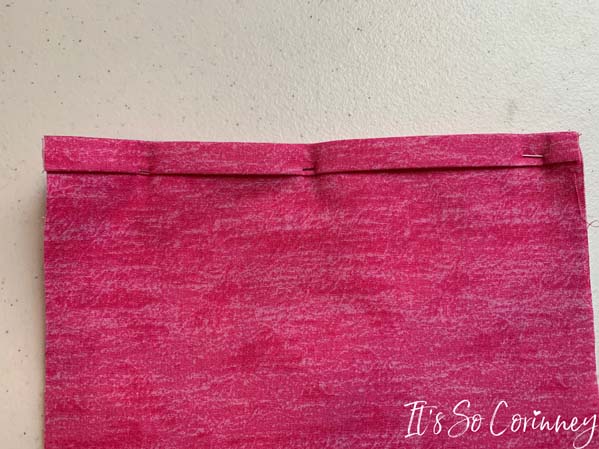
Make sure to catch the back binding when you pin and sew the binding.
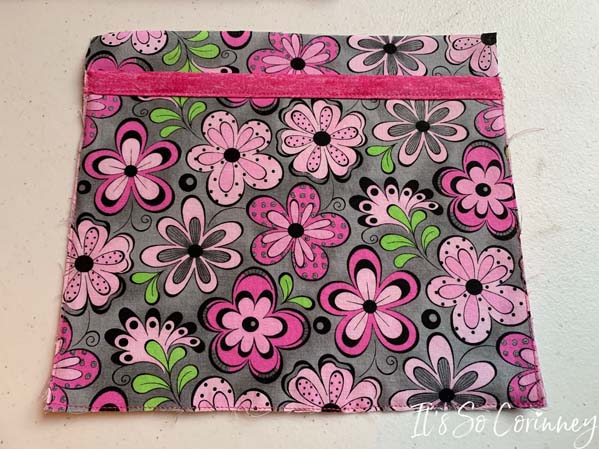
Using a straight stitch sew down the binding from the front of the pocket pieces.
Lay the pocket piece down on top of one of the outside pieces. Sew the pocket down making sure to get super close to the edge of the outside piece. This will help the pocket to not shift during sewing.
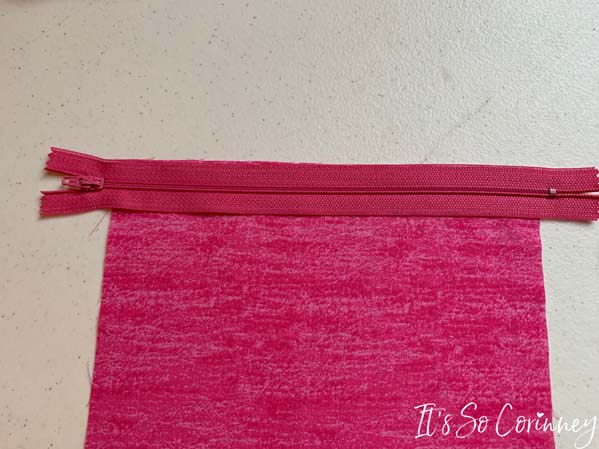
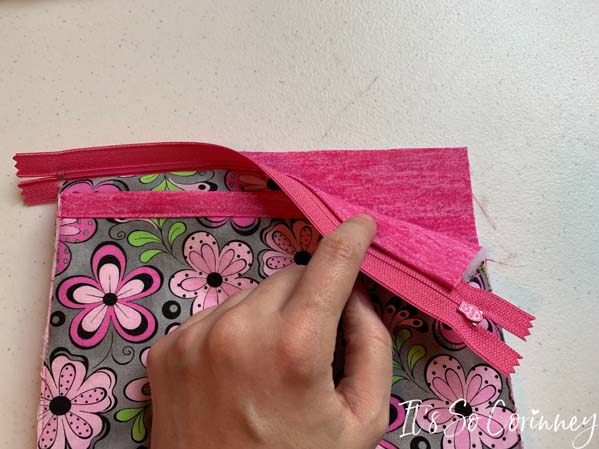
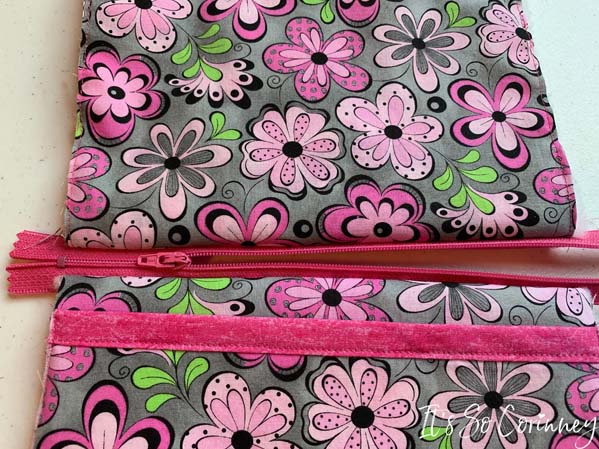
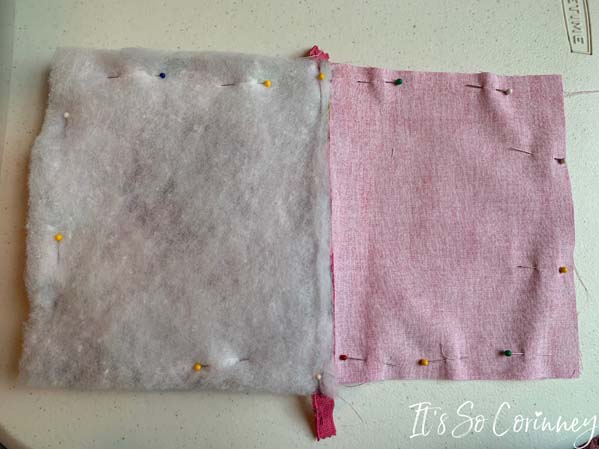
Lay one of the inside lining pieces right side up and place the zipper with pull to the left on one of the 8 inch sides.
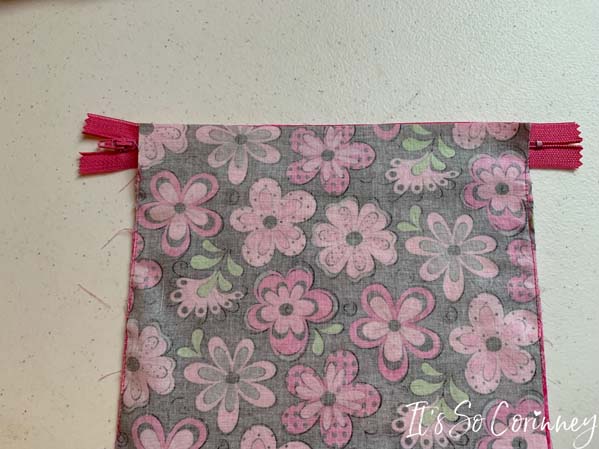
Lay the outside piece that has the outside pocket attached on top of the zipper right sides together.
Make sure the edges of the lining and outside piece line up or your pouch will come out wonky.
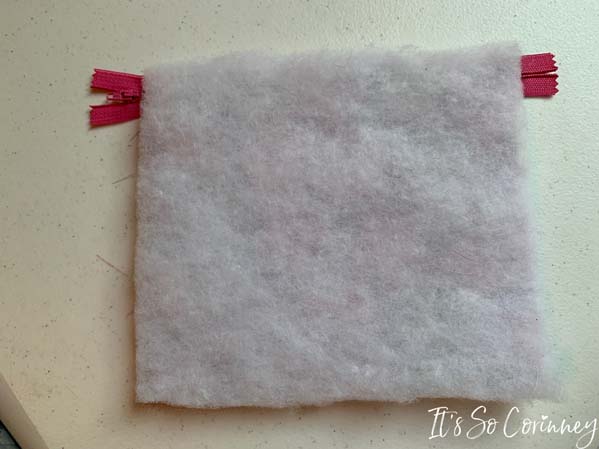
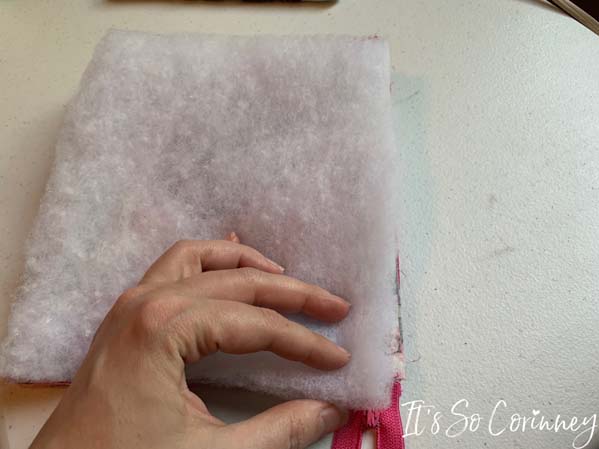
The last piece to lay down is the batting.
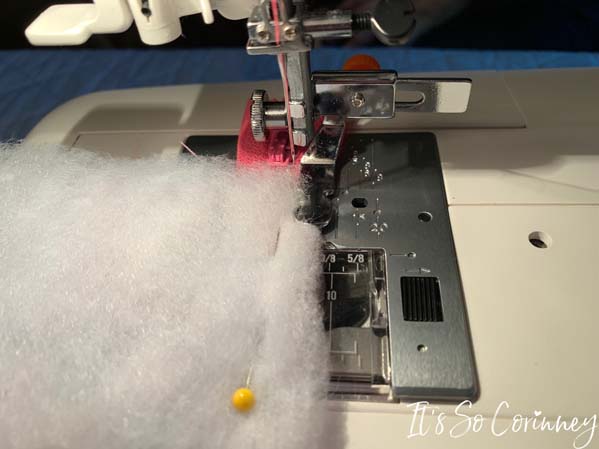
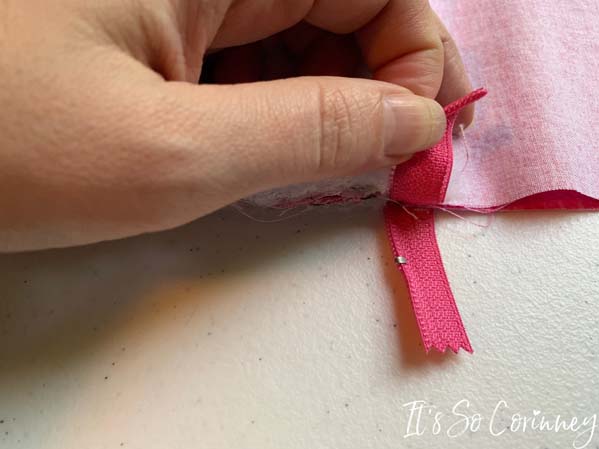
Using a zipper foot sew through all of the layers close to the zipper.
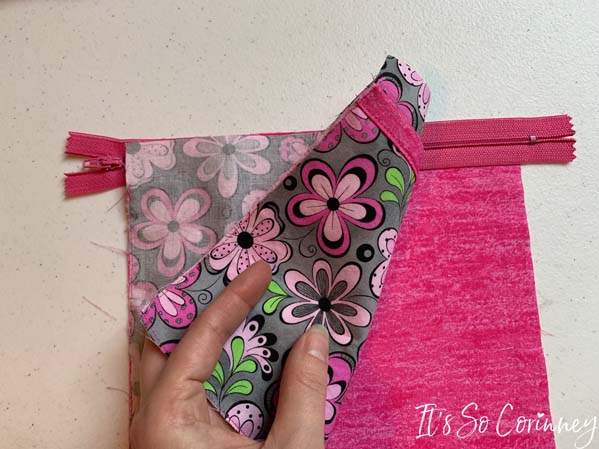
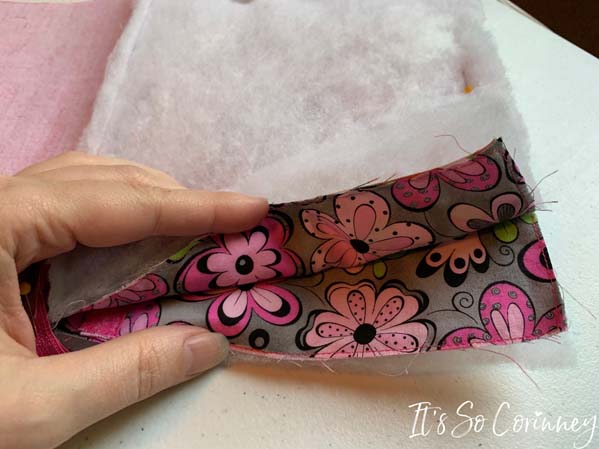
Fold down the pieces you just sewed and one side is finished!
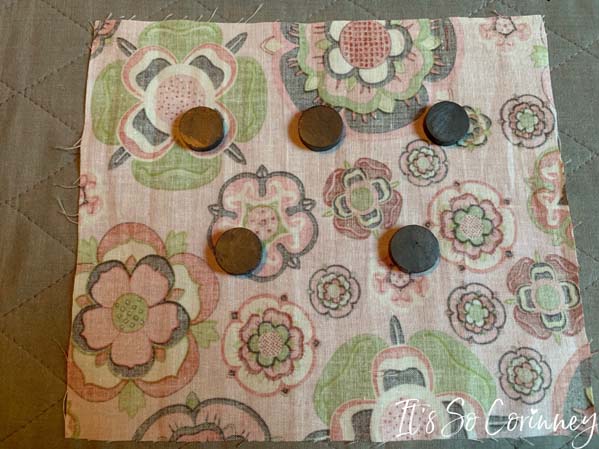
Take one of the 8 x 7 pieces that you cut for the magnets and arrange the magnets on it.
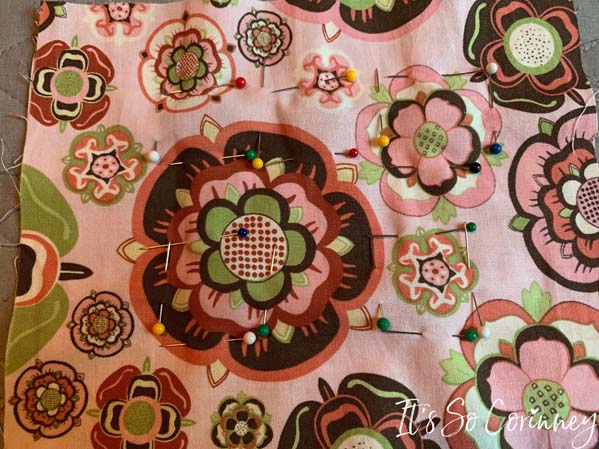
Place the second piece on top of the magnets and pin around them.
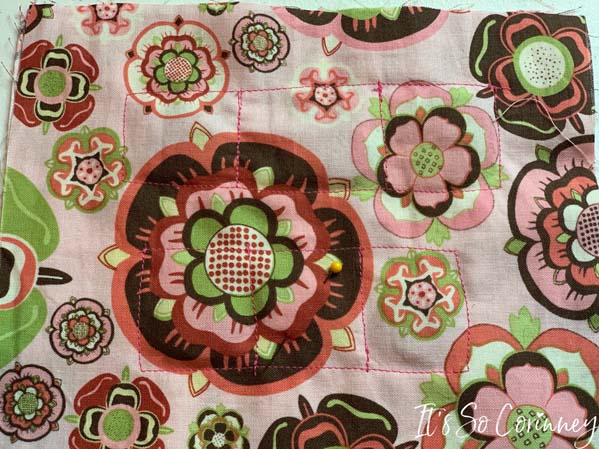
Then sew boxes around each magnet. I know my boxes look awful but it doesn’t matter because they will hidden in just a sec!
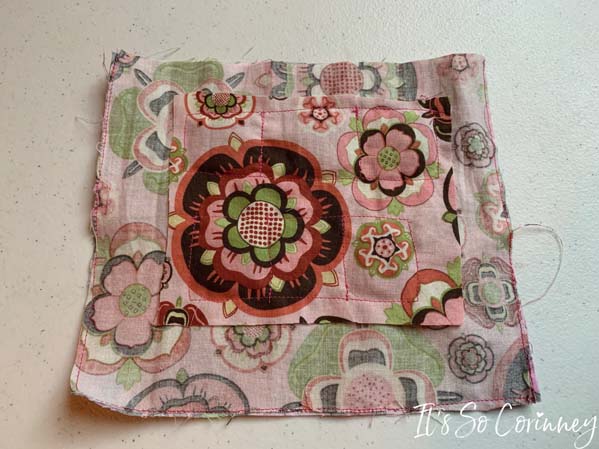
Trim away the material around the magnets making sure to NOT cut your stitches you just put in.
Then take the other outside piece of fabric and sew the fabric with magnets to the wrong side of the fabric. Make sure to sew super close to the edge on every side except the top of the outside piece. This will help the magnets to not shift as you sew the pouch.
Lay the other lining piece down right side up and place the zipper on top with the zipper pull on the right side of lining. FYI! At this point both lining pieces will be right sides together.
Then place the outside piece that has the magnets attached right sides down on top of the zipper. Make sure that you place the side that you didn’t sew at the top where the zipper is.
Lastly, add your batting to the second side. Using the zipper foot sew all the layers close to the zipper.
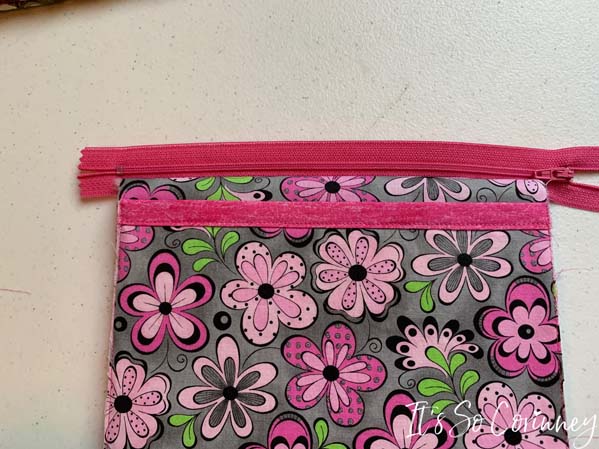
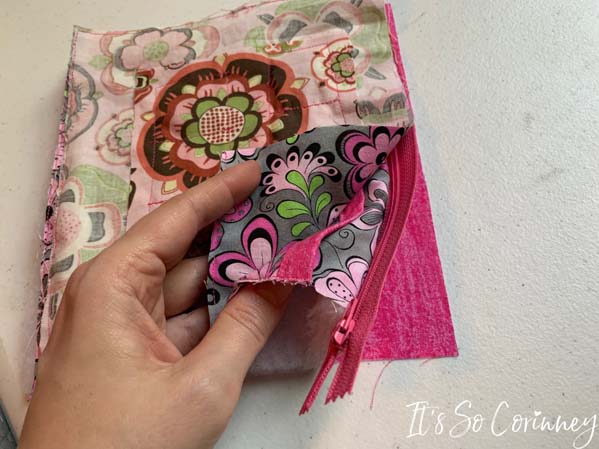
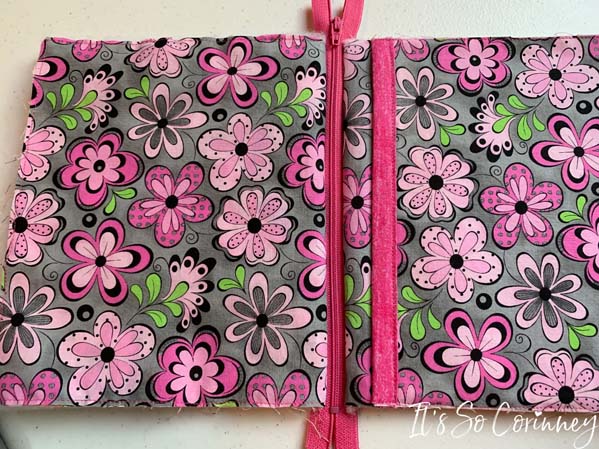
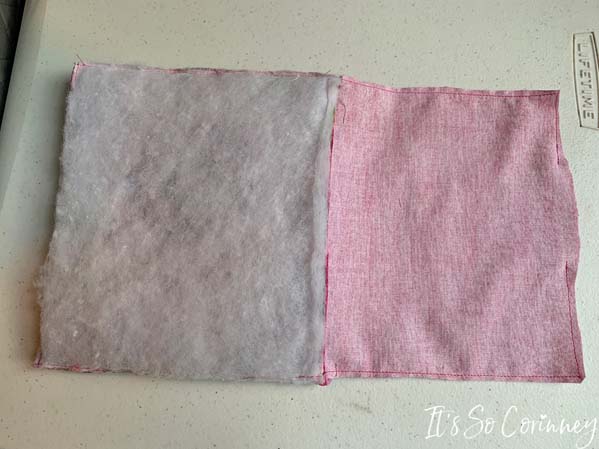
So once done, open the layers to make sure you sewed straight and the zipper doesn’t look wonky. If you notice issues now is the time to change it!
Here is the lining pieces after you have added the zipper.
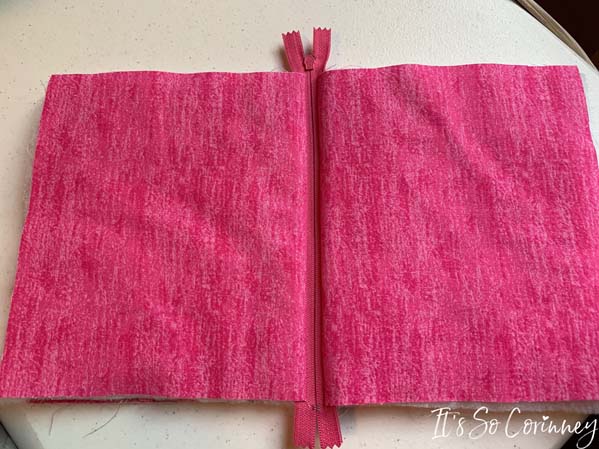
Next, open the zipper to the center of the pouch. This is an EXTREMELY important step unless you really like seam ripping!
Then place the two outside pieces right sides together making sure they are even on right and left sides. Do the same with the lining pieces.
Pin the entire outside of the pouch.
So make sure to pin down the zipper on both side of the pouch to ensure that it doesn’t move during sewing.
Sew around entire edge of the pouch leaving a 2 inch opening in the lining for turning. Then trim the seams and cut off the excess pieces of the zipper being careful to not cut any of your stitches.
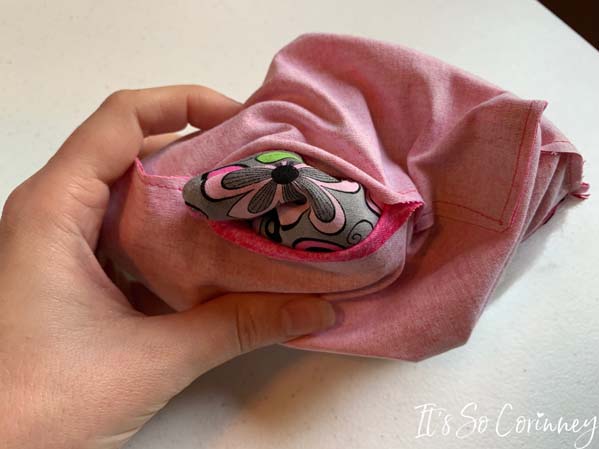
Next, turn pouch right side out.
Then push out all corners of pouch with a plastic chop stitch (or turning tool of your choice).
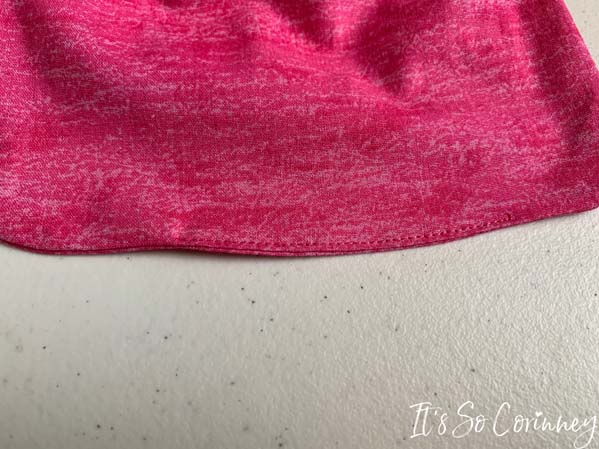
Next, press the turning hole with iron and sew down. I like to go over the turning hole seam two times to ensure that it won’t pull apart during use.
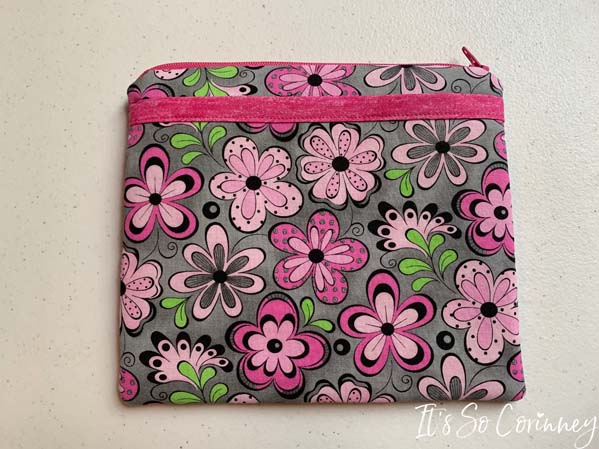
Then insert lining into the pouch, press with iron, and then you are done!
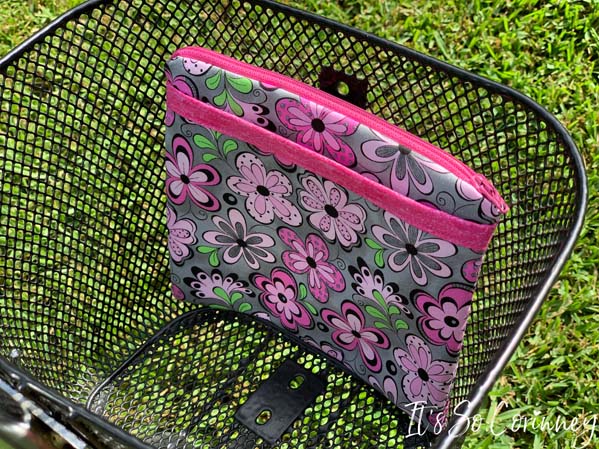
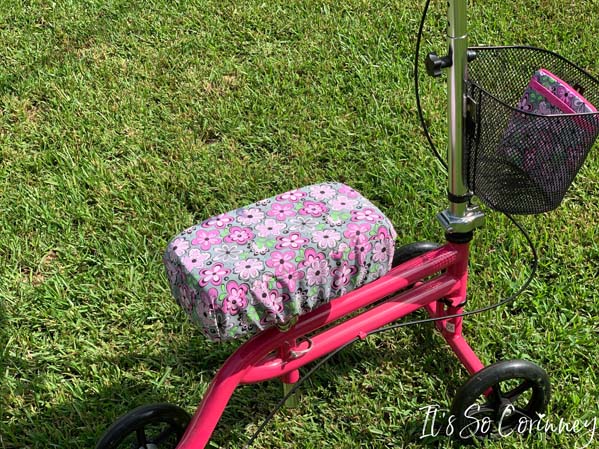
This zippered pouch is so crazy versatile and will stick to anything magnetic! This came in super handy when I had ankle surgery (twice) and the zippered pouch attached to my metal basket on my knee scooter!
And since it’s how I roll (pun intended!) I made a knee scooter seat cushion in the same fabric as the magnetic zippered pouch!
This magnetic zippered pouch is easily personalized with the fabric of your choice and is great for hanging in lockers!

Pin Me!
Want To Up Your Sewing Skills?
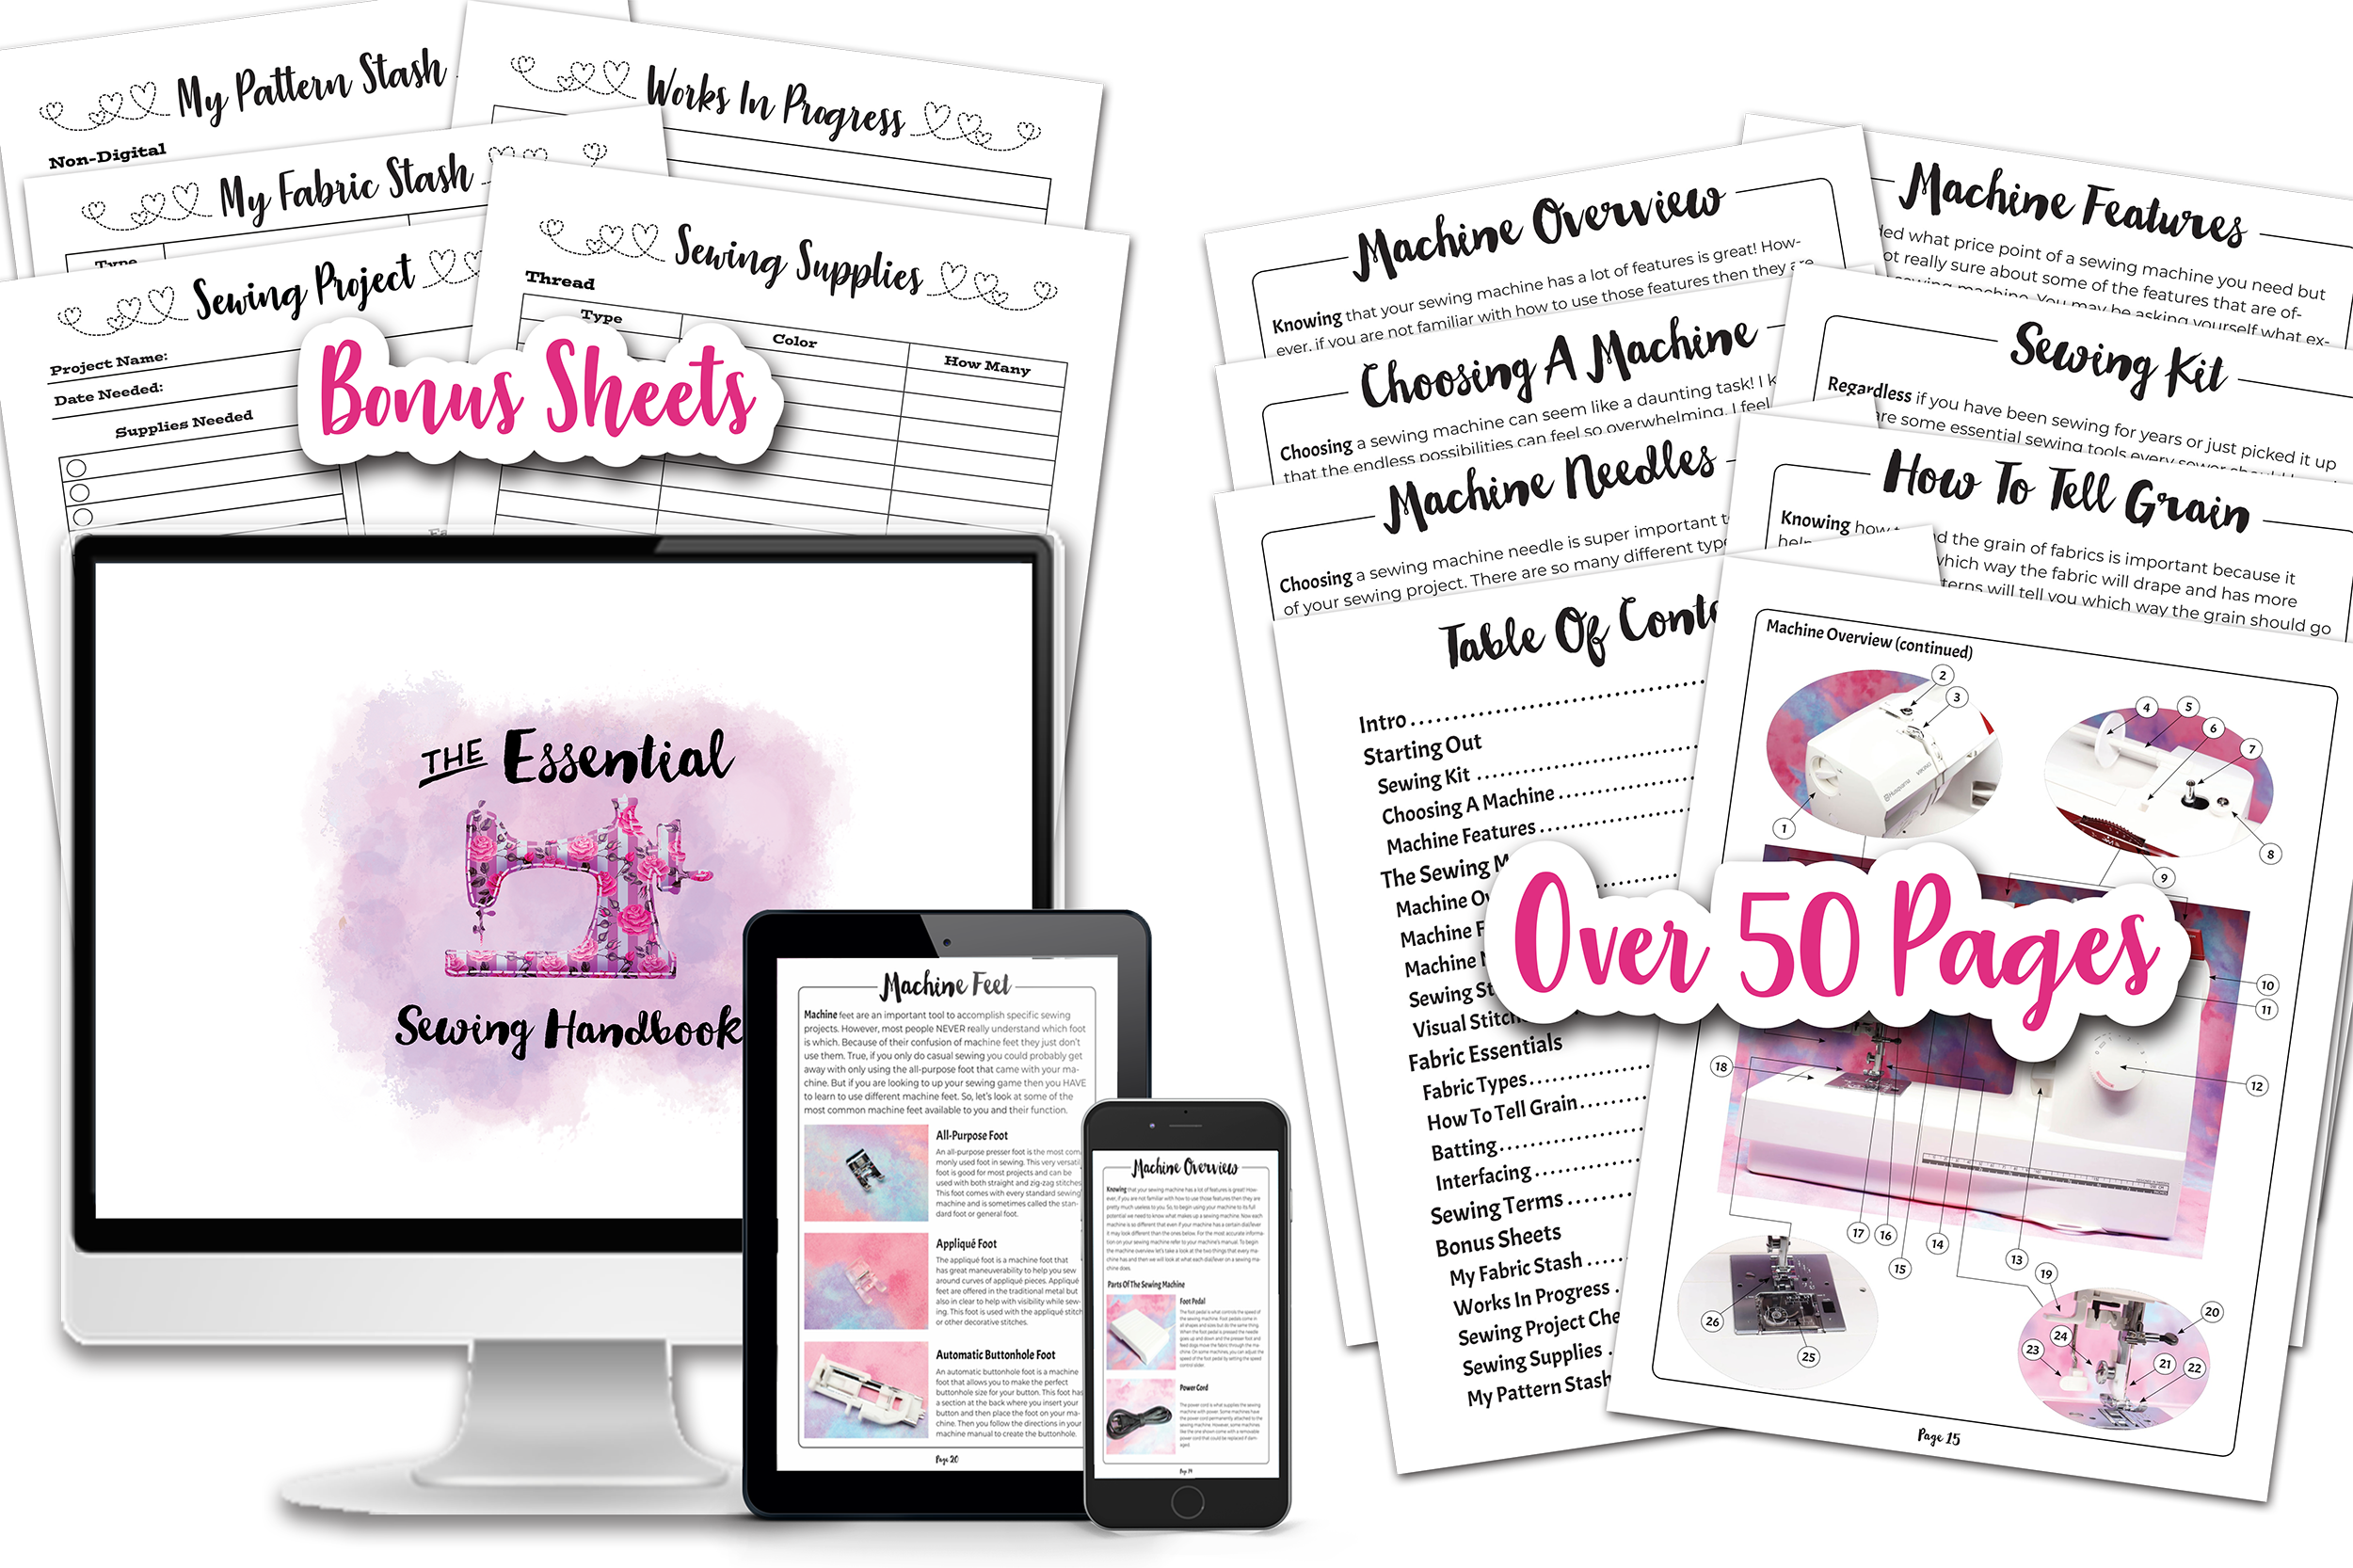
Are you ready to stop putting off sewing projects and gain confidence in sewing? This instant download digital book comes with over 50 pages of sewing knowledge to help you gain confidence in your sewing! Also included is 5 bonus printable sheets to help you keep your sewing projects and supplies more organized!
Love The Craft Tutorials On The Blog?
Do you enjoy the craft tutorials on the It’s So Corinney blog? If so, would you consider leaving a tip to help me keep the blog going? Your generous support would help me purchase more craft supplies and caffeinated products to create new and exciting craft tutorials to share with you!

