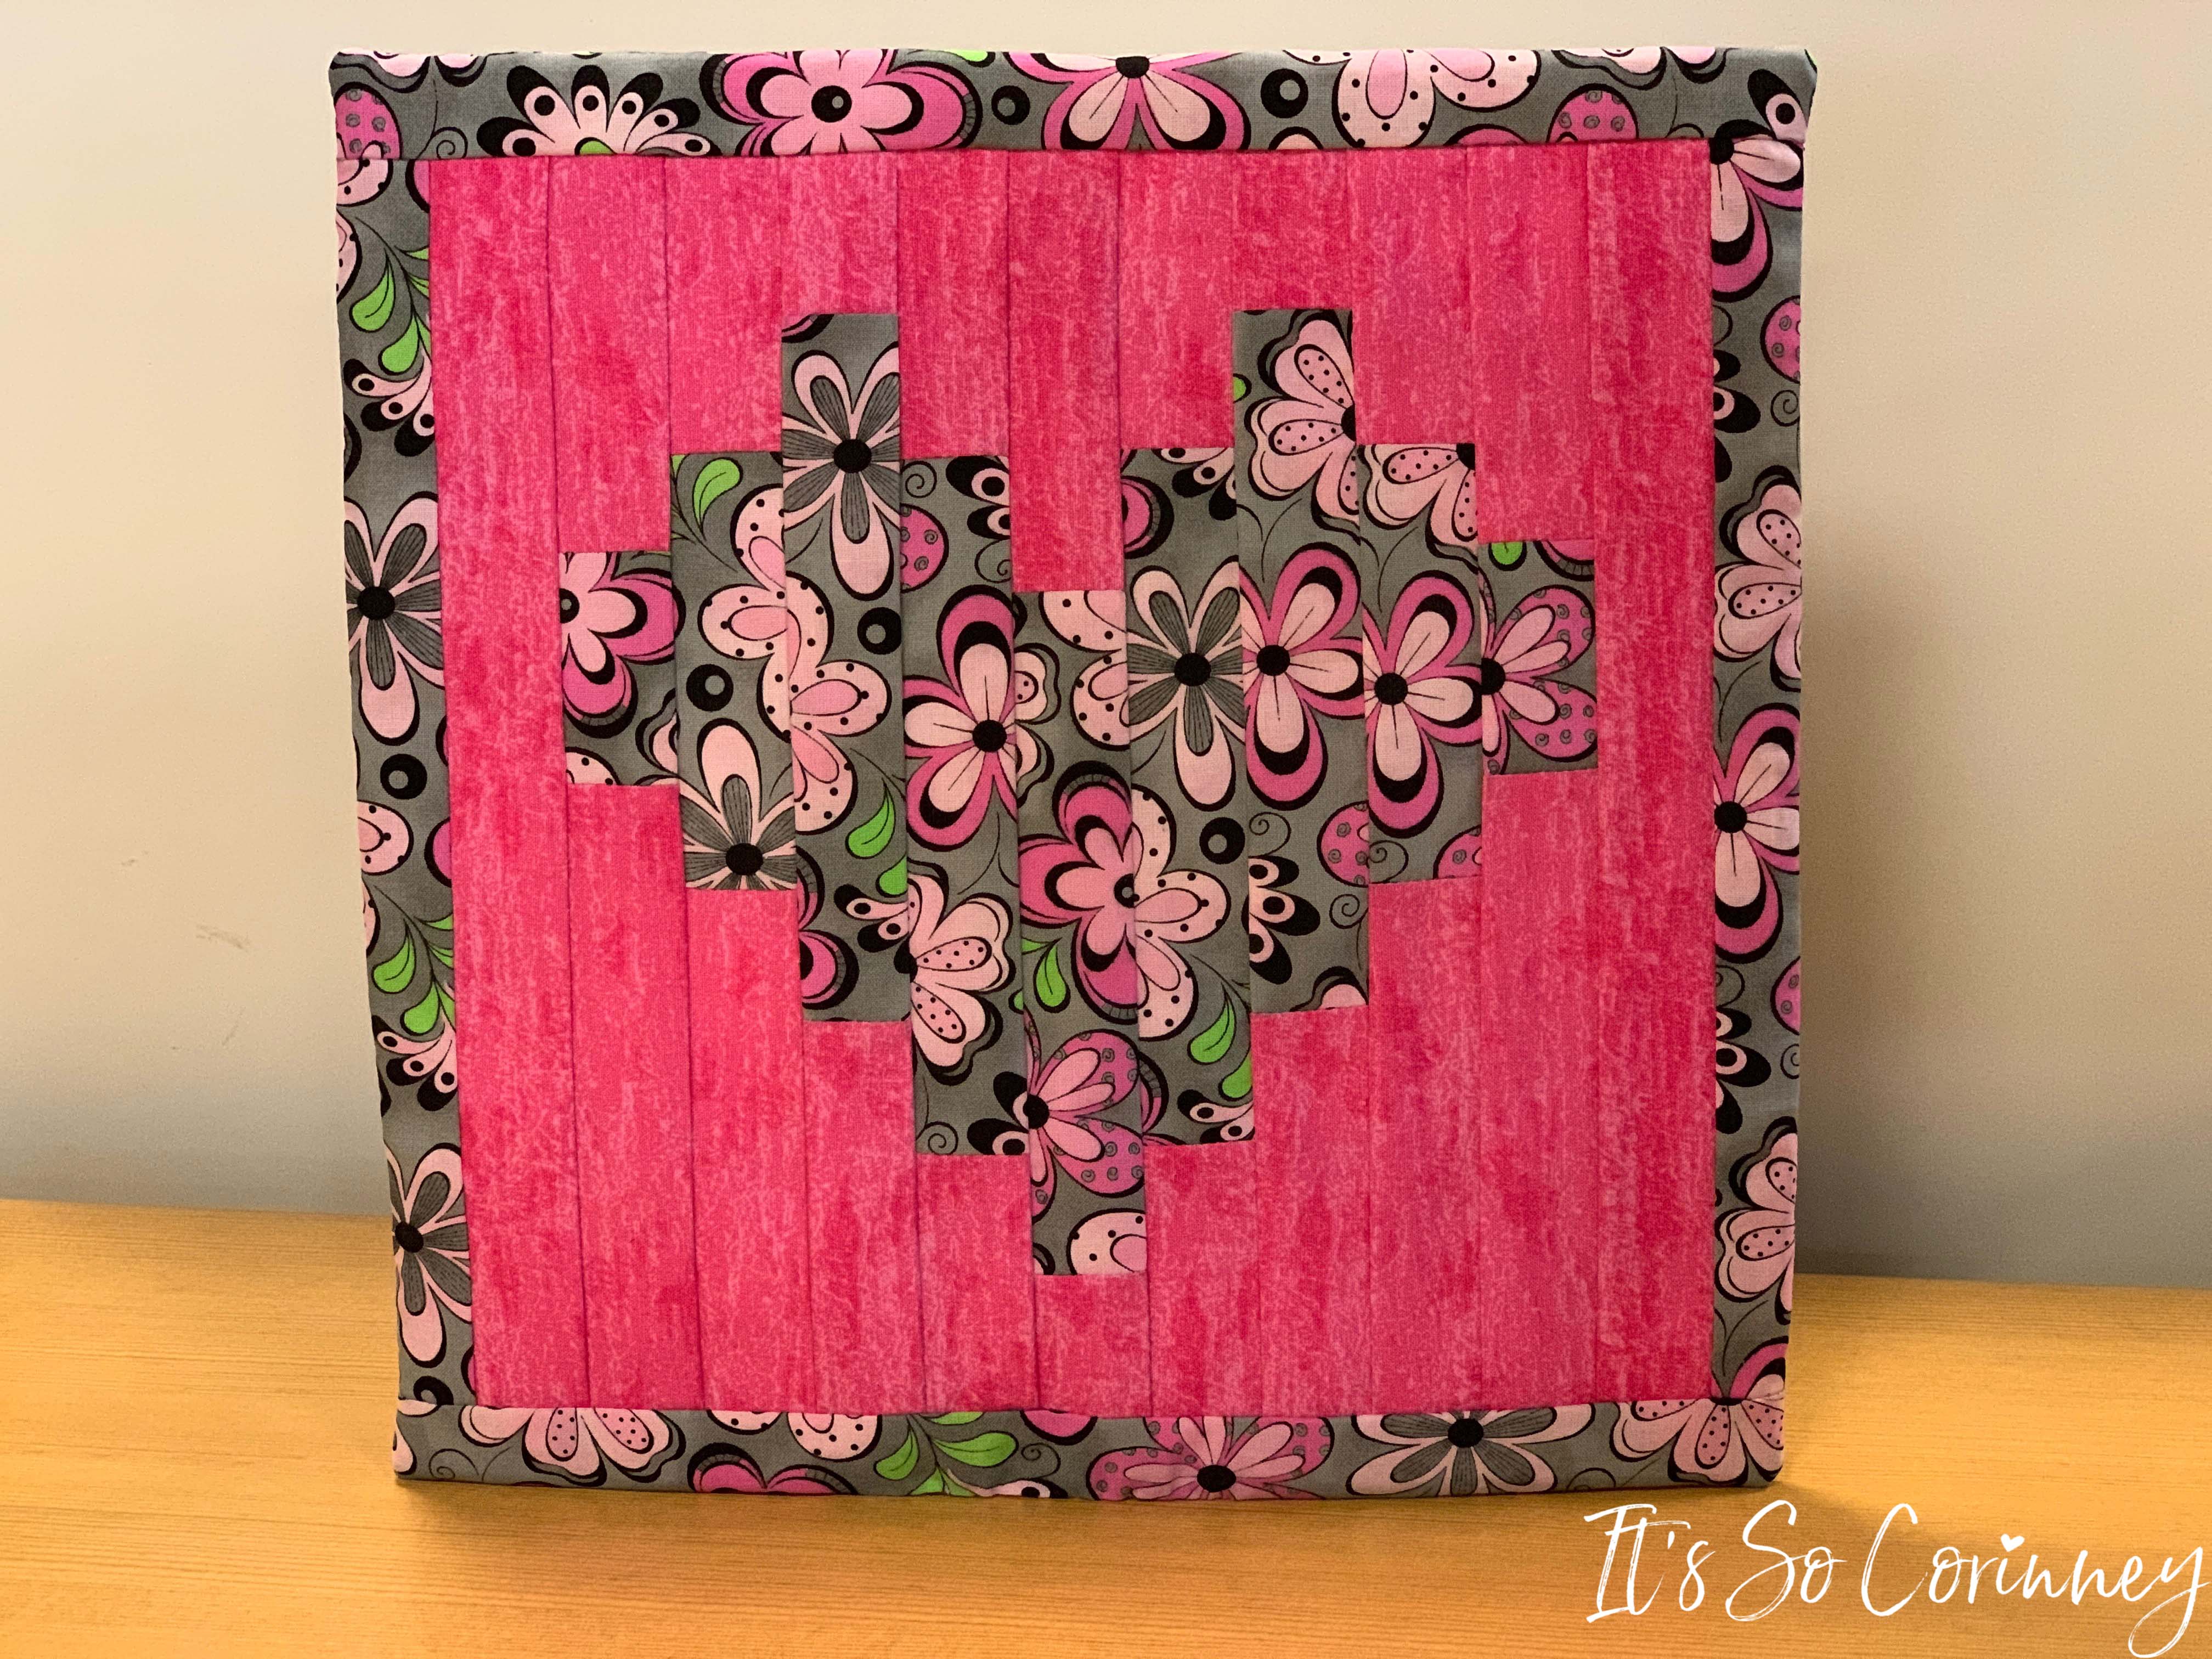
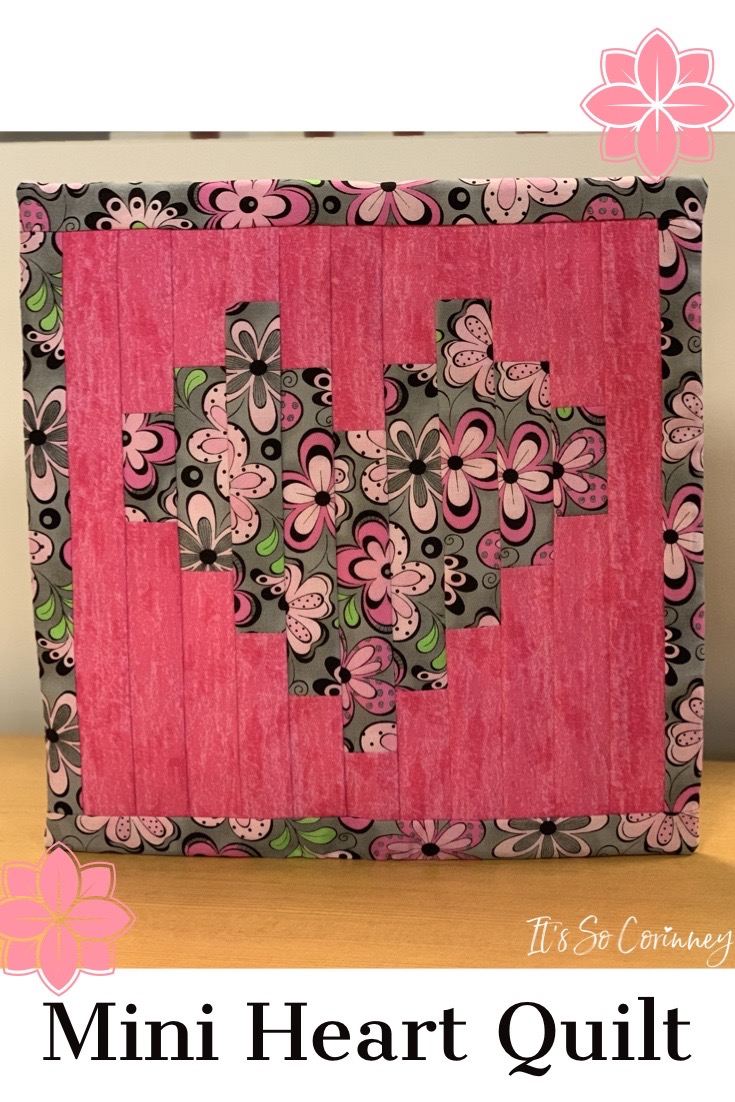
This story begins with me trying to make my furry love Molly a quilt to use during the summer. I wanted to make a thin heart quilt but as hard I searched I couldn’t find a pattern! So, out came my thinking cap and I created my own design. After the quilt was finished, I loved it so much that I wouldn’t give it to Molly (don’t feel bad for her she got another fluffy blanket instead). One day while I was trying to think of something I could hang at my desk I thought why not shrink down the size of the heart quilt that was almost Molly’s into a mini quilt. I went to work trying to perfect my measurements and after A LOT of measuring and re-measuring I came up the cutest thing ever! At least that’s my opinion!
This post contains affiliate links. That’s just a fancy way of saying if you click on a link and purchase something I get a little money (total score for me). For more information, see my disclosure here.
What You Need!
- Quilting Cotton In Two Colors
- Matching Thread
- Lightweight Batting
- 3/8 inch Coordinating Ribbon
- Straight Edge
- Rotary Cutter
What To Cut!
Fabric A (The Heart and Outside Edge)
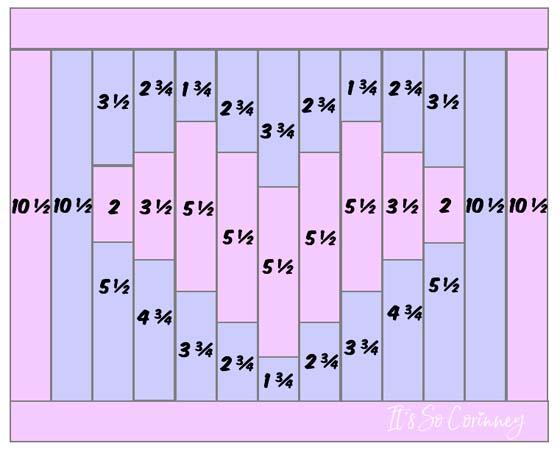
- (2) 1 1/4 x 10 1/2 for Outside Edge
- (2) 1 1/4 x 2 for Heart
- (5) 1 1/4 x 5 1/2 for Heart
- (2) 1 1/4 x 3 1/2 for Heart
As you may have noticed I don’t have the top outside edge measurement for cutting. This is because you will cut theses two strips after you finish sewing all of the pieces together. This will ensure that you get the exact size that you need for these two strips.
Fabric B (The Strips That Frame Heart)
- (2) 1 1/4 x 10 1/2 for Strip
- (2) 1 1/4 x 3 1/2 for Strip
- (6) 1 1/4 x 2 3/4 for Strip
- (3) 1 1/4 x 1 3/4 for Strip
- (3) 1 1/4 x 3 3/4 for Strip
- (2) 1 1/4 x 5 1/2 for Strip
- (2) 1 1/4 x 4 3/4 for Strip
FYI!
All sewing is done with a 1/4 inch seam allowance.
What To Do!
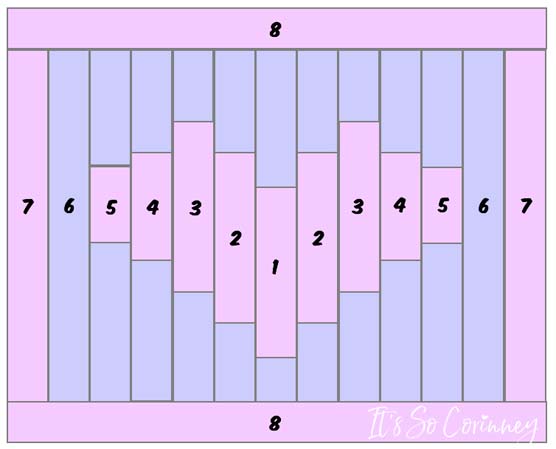
So, to make these instructions a little easier to understand I have numbered the strips of the quilt. Notice that the same size strips have the same exact number.
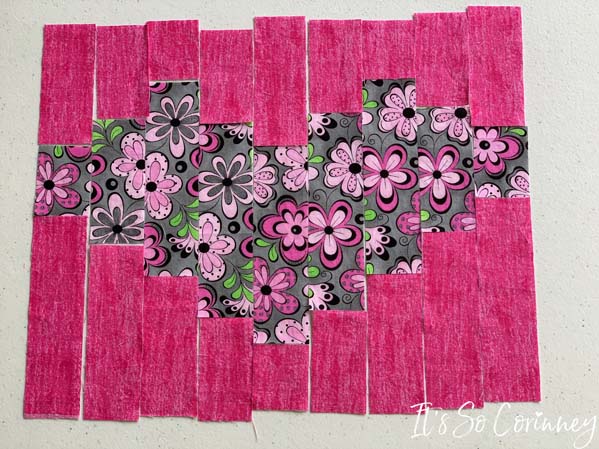
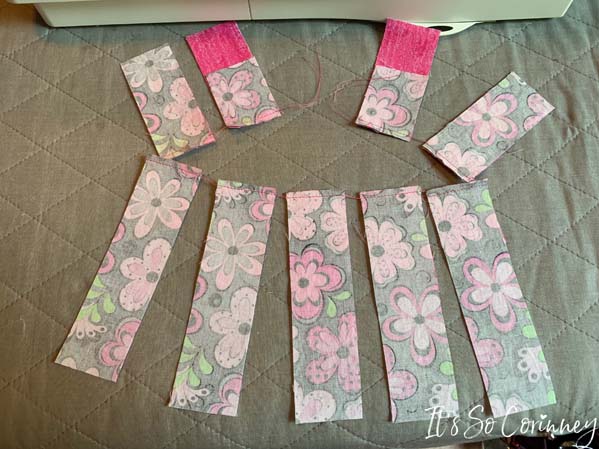
After you have cut all of your rectangles lay them out on a table according to the diagram below the cutting list. I love doing this because I can see if I missed a piece and it makes it easier to figure out where each rectangle needs to be sewn.
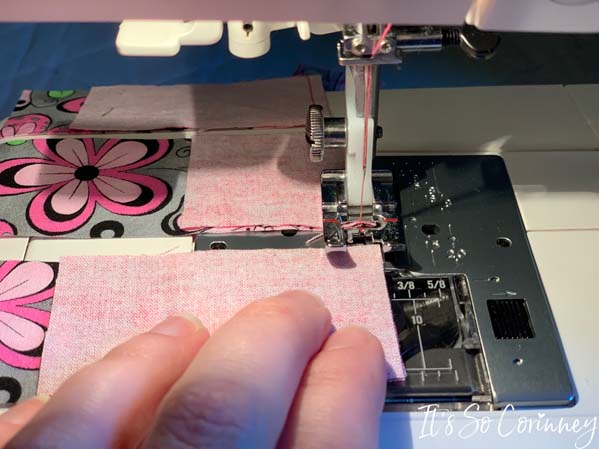
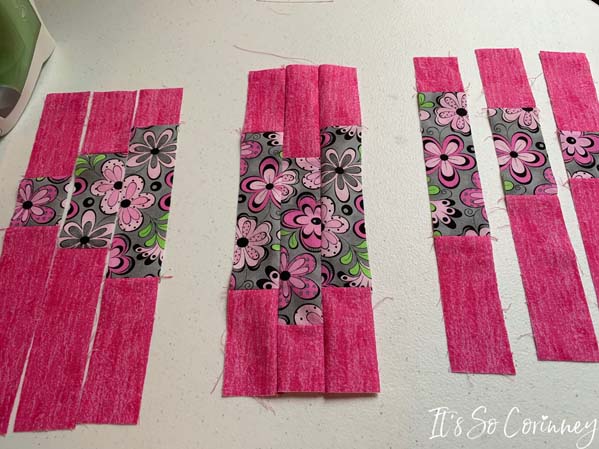
To make this project go faster, I used the continuous sewing method. This just means that I didn’t raise my foot and cut after each rectangle set. Instead I sewed the first set then without lifting my foot feed the next set under and sewed. Trust me this is a huge time saver with so many rectangles to sew.
Then once finished sewing all of the bottom pink rectangles I cut the thread between each rectangle set and pressed. Next, I used the exact same technique to attach the top pink rectangles to the heart pieces.
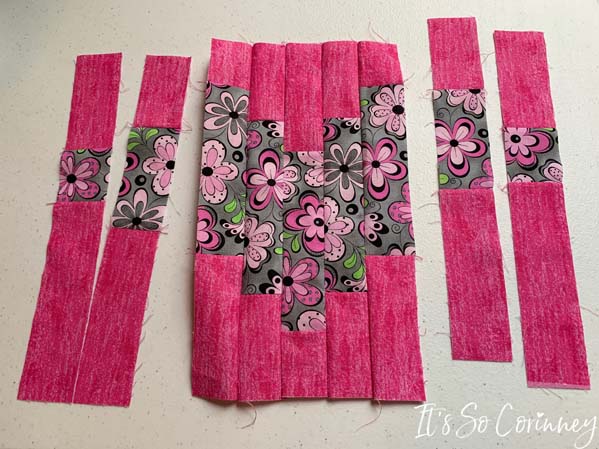
After each strip is sewn press with iron and lay out on table. Next, double check that you sewed each rectangle in the right spot.
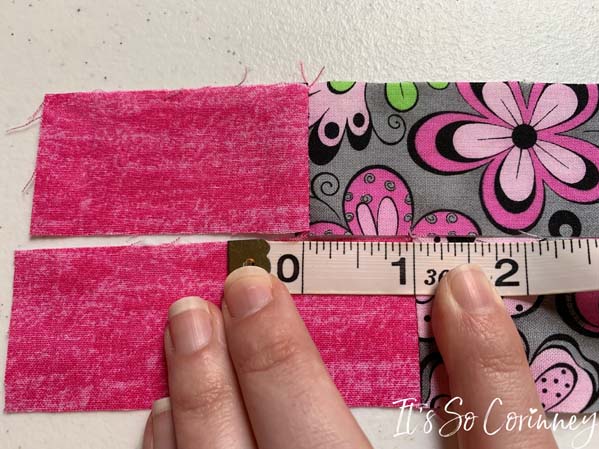
Now we get to assemble the quilt top! Take strip #1 and measure 1 inch from the bottom of the heart rectangle. This is where we want the heart rectangle for strip #2 to be sewn. Notice that the pink rectangle for strip #2 is slightly longer than strip #1. This is perfectly fine since we will block the ends after the quilt top is finished. With right sides together sew the two strips.
Take the other strip #2 and attach to the other side of strip #1 with right sides together using above measurements.
For strip #3 measure 1 inch from the bottom of heart rectangle in strip #2. Pin and sew strip #3 to strip #2 with right sides together. Do you see the heart starting to take shape?
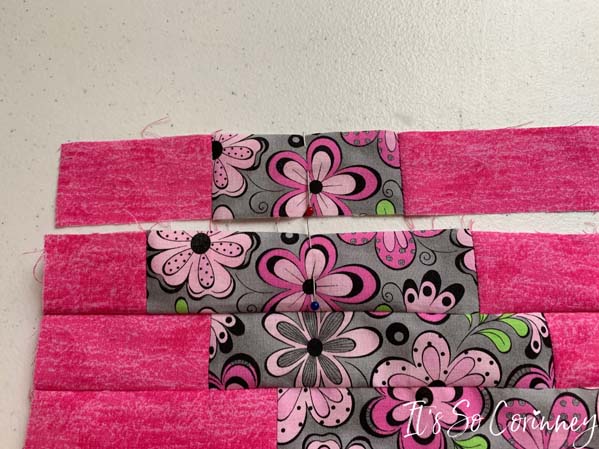
Then fold the heart rectangle of strip #3 in half and place a pin there. It is just the heart rectangle that you are folding and not the pink strip. Next, take strip #4 and fold the heart rectangle in half and place a pin there. Match up the two pins from both strips and sew down right sides together.
Then we will do the exact same thing for strip #5, folding the heart rectangle from strip #4 in half and marking with pin. Then take the heart rectangle from strip #5 and fold in half and mark with pin. Match up both pins and sew down strips right sides together.
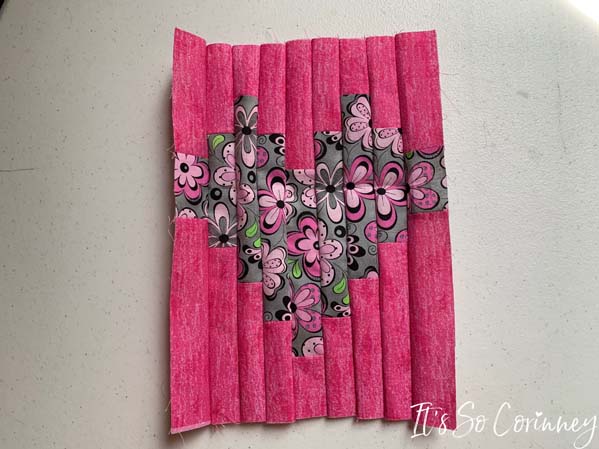
Now attach strip #6 right side down to either side of your amazingly cute heart.
Then Sew strip #7 right side down to both sides of quilt top.
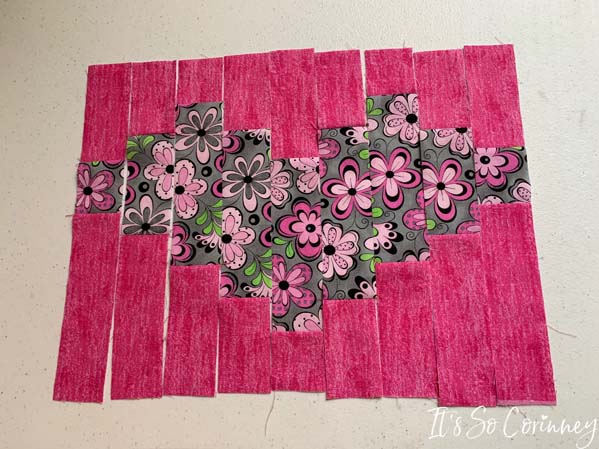
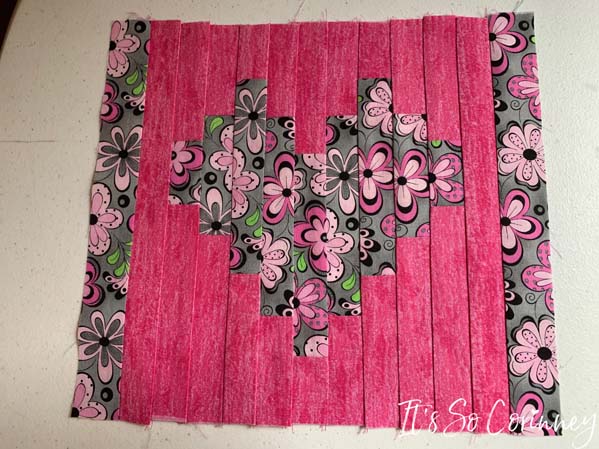
So at this point you want to stop sewing and press the seams of your quilt top.
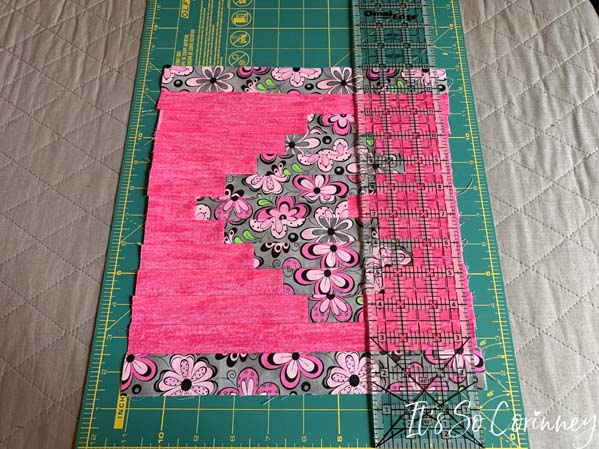
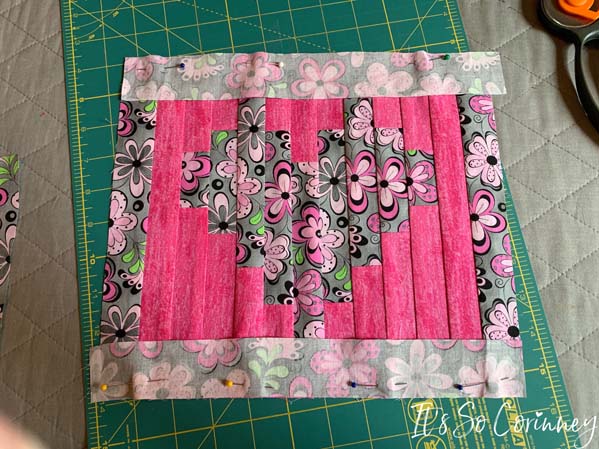
After pressing, pull out your cutting mat to block the quilt top. Remember how our pink strips where not even at top and bottom of the quilt? We are going to easily solve this problem by using your rotary and straight edge to even those up. You don’t need to cut off too much just enough to ensure that it’s straight and even.
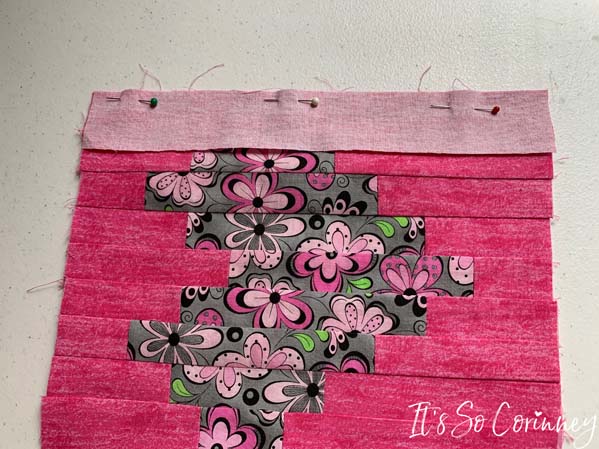
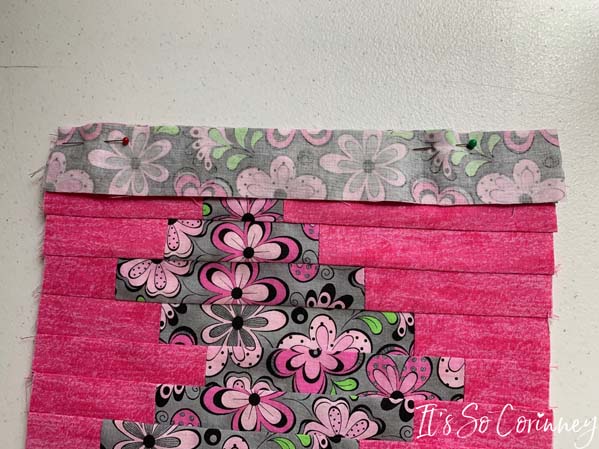
So once you have blocked the quilt top, measure how wide the quilt ending up being. Cut two strips 1 1/4 inch wide and however long your quilt top is. Attach strip #8 to the top and bottom of the quilt top and press.
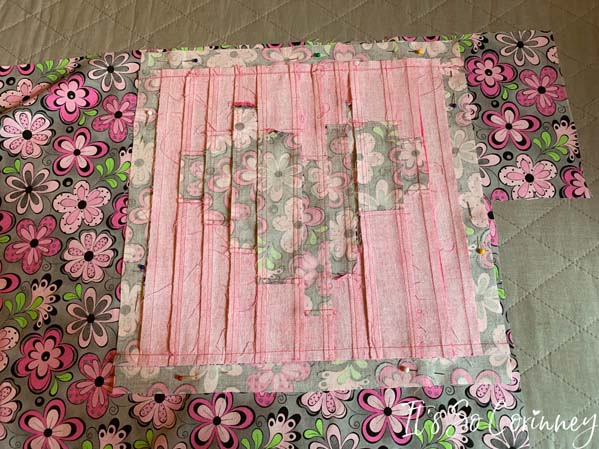
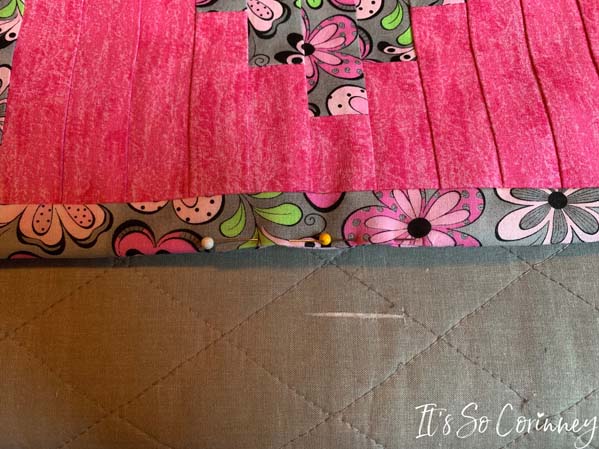
After the top is finished place it right side down on the back material. Then pin and cut the back piece of the quilt.
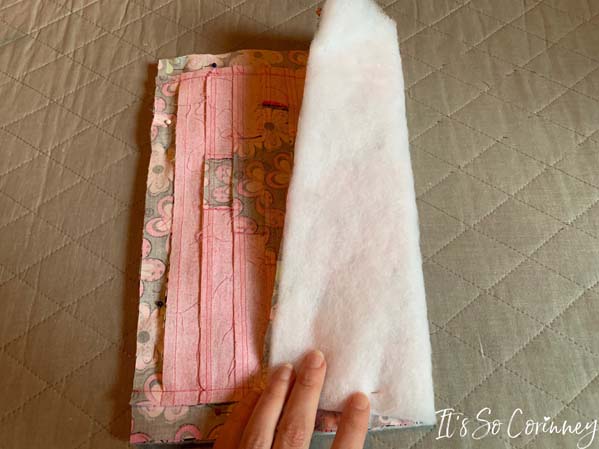
Cut a piece of the batting the same size as your quilt.
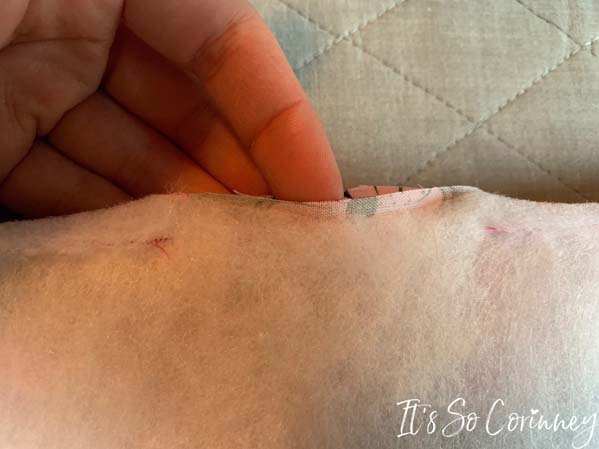
Then sew around entire edge of quilt leaving a 2 inch opening at the bottom to turn the quilt.
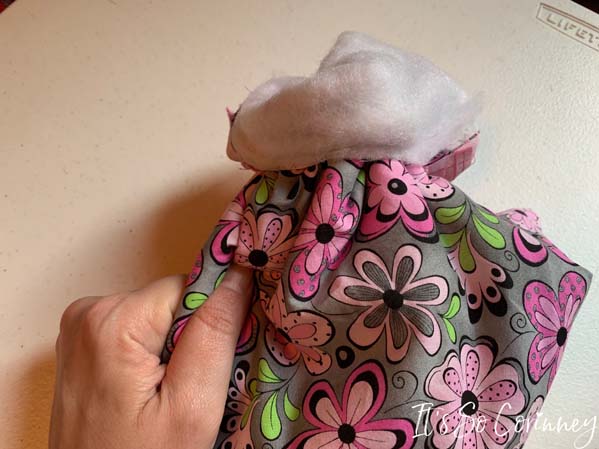
Turn the quilt right side out and press with iron.
Next fold under, press, and hand sew the turning hole.
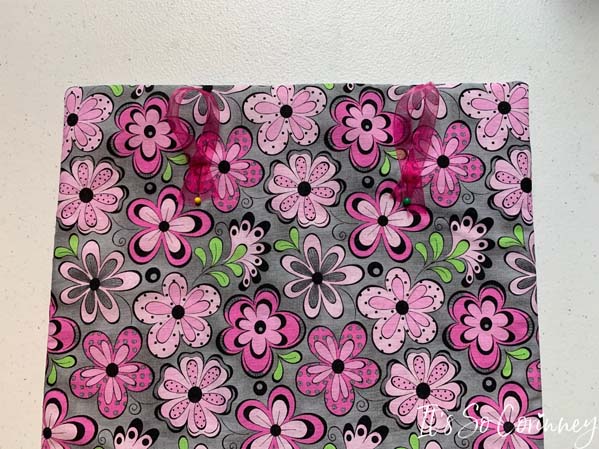
Then cut two pieces of your ribbon 4 inches long. Place them a couple of inches from the top of the quilt and hand sew. Make sure that your ribbons are evenly placed or when you hang your quilt it will hang crooked.
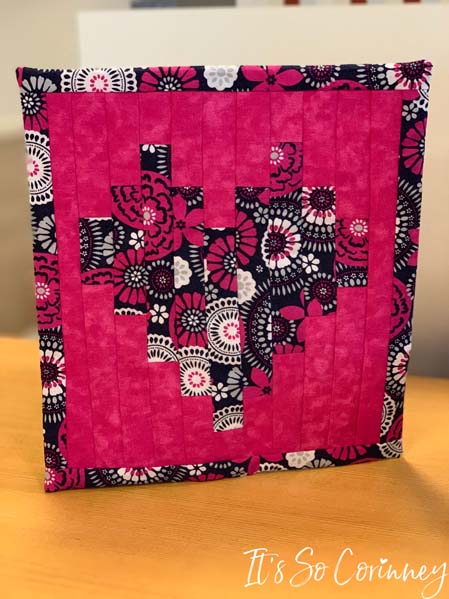
Here is another example of this mini heart quilt pattern that I made using different fabric.
So that’s it guys! Now you have a super snazzy mini heart quilt to hang anywhere your heart desires (pun intended)!

Pin Me!
Want a printed copy of the measurements? Here you go!
Want To Up Your Sewing Skills?
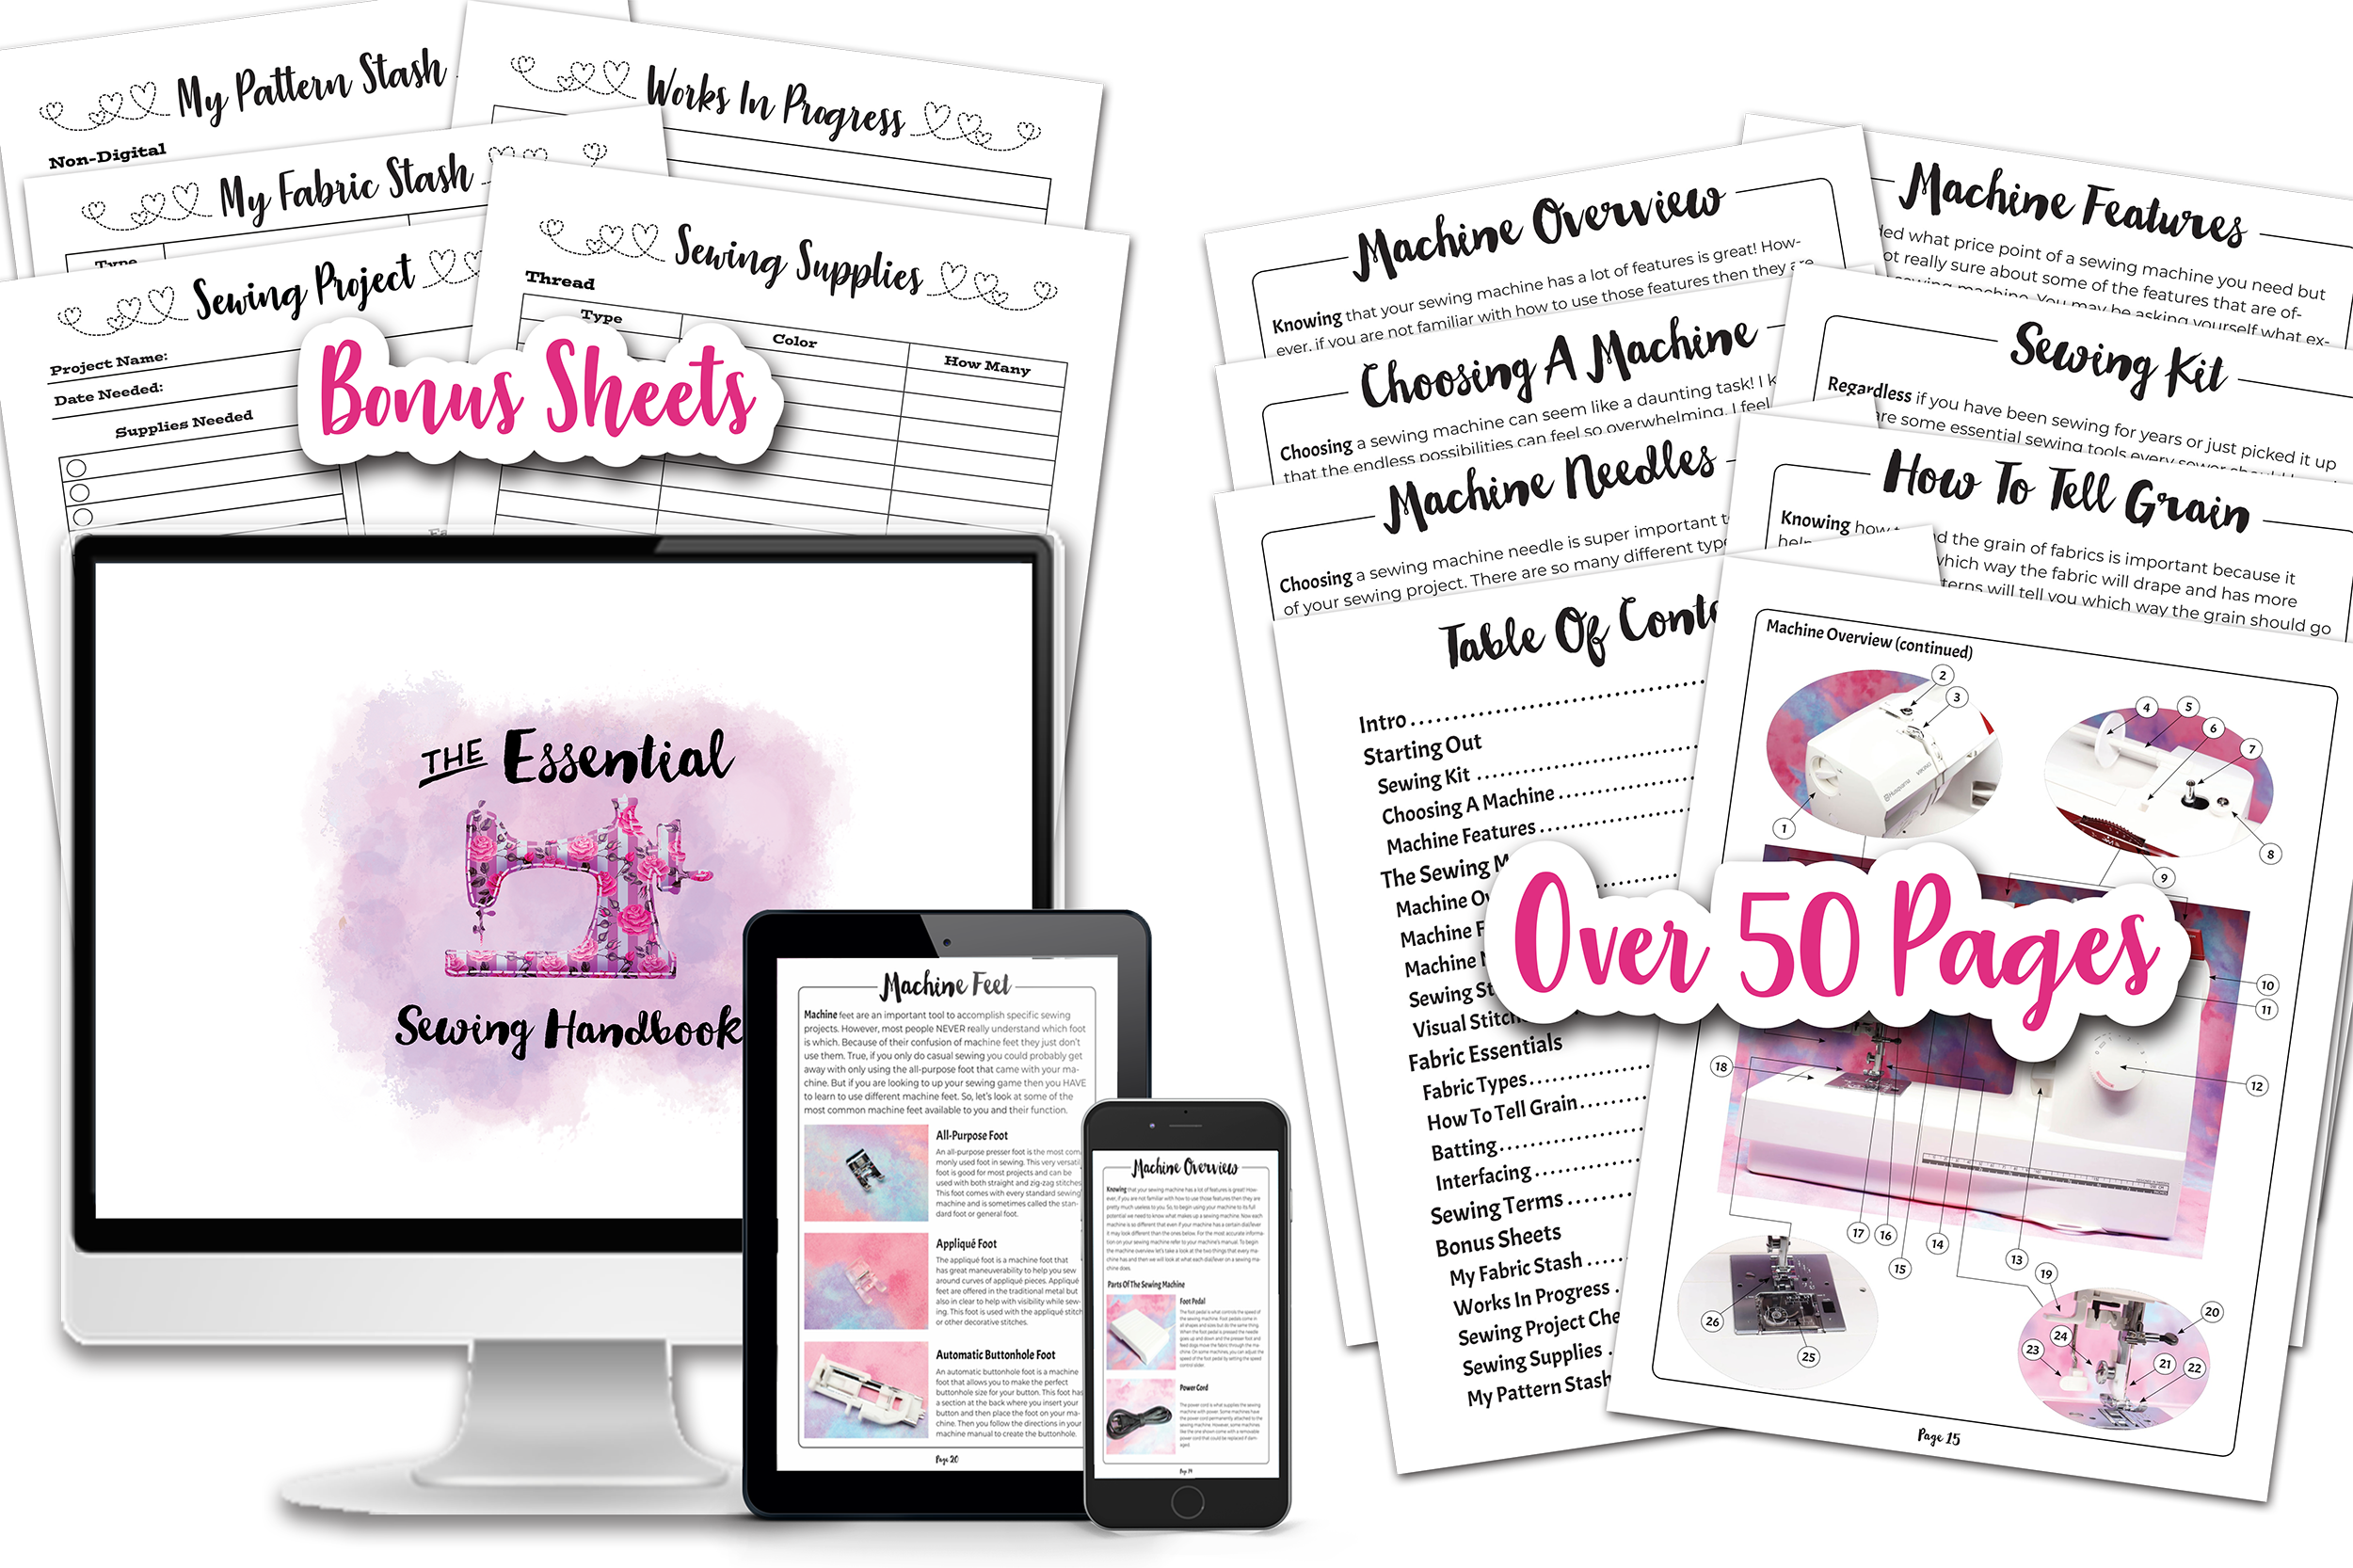
Are you ready to stop putting off sewing projects and gain confidence in sewing? This instant download digital book comes with over 50 pages of sewing knowledge to help you gain confidence in your sewing! Also included is 5 bonus printable sheets to help you keep your sewing projects and supplies more organized!
Love The Craft Tutorials On The Blog?
Do you enjoy the craft tutorials on the It’s So Corinney blog? If so, would you consider leaving a tip to help me keep the blog going? Your generous support would help me purchase more craft supplies and caffeinated products to create new and exciting craft tutorials to share with you!

