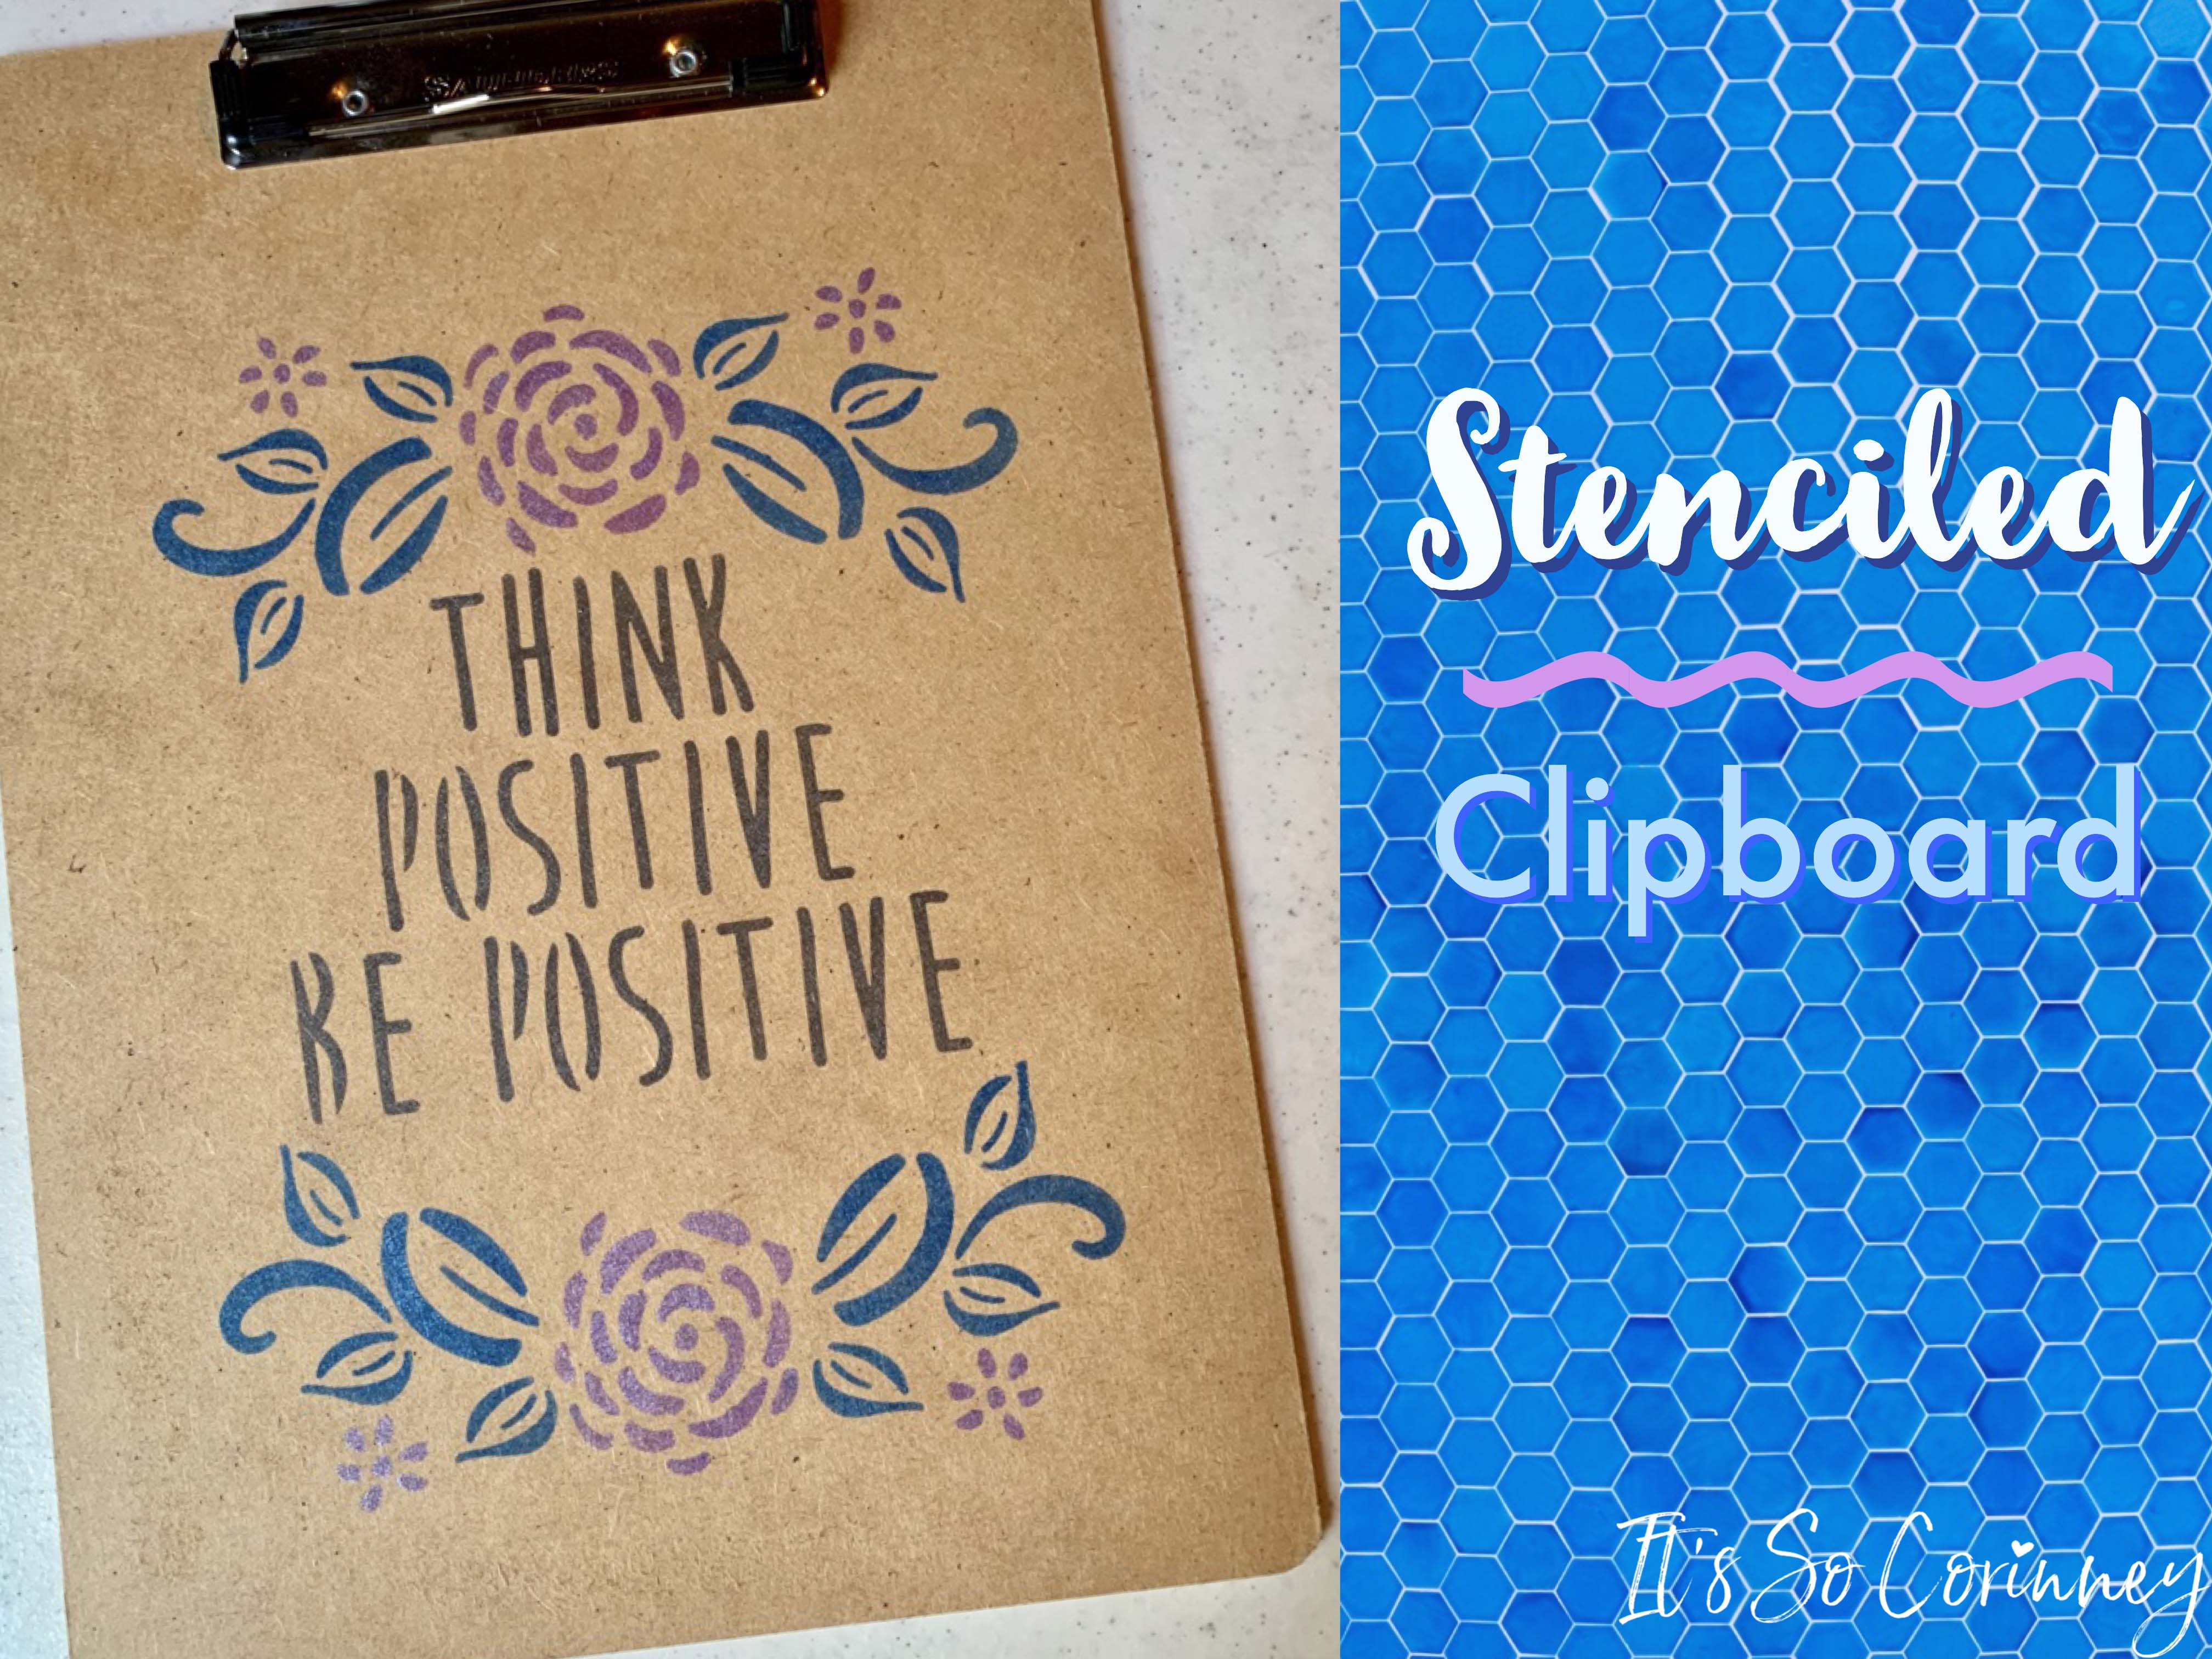
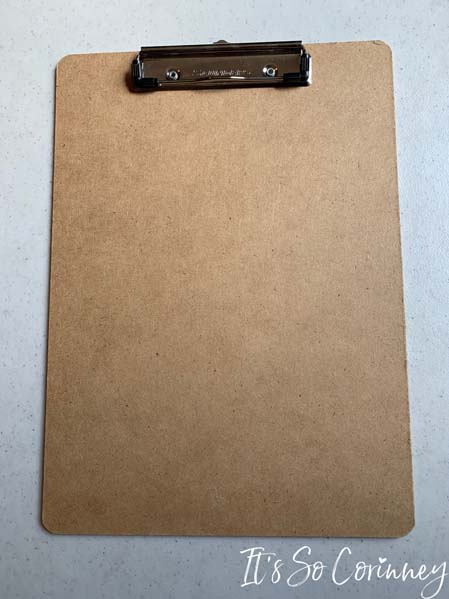
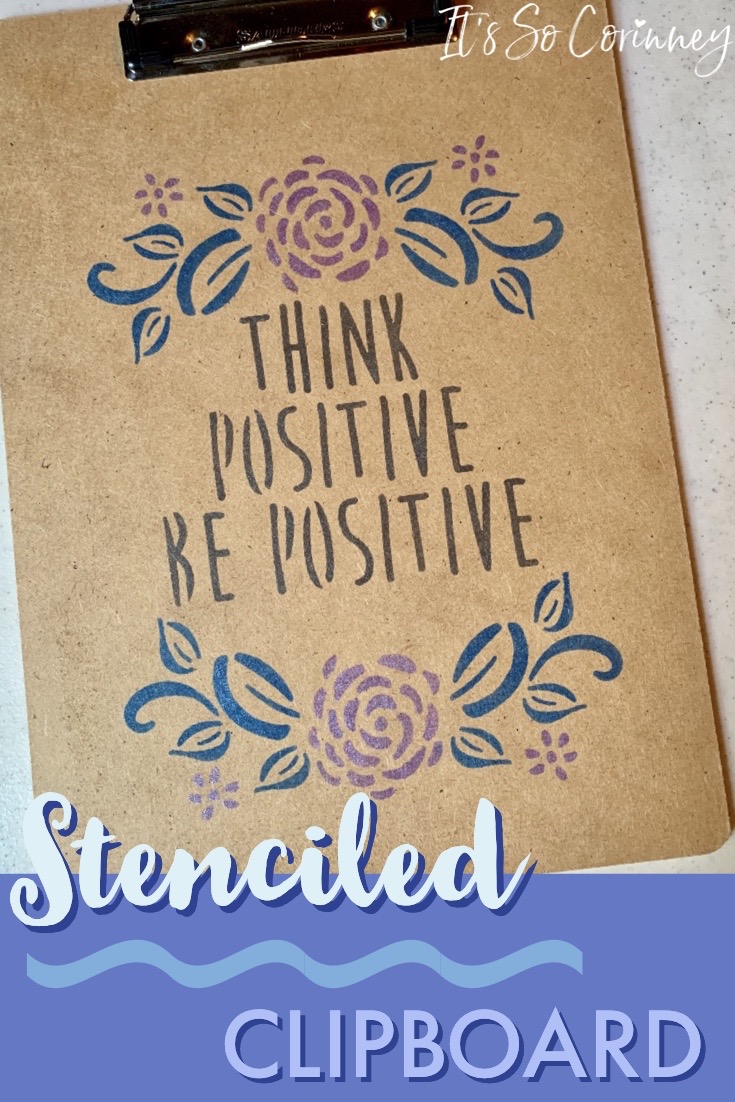
Have you ever noticed how a lot of clipboards are really ugly? I know that you can find some cute ones but when you do, they cost a fortune! It’s true that despite the fact that the clipboard is ugly, it still serves its intended purpose. But is that enough for you? Is it enough just to have a useful clipboard or do you want something that is cute and unique? I opt for the second option mostly because I feel like everything should be awesome if it can be. I found a boring brown clipboard at Walmart for dirt cheap. Since I have been stenciling lately I thought why not save the clipboard from its boring brown existence and make it fabulous?
While at Walmart, I went to look at their craft department to see if they had a stencil I would want to use. OH MY GOODNESS! They had a huge selection and were so cheap I think I almost blacked out! Seriously, I was on the aisle with my family then all of sudden I looked up and I was alone and I thought, “When did they leave” (shakes head and laughs). I found a three pack of stencils that were the perfect size for the clipboard. So with my arms full of things I had grabbed in the craft section, I went to find my family so I could go home to start on my project!
This post contains affiliate links. That’s just a fancy way of saying if you click on a link and purchase something I get a little money (total score for me). For more information, see my disclosure here.
What You Need!
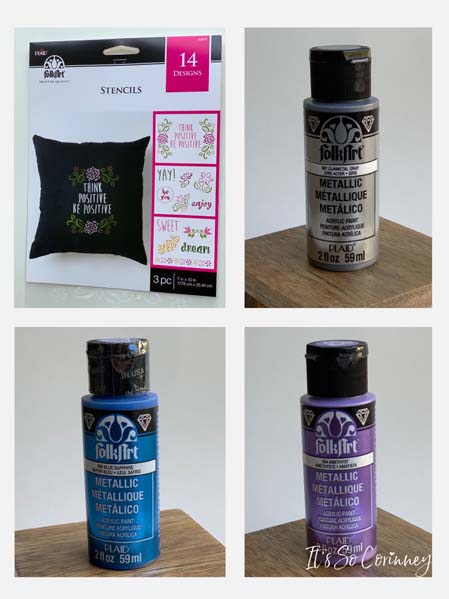
- Stencil (Mine was a FolkArt stencil)
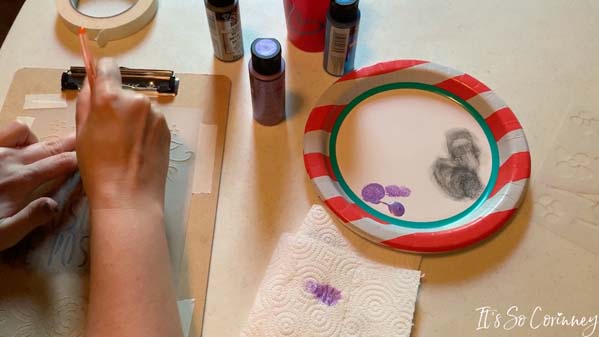
- Stencil Brush
- Acrylic Paint (I used FolkArt acrylic metallic paint)
- Painter’s or Masking Tape
- Paper Plates
- Paper Towels
- Nitrile Gloves (if you don’t want to get paint on your fingers)
- Blank Clipboard
FYI!
If you use masking tape for your stenciled clipboard make sure that you are very careful when pulling off the stencil. Masking tape tends to stick harder than painter’s tape and can rip your stencil when you pull off.
What to Do!
To begin the stenciled clipboard check to see if your clipboard has a slightly shiny finish. If so, gently sand before you start stenciling.
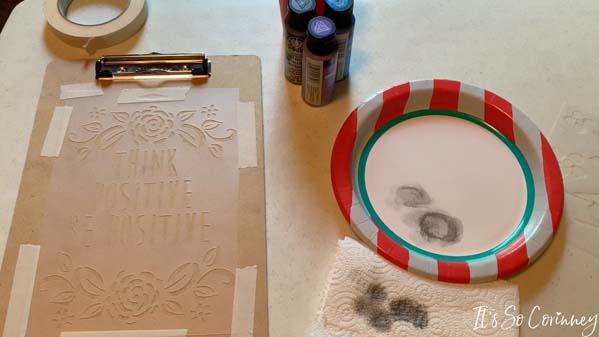
Center your stencil on the clipboard and tape down.
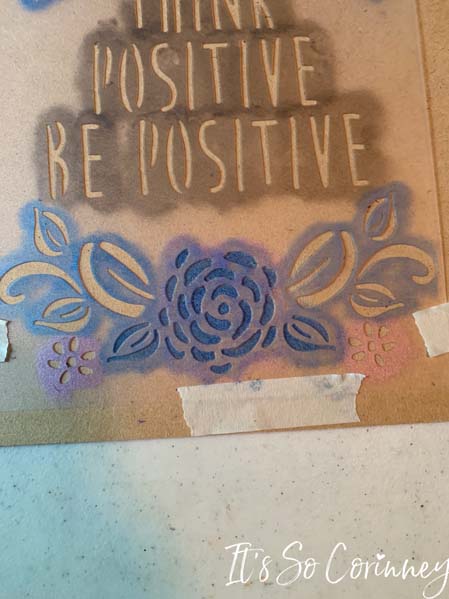
Make sure to press down the stencil right where you are stenciling to ensure you don’t have any paint bleeding under stencil.
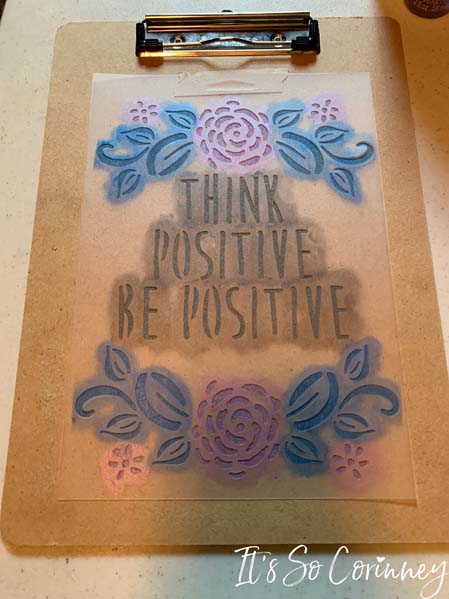
Once you have painted all of the stencil carefully remove the tape from the stencil.
Making sure to lift straight up, remove the stencil from your stenciled clipboard.
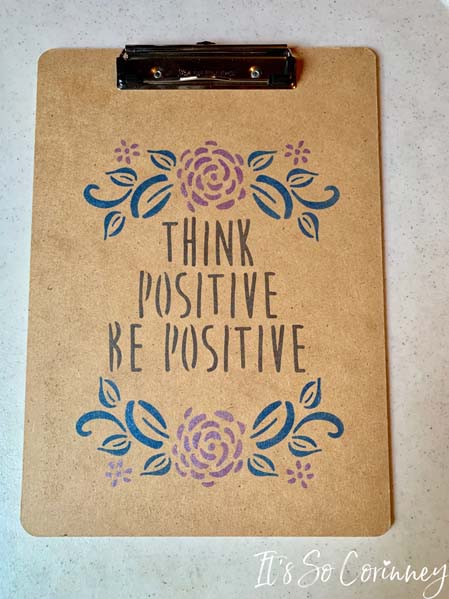
Once dry, your clipboard is ready to be super helpful and super cute!

Pin Me!
Want To Up Your Sewing Skills?
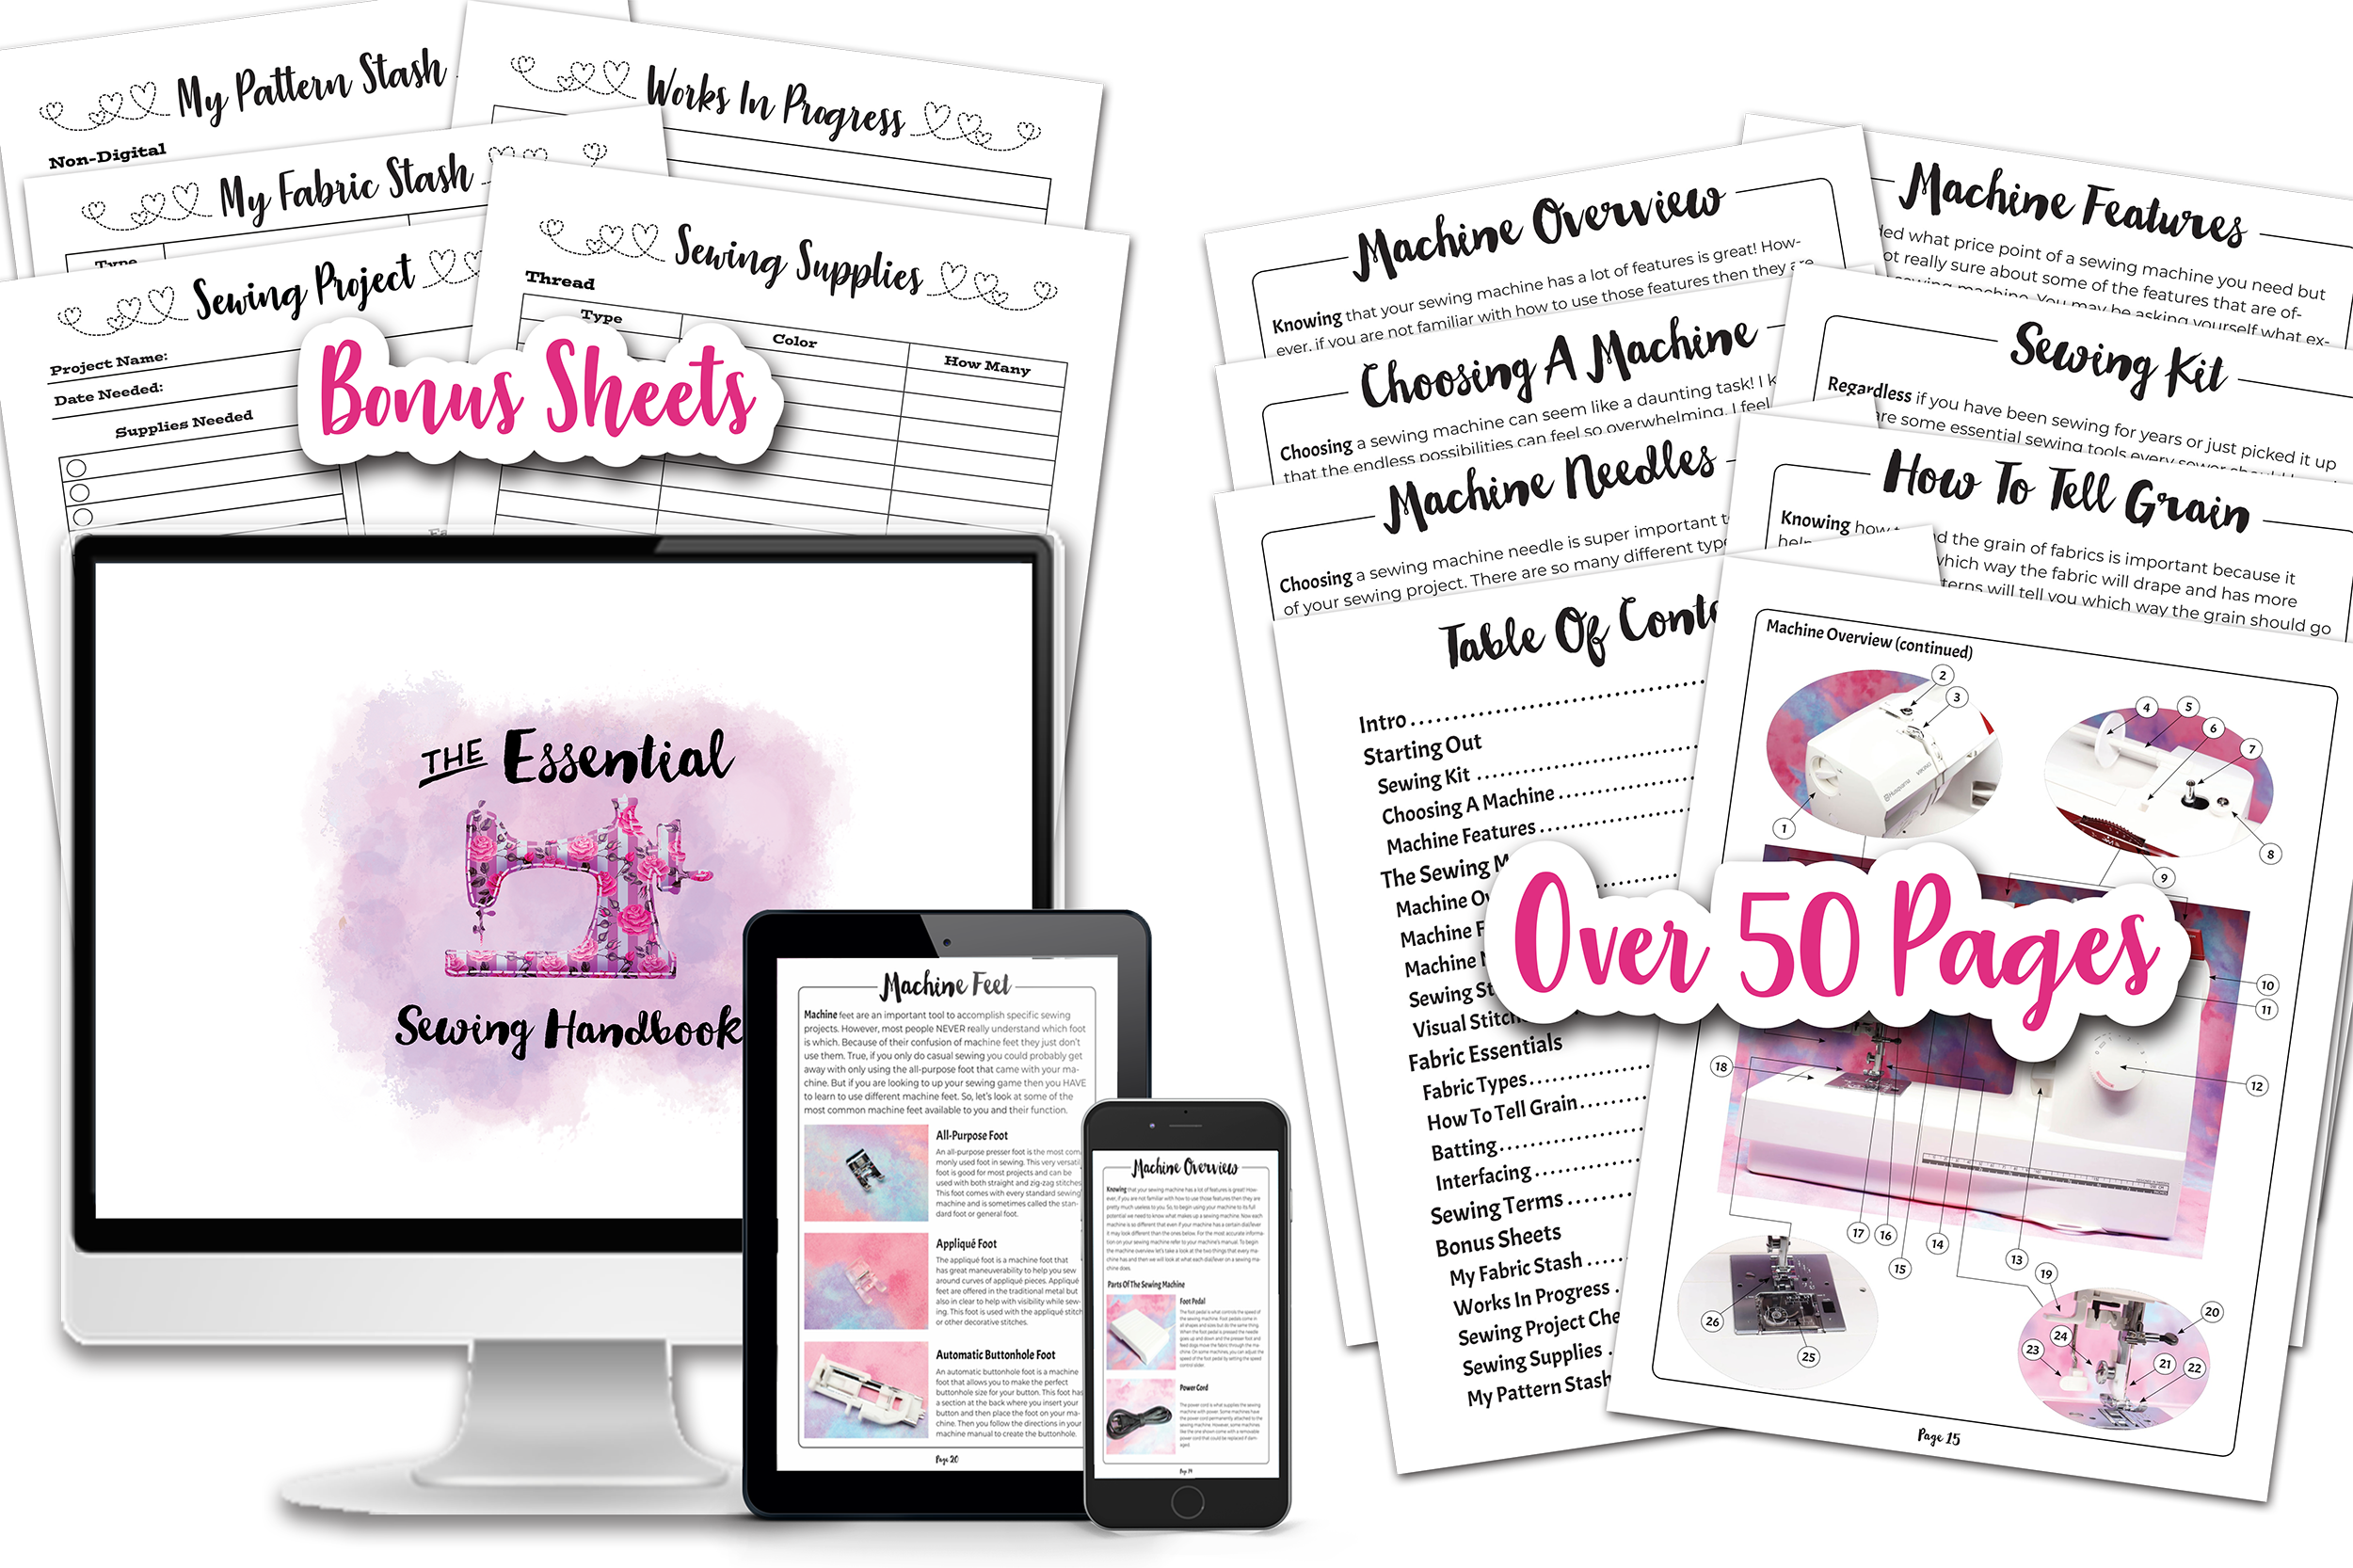
Are you ready to stop putting off sewing projects and gain confidence in sewing? This instant download digital book comes with over 50 pages of sewing knowledge to help you gain confidence in your sewing! Also included is 5 bonus printable sheets to help you keep your sewing projects and supplies more organized!
Love The Craft Tutorials On The Blog?
Do you enjoy the craft tutorials on the It’s So Corinney blog? If so, would you consider leaving a tip to help me keep the blog going? Your generous support would help me purchase more craft supplies and caffeinated products to create new and exciting craft tutorials to share with you!

