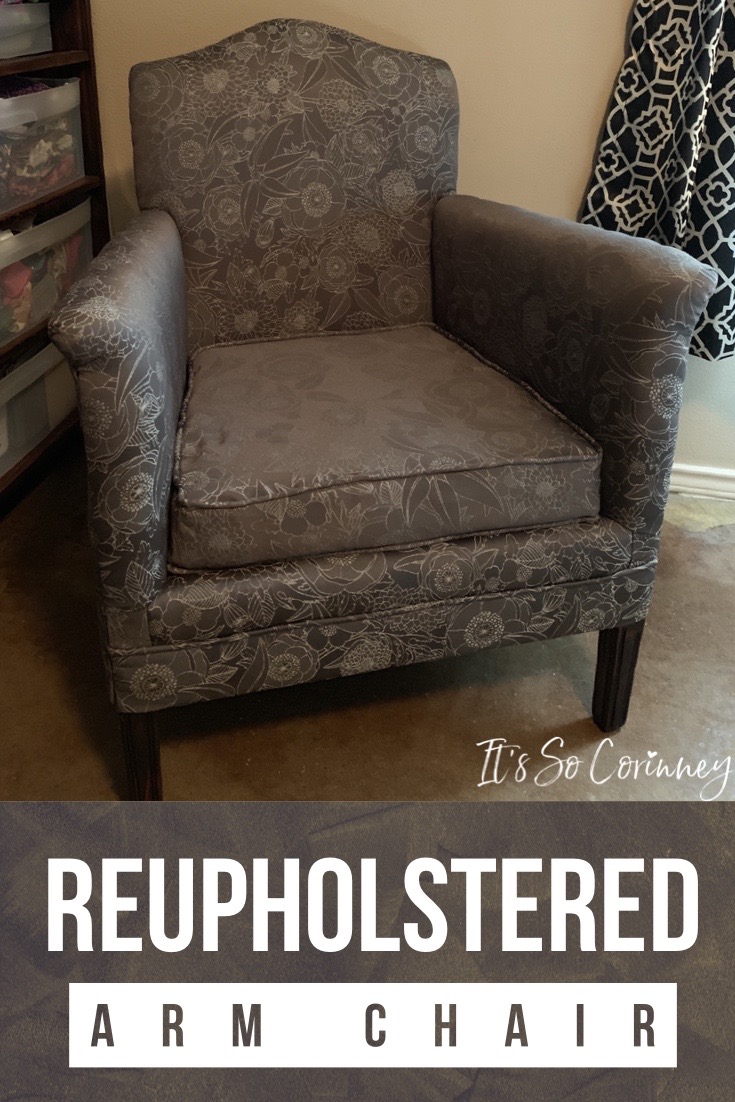
Honesty time! This is probably one of the hardest projects that I have ever done! However with that being said, once completed it was one of the proudest moments of my life. I know that’s probably not what you want to hear from a tutorial but I want you to know exactly what you are getting yourself into (I’m good like that). So, I found my chair at a resale store and fell instantly in LOVE. The chair was super cute and little but had some of the ugliest material I have ever seen. So I debated about buying the chair, which ended up being a moot point because the resale store let me have it for free since it had sat in their store for so long!
I fully intended to recover it when I took it from the resale store. Fast forward to like ten years later and the chair was still sitting in the corner of my room with that hideous fabric. Why did I drag my feet for so long? Because I was scared out of my mind to start ripping it apart. I was pretty sure that I could never get it back together once it was apart! When I finally decided to put on my big girl britches and start pulling it apart I was so nervous but step by step I got thorough it! Now I have a one of kind chair that gives me the giggles every time I look at it because I still can’t believe I did it!
This post contains affiliate links. That’s just a fancy way of saying if you click on a link and purchase something I get a little money (total score for me). For more information, see my disclosure here.
What You Need!
Every chair is made different so you might not need all of the below items. So once you start pulling apart your chair you will have a better understanding of what you need to purchase. Below are the items that I used for my chair.
- Rubber Mallet
- Upholstery Material
- Burlap Material
- 1/4 Inch Staples
- 3/8 Inch Staples
- Staple Gun (I used an Arrow electric stapler)
- Batting
- Foam for Seat Cushion
- Cording for Piping
- Upholstery Chip Tack Strip
- Upholstery Metal Tack Strip
- Scotch Guard
- Gloves
- Upholstery Webbing
- Upholstery Dust Cover Fabric
- 1/2 Inch High Density Foam
Tip! Not sure how much fabric you need for your chair? Then check out The Whole 9 Yards who has an amazing chart on how much fabric each type of chair typically uses. I know this chart was super helpful for my reupholstered arm chair!
What to Do!
Now because every chair is SO different this isn’t a hard and fast tutorial. Instead, it’s just a glimpse of what I did/used to reupholster my arm chair and some tips to hopefully make your experience go a little smoother than mine did!
Remove Old Fabric
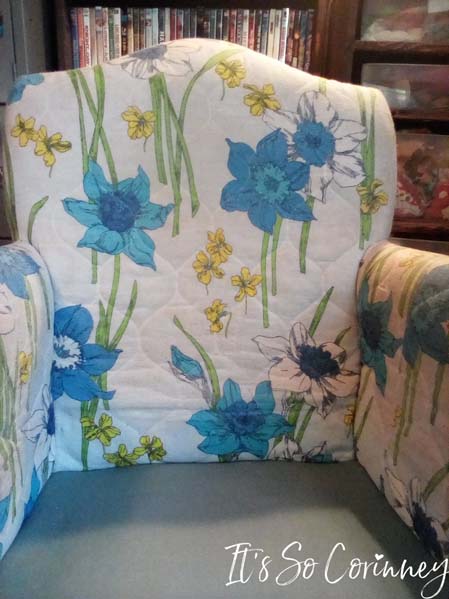
Here is the chair in all of it’s hideous fabric glory! Sorry in advance for the quality of the pictures. I took them using my Amazon Fire which was such a mistake and it wasn’t like I could just retake them because I had already started pulling the chair apart before I realized it (so frustrating)!
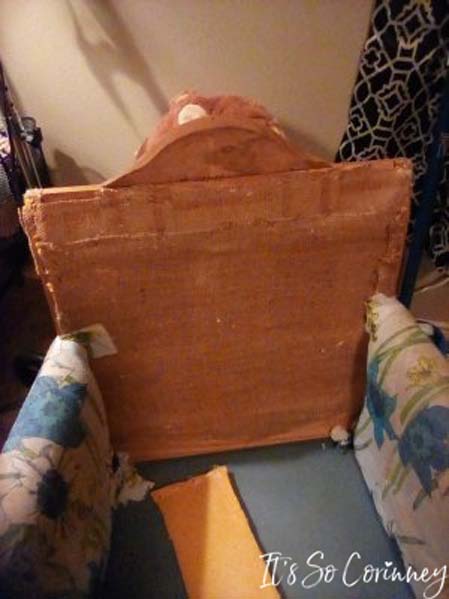
Here is the back of the chair before I started pulling it apart.
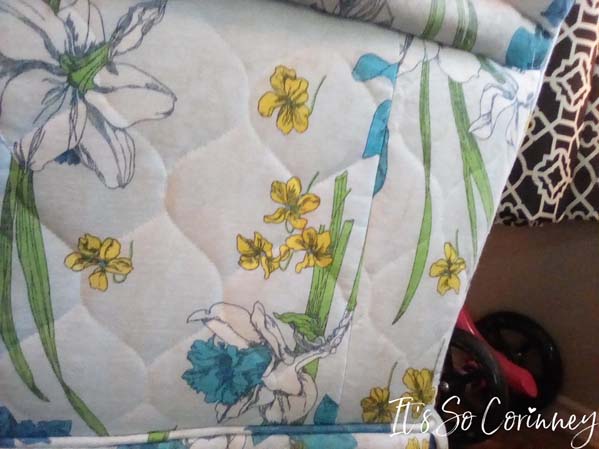
And just to convince you of how ugly this material was here is a close up of the side!
I started removing the old fabric from the bottom of the chair. Why you ask? Because the bottom piece is the last piece of the chair to be put on. So naturally to remove the fabric you would go in reverse. Once the bottom fabric is removed then you can see which piece was added next and remove that piece next. Make sure to take pictures of your chair every step of the way so you can use these when rebuilding!
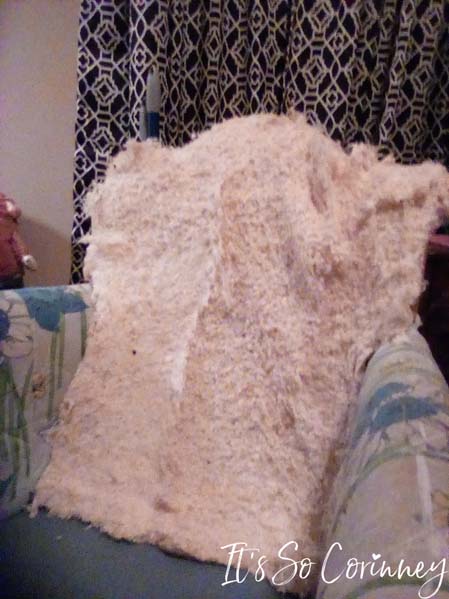
After the bottom and back pieces of the chair, I next removed the back front piece. Unfortunately, it was covered in several layers of fiberglass batting and foam.
After all of that batting and foam the burlap was next to go!
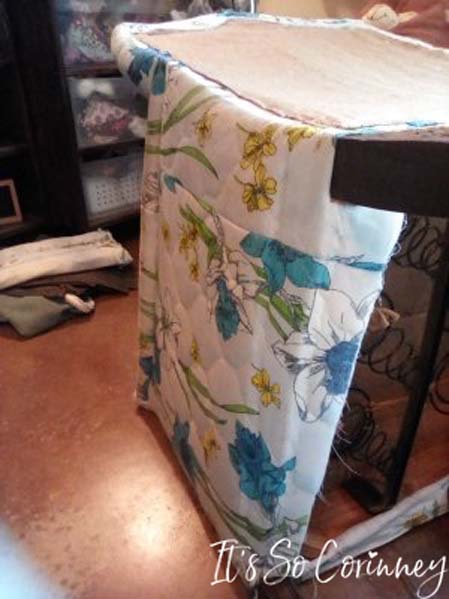
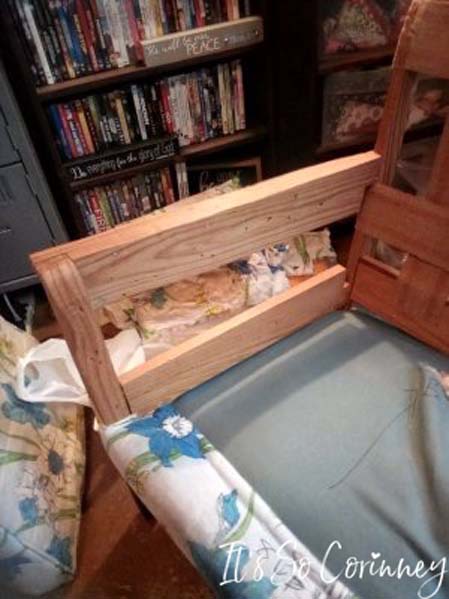
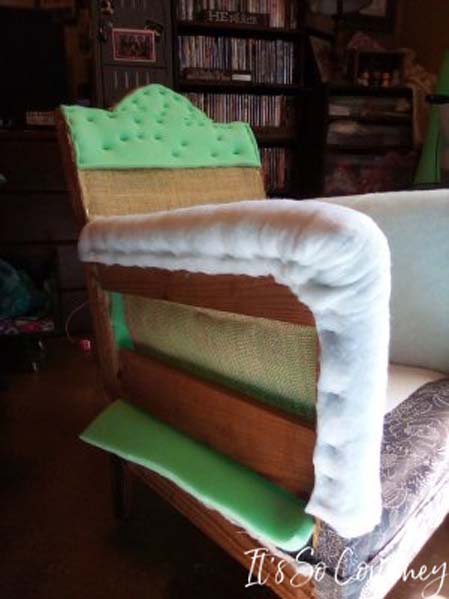
After I removed all of the fabric, foam, and batting from both sides of the arm it was naked!
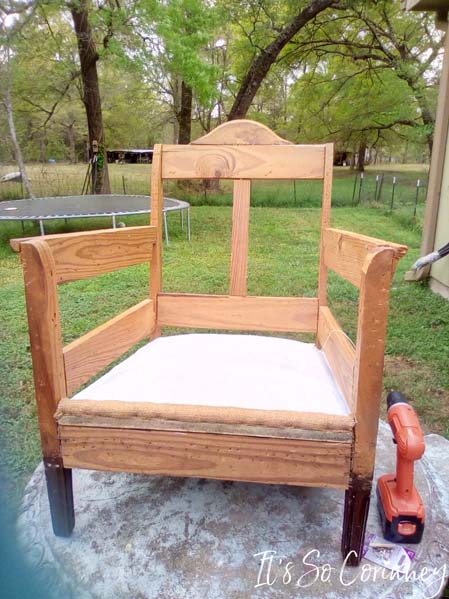
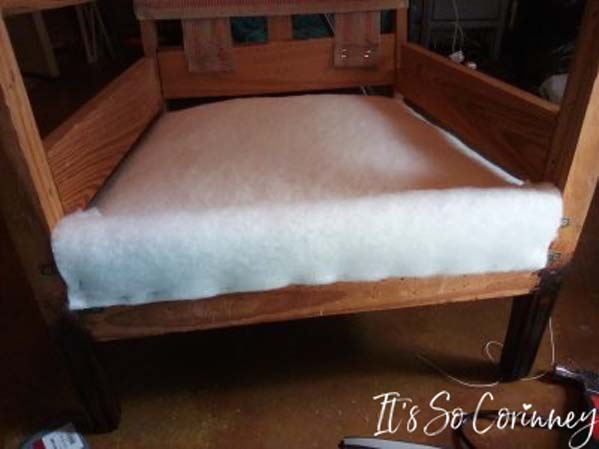
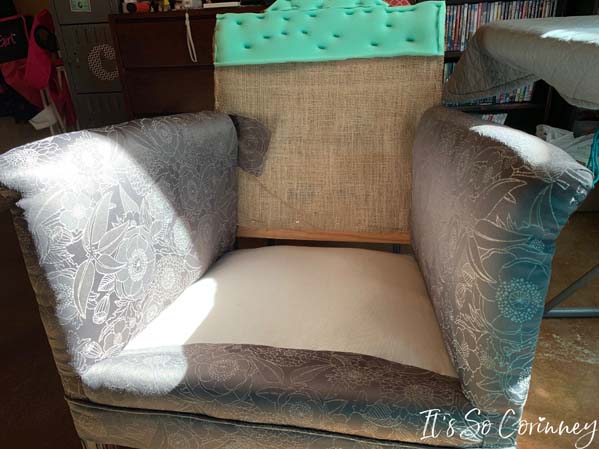
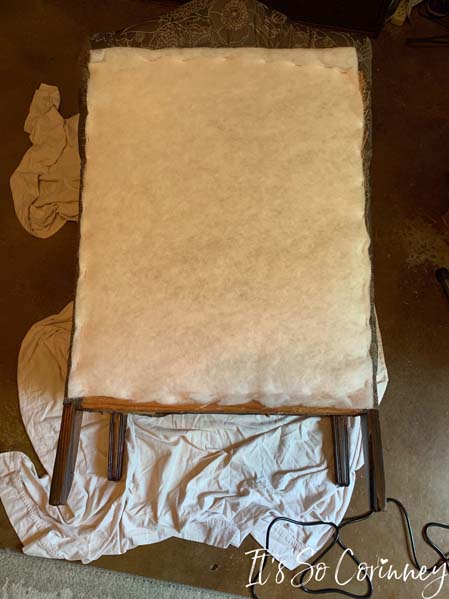
I removed absolutely everything on the chair except the springs in the seat. They looked in good condition so I left them. I was so excited at my progress that I forgot to take a picture before I started rebuilding the chair so that’s why the seat already has fabric on it!
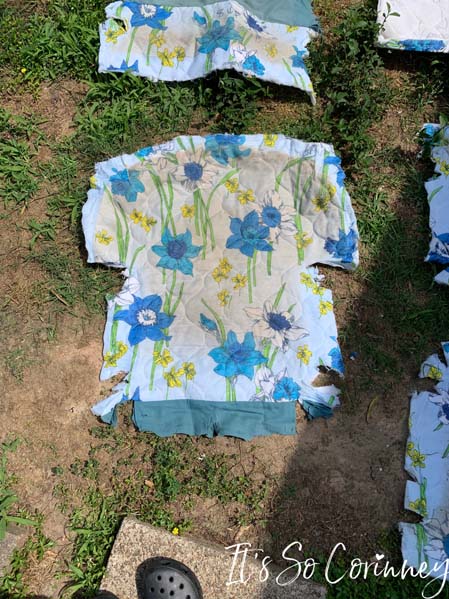
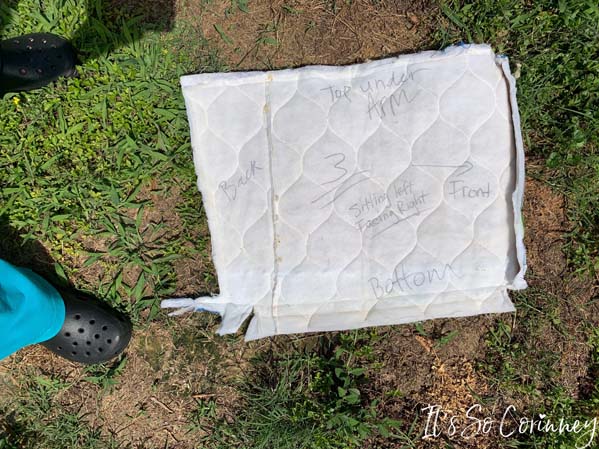
After I removed all of the old fabric I laid them down outside and took pictures of each piece. This helped me see where each cut was made in the old fabric without having to keep pulling out the old pieces.
While pulling off the old fabric I took a Sharpie marker and numbered the pieces in which order I took them off. I also added other notes to the piece that I thought I might forget before I added the new fabric.
Add New Materials
The seat is the first piece that I reupholstered since it was last piece of the chair that I removed.
Using the photos I took and the old material as a template I cut and covered the arm chairs.
Look! Both chair arms are recovered!
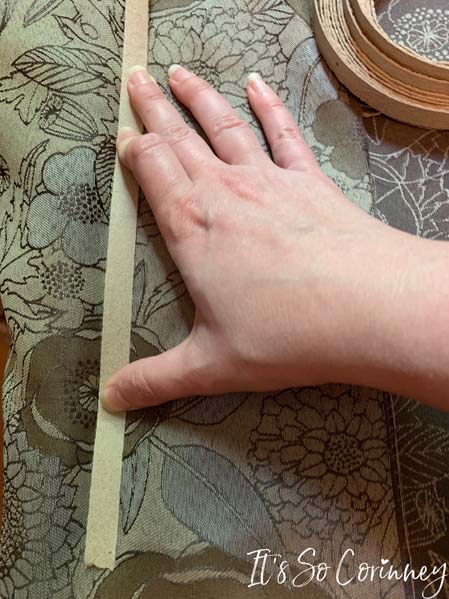
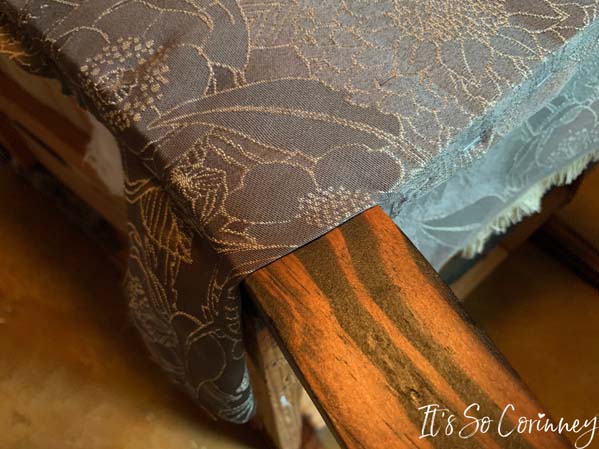
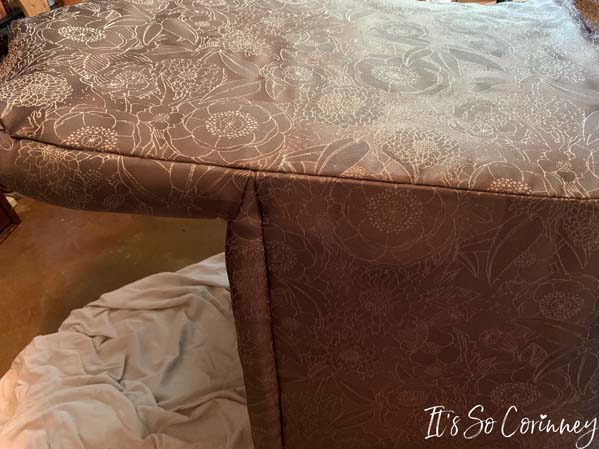
Use the chip upholstery tack under the outside arm of the chair. Once you staple this down and pull the fabric over it you will have a very clean straight line.
Here is one of the sides after I stapled the chip tack under the arm of the chair.
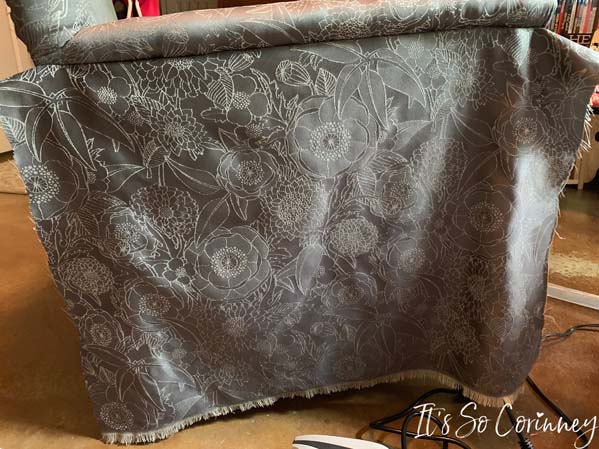
To insure there are no wrinkles make sure to pull the fabric tight.
Use the pictures you took when you were removing the old fabric and fold the new fabric the same way around the legs.
Next, I reupholstered the back of the chair. I was super nervous about the back because it used two metal upholstery tack strips on either side of the chair.
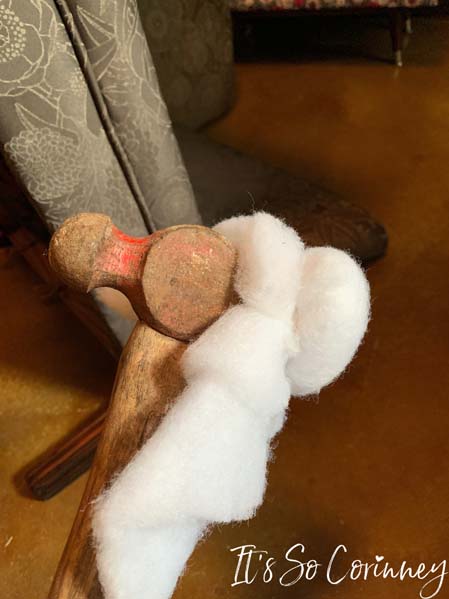
To attach metal tack strips you need to use a rubber mallet. I don’t own a rubber mallet so I just took some extra batting and wrapped it around a hammer with a rubber band. Worked like a charm!
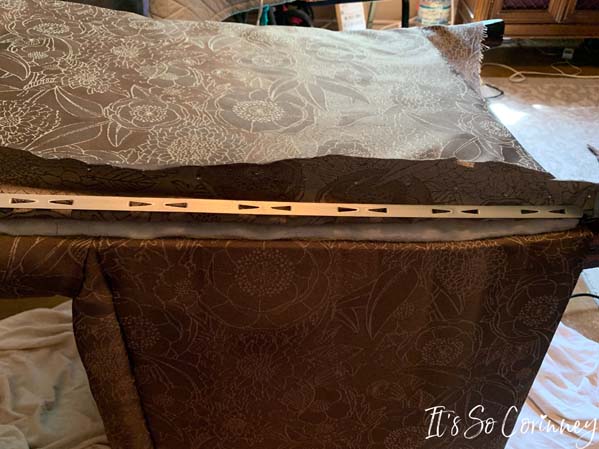
The metal tack strip actually was a lot easier than I expected. I did watch several videos on YouTube to make sure I knew what I was doing before I started! So, to use metal tack you insert the pointy sides down into the fabric a couple of inches away from the edge of the fabric.
Then when you fold over the metal tack strip you will tuck the fabric under the strip. Make sure to fold all of the fabric under even at the ends before you hammer it down.
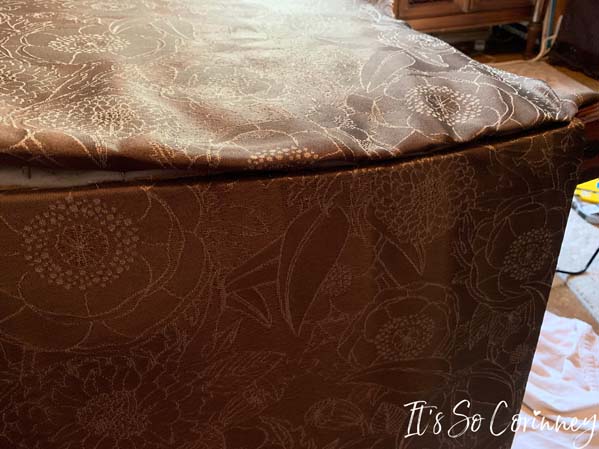
Use the rubber mallet and hammer in the metal tack strip. Look how nice the edge looks!
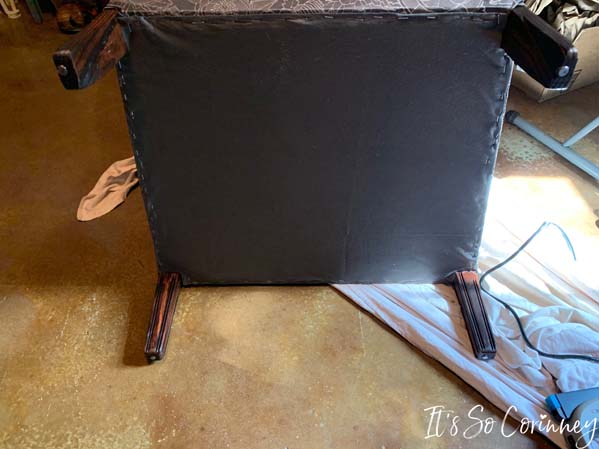
Then after all the other pieces are placed the last piece to go on is the dust cover on the bottom.
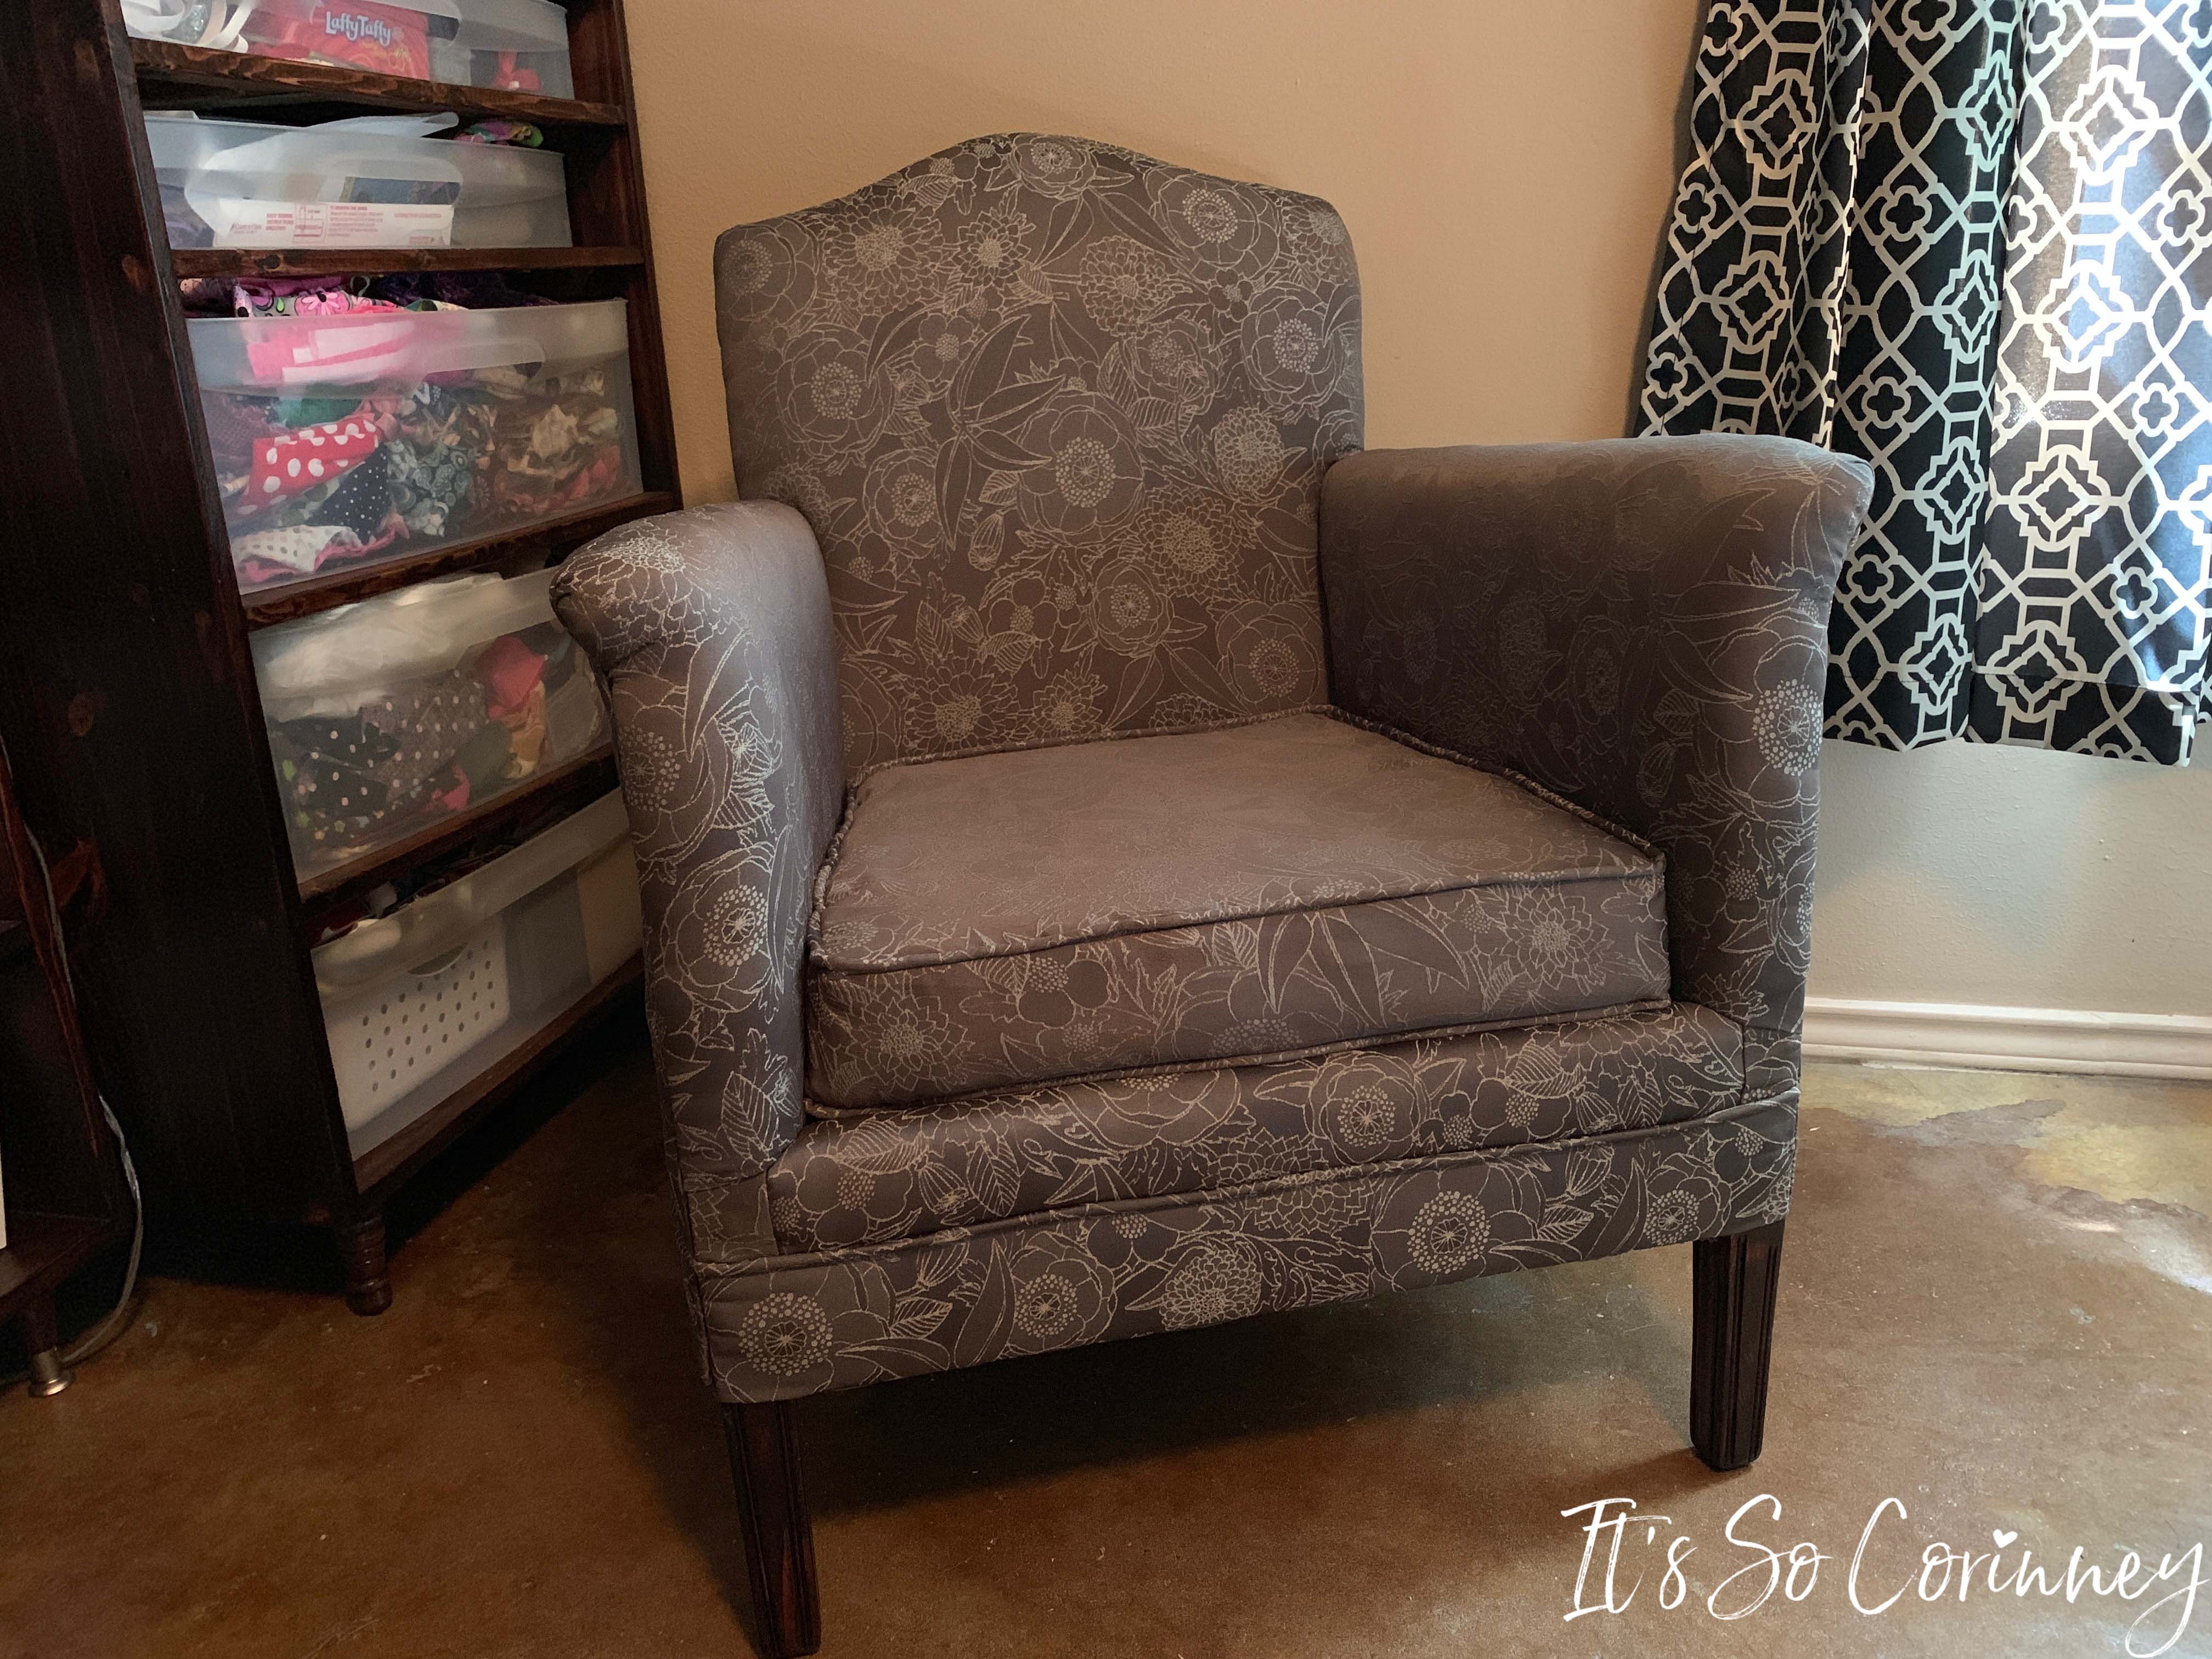
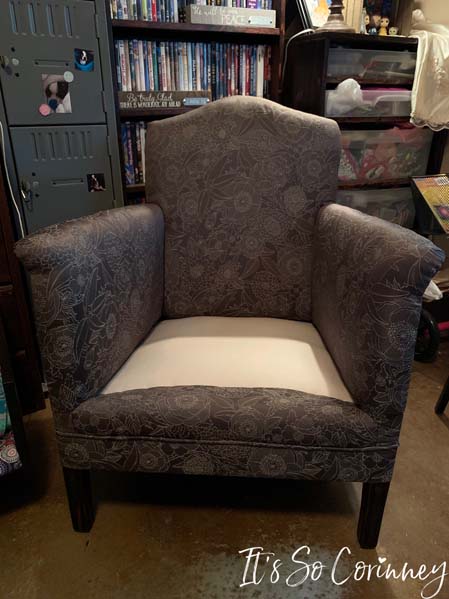
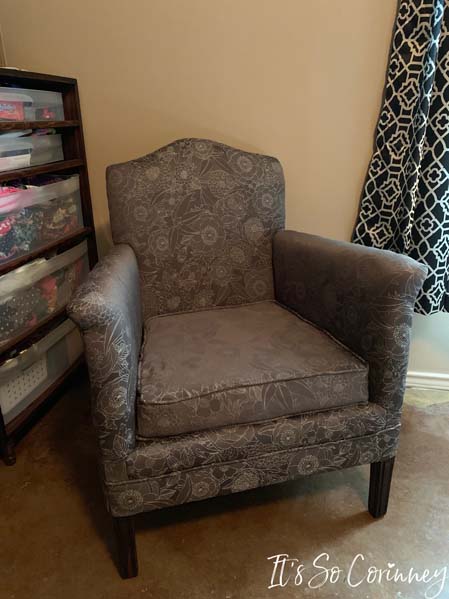
Here is the finished chair! Obviously, it doesn’t have a cushion yet but that is easily remedied.
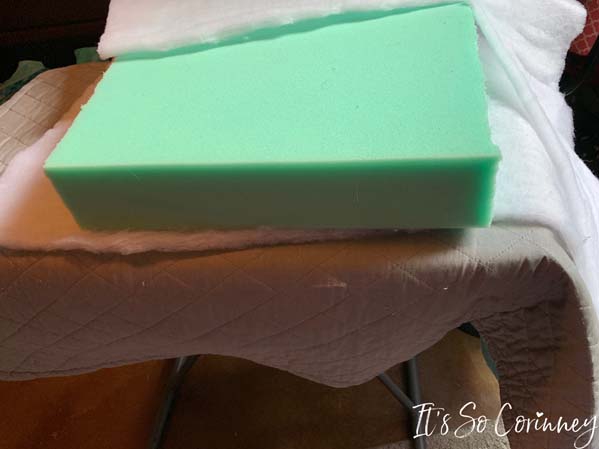
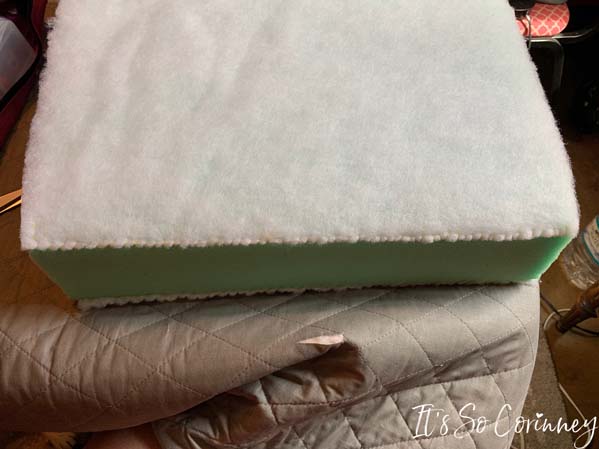
So, finish this super cute reupholstered chair I bought high density foam from Joann Fabric and using a cerated knife cut the foam to the exact shape of the chair.
Then I covered the foam with batting that I hand stitched to the foam. You can use spray glue to attach the batting but I didn’t want to spend more money so I just hand stitched it!
Once I made a cover for my new seat cushion the chair was FINALLY complete and ready for some sitting!
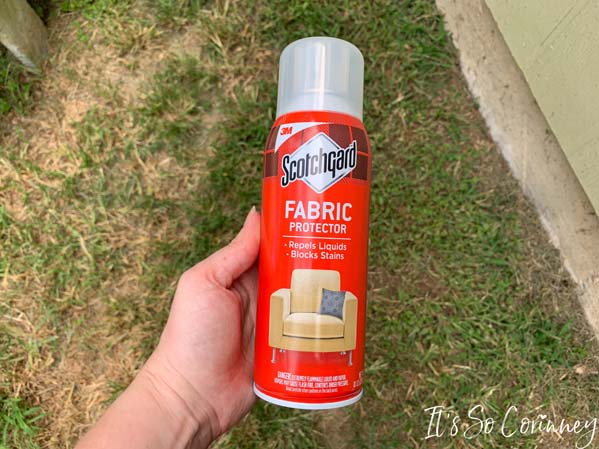
Then the last step for any reupholstered chair is to Scotchgard the fabric on the chair to help protect it! My furry love Molly won’t stay out of my chair so this was an extremely important step for me! I only bought one can and after I sprayed several coats on the arm chair I still had some left!
Tips!
Wear Gloves: I read online that you should wear gloves while pulling apart your chair and I didn’t take that suggestion. So, it turns out that my chair had fiberglass batting on it that caused my hands to swell and was totally painful. This put me off working on my chair for almost a month (until I forgave the chair for being stupid). So let this be a lesson to you to wear gloves while tearing apart your chair!
Take Pictures: Take pictures while you are tearing the chair apart. I know it takes time to stop at every step but this is totally worth it. So, I thought I had taken tons of pictures but when I went to reassemble the chair, I found that I had missed some steps (shakes head). Trust me, it’s way better to take too many pictures and delete them afterwards than to not have the picture that you need to help you reassemble your chair.
Mark Everything: Make sure to mark all of the pieces that you take off your chair. I used a Sharpie and marked the pieces according to the order I took them off the chair. Then I marked the pictures I had taken of the piece with the same number. This REALLY helped when it came time to reassemble my chair.
Now, it’s your turn! If you have been holding out on reupholstering your own chair just know that you can do it! With the tips above, patience, and perhaps a few tears you too can have a newly reupholstered chair that looks fabulous! Good luck!

Pin Me!
Want To Up Your Sewing Skills?
Are you ready to stop putting off sewing projects and gain confidence in sewing? This instant download digital book comes with over 50 pages of sewing knowledge to help you gain confidence in your sewing! Also included is 5 bonus printable sheets to help you keep your sewing projects and supplies more organized!
Love The Craft Tutorials On The Blog?
Do you enjoy the craft tutorials on the It’s So Corinney blog? If so, would you consider leaving a tip to help me keep the blog going? Your generous support would help me purchase more craft supplies and caffeinated products to create new and exciting craft tutorials to share with you!

