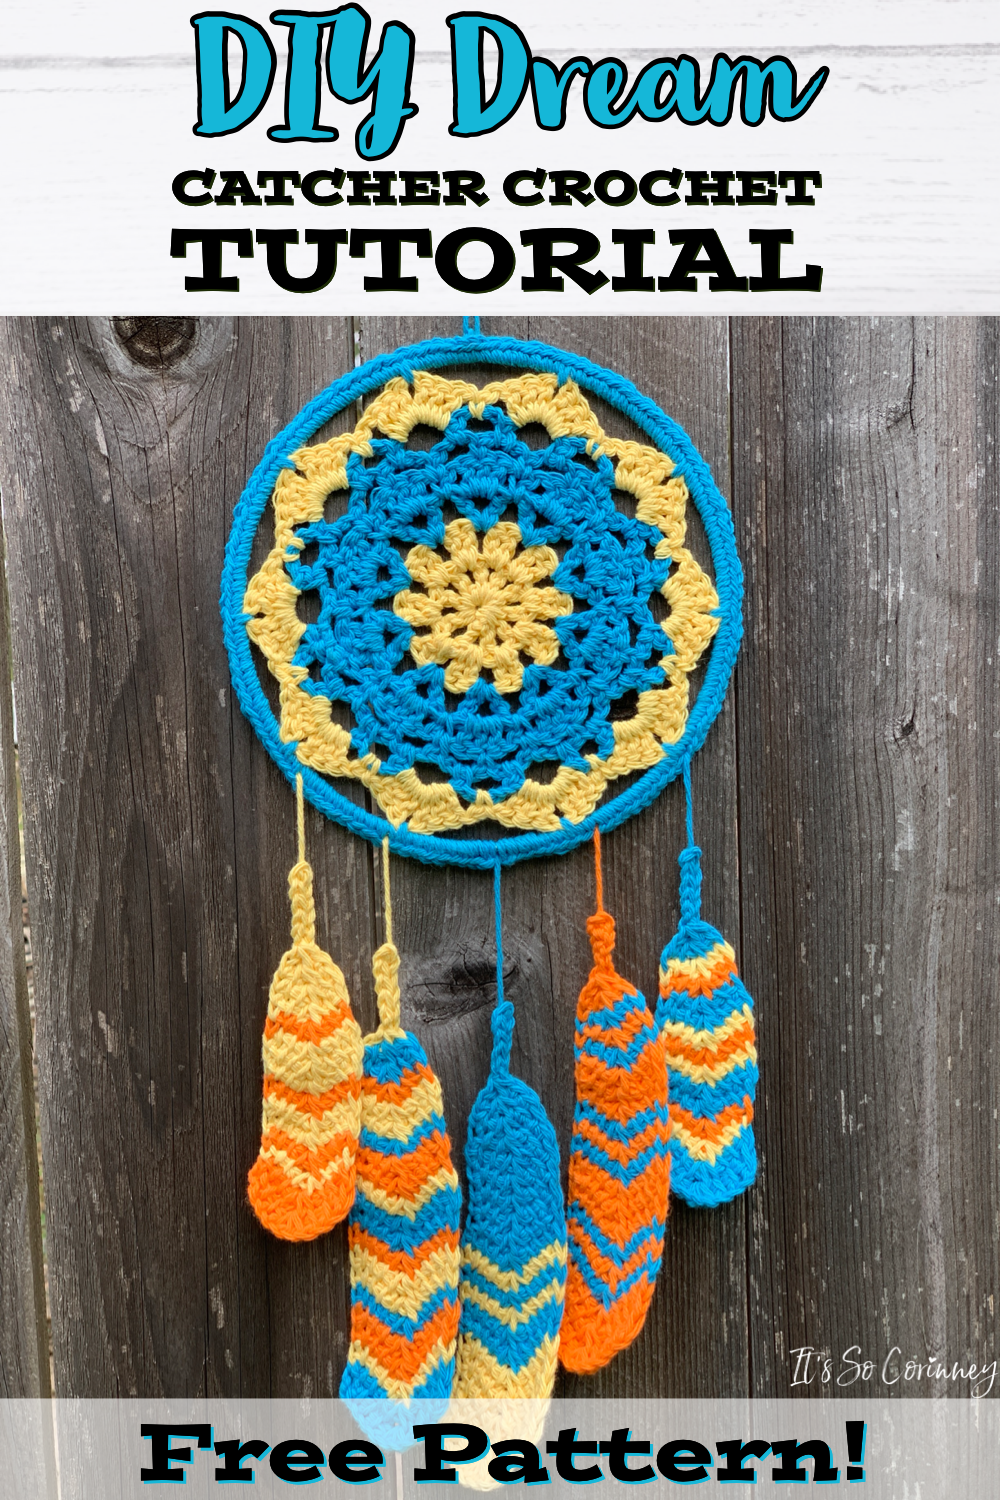
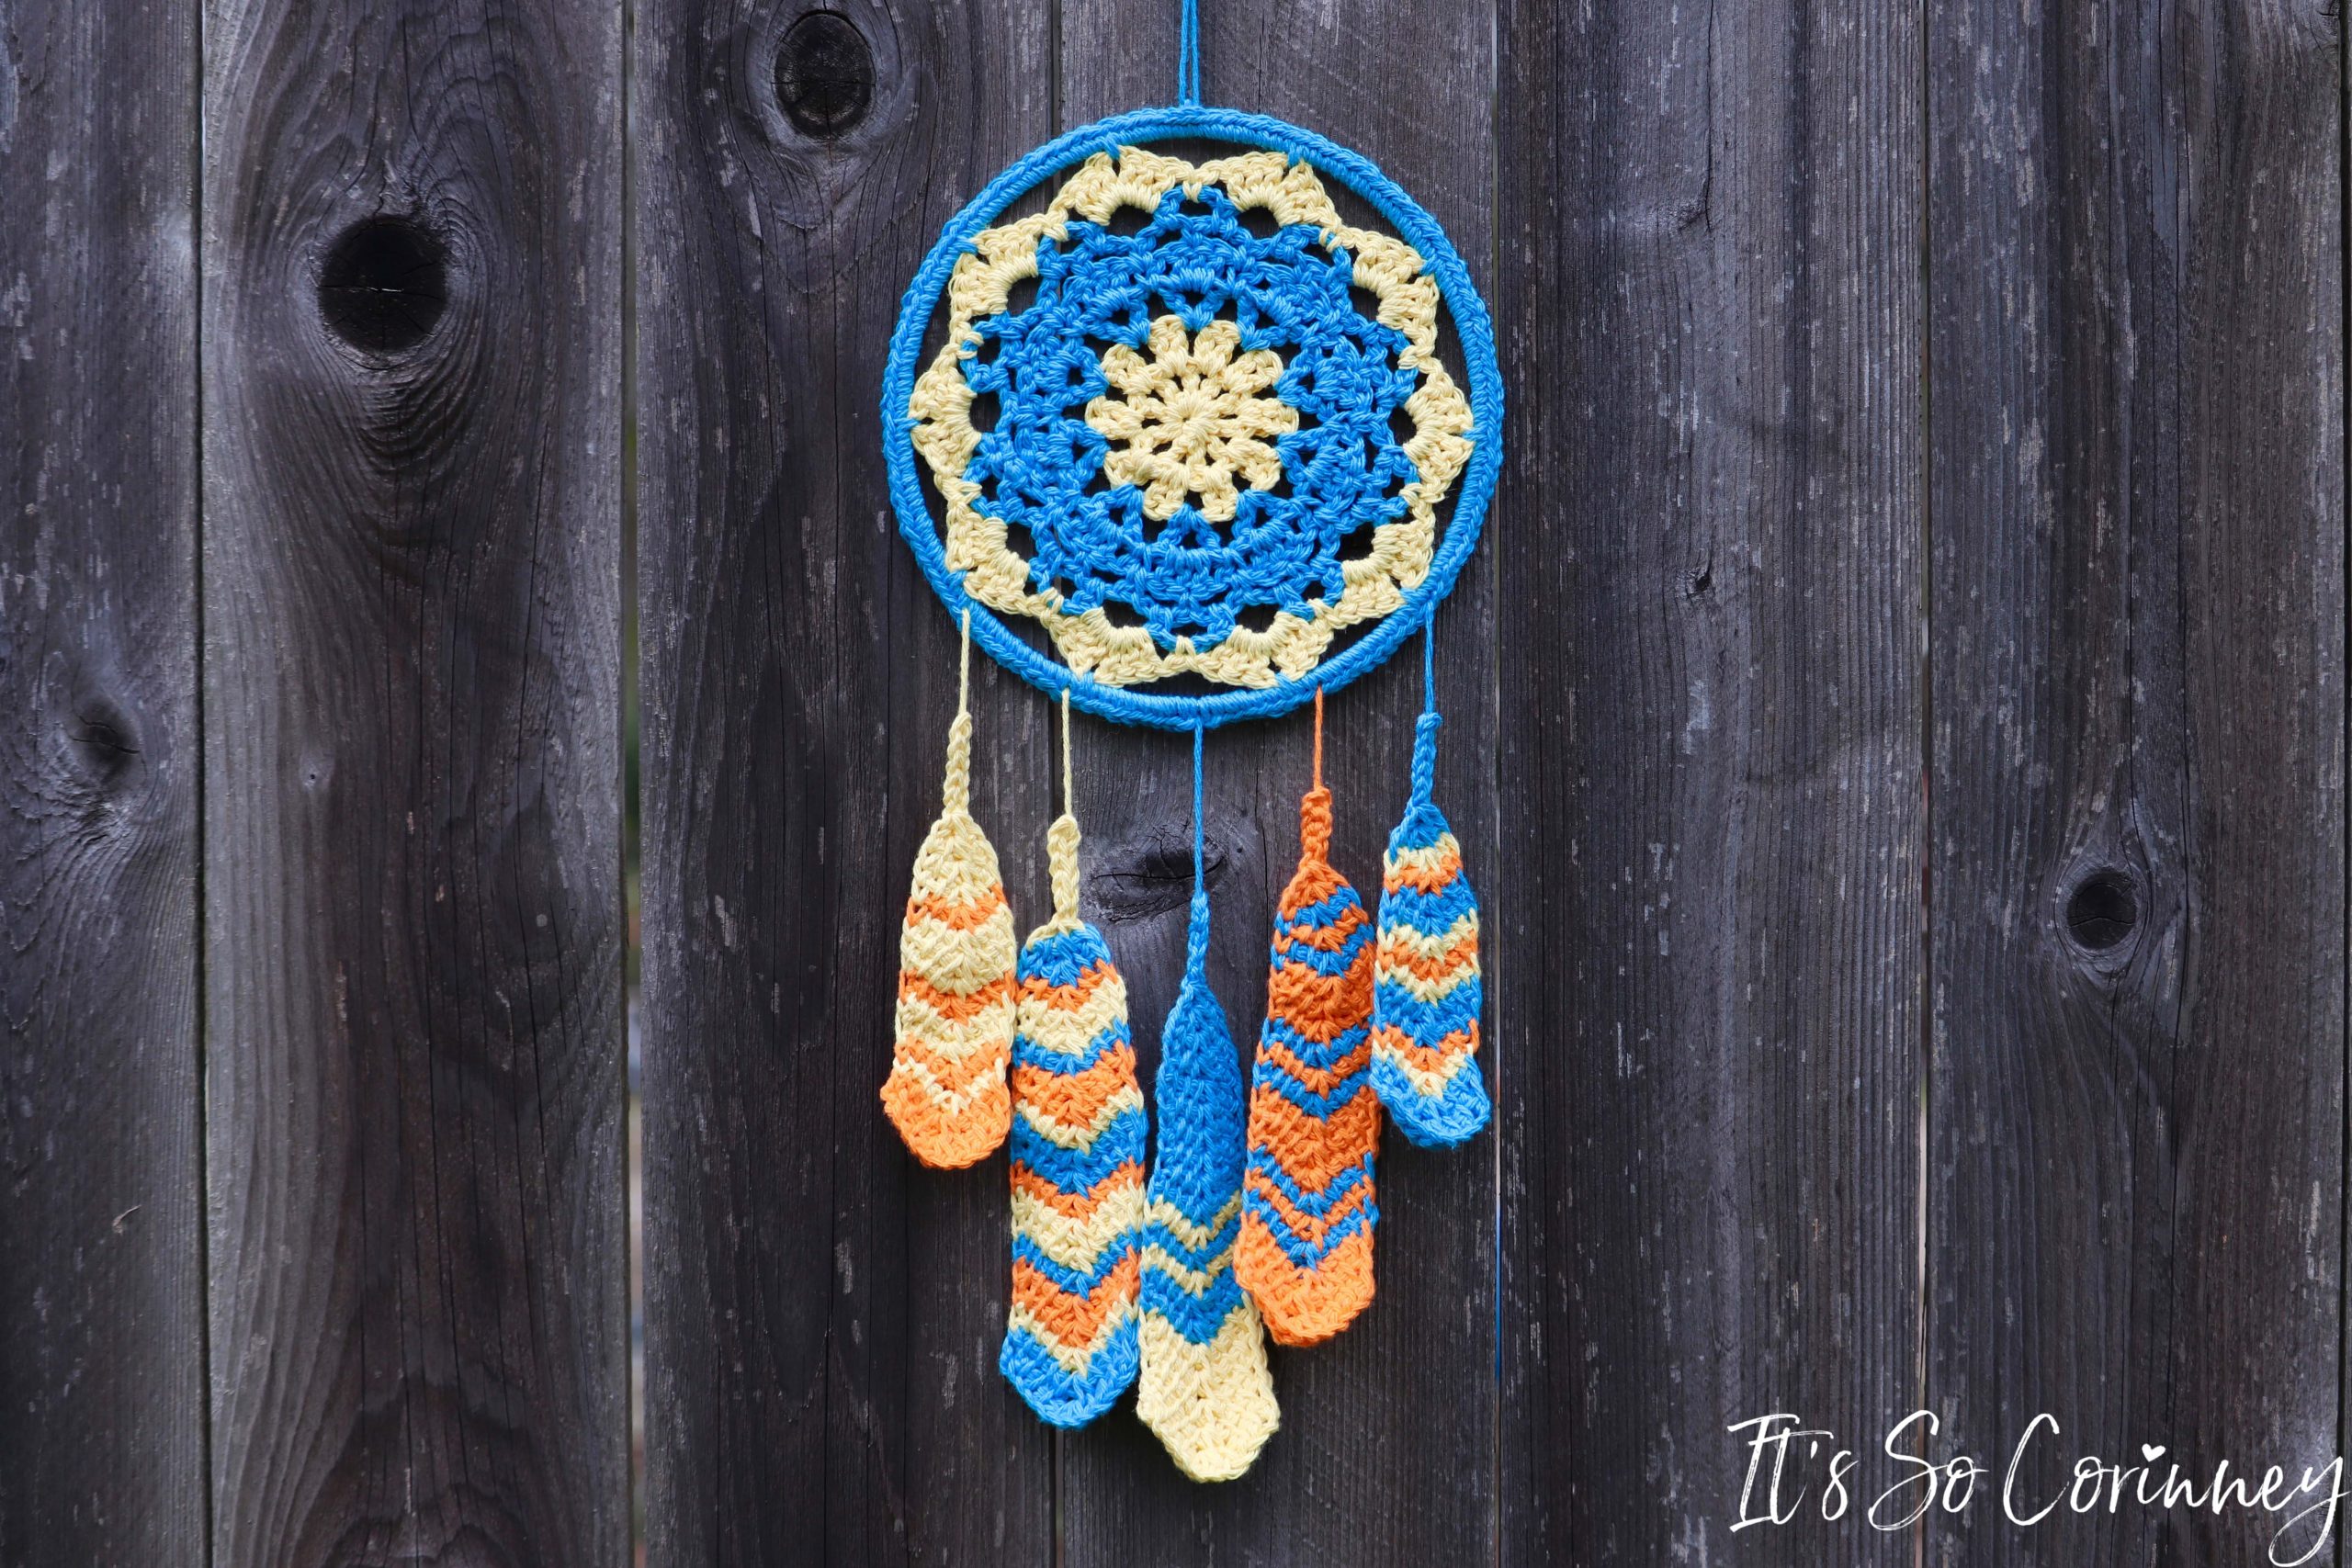
For as long as I can remember, my sister has been fascinated by dream catchers. Recently, it occurred to me that as much as she loves dream catchers that she doesn’t own a single one! So, I decided that this was simply unacceptable and made the decision to crochet her one!
When she told me she wanted the crochet dream catcher to be in her favorite colors of blue, orange, and yellow I was sure I could easily find yarn in those colors. However, it turns out that I was totally WRONG! I searched so many craft stores to find yarn in that color that wasn’t too soft. Then FINALLY I stumbled upon a yarn brand called Peaches and Crème. This was my first time to use this yarn but I was really happy with the final result. The package says that it’s intended for things like pot holders so it wasn’t crazy soft and had a more natural appearance which was perfect for this project.
This post contains affiliate links. That’s just a fancy way of saying if you click on a link and purchase something I get a little money (total score for me). For more information, see my disclosure here.
What You Need!
- Medium Weight Yarn (I used Peaches and Crème yarn, which is weight category 4)
- 5 mm Crochet Hook
- 7 Inch Metal Ring
FYI! Did you know you can get a printer friendly PDF of the crochet dream catcher tutorial and printable written pattern that prints without ads? Just head over to The It’s So Corinney Shop and check it out!
FYI!
- The finished size of the mandala for the crochet dream catcher is 7 inches measured across from tip to tip. However, if you want a larger or smaller size you could easily increase or decrease the size of your crochet hook.
- Anything between asterisks (*like this*) you will repeat the stated amount of times.
What To Do!
Round 1:
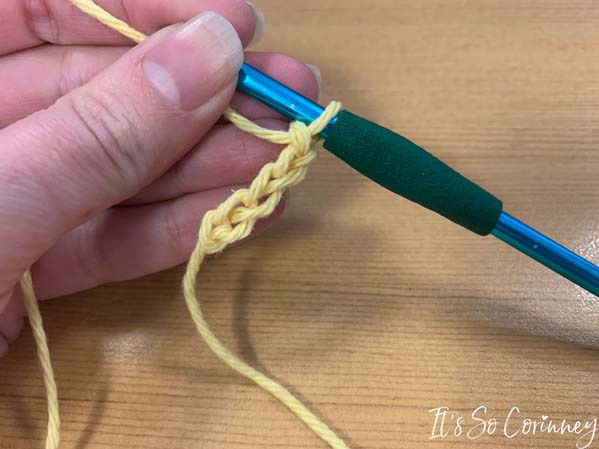
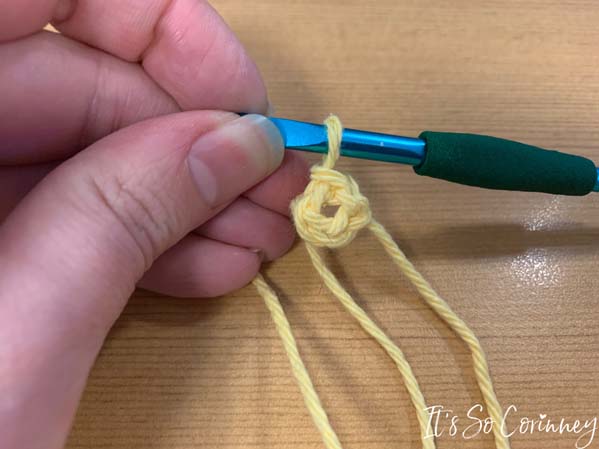
- Chain 4
- Slip stitch to 1st chain to make a loop
Round 2:
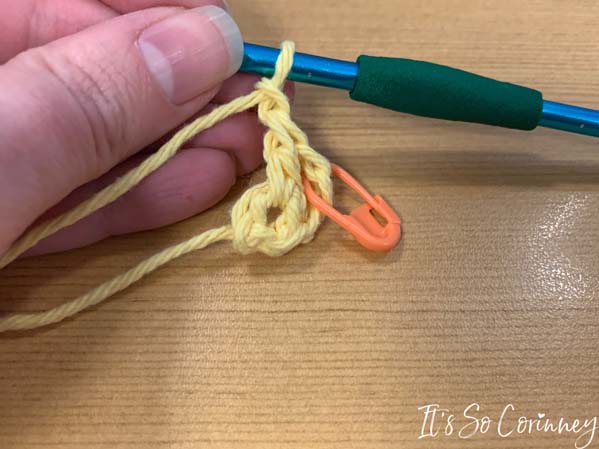
- Chain 3 (counts as first double crochet and chain 1)
- *Double crochet into loop, then chain 1* (9 times)
- Slip stitch to the beginning chain 2
Round 3:
- Slip stitch to chain 1 space from round 2 (or start a new color in chain 1 space)
- Chain 2 (counts as first double crochet)
- Double crochet into same chain 1 space, chain 1
- *2 double crochet into next chain 1 space, chain 1* (9 times)
FYI! Did you know you can get a printer friendly PDF of the crochet dream catcher tutorial and printable written pattern that prints without ads? Just head over to The It’s So Corinney Shop and check it out!
- Slip stitch to beginning chain 2
Round 4:
- Slip stitch to chain 1 space from round 3 (or start new color in chain 1 space, like I did!)
- Chain 4 (counts as first double crochet and chain 2)
- Double crochet into chain 1 space, chain 1
- *Double crochet, chain 2, double crochet, into next chain 1 space, then chain 1* (9 times)
- Slip stitch to beginning chain 2
Round 5:
- Slip stitch to chain 2 space from round 4 (or start new color in chain 2 space)
- Chain 2 (counts as first double crochet)
- 2 double crochet all into chain 2 space, chain 1
- Single crochet in next chain 1 space from round 4, chain 1
- *3 double crochet in next chain 2 space, chain 1, single crochet in next chain 1 space, then chain 1* (9 times)
- Slip stitch to beginning chain 2
FYI! Did you know you can get a printer friendly PDF of the crochet dream catcher tutorial and printable written pattern that prints without ads? Just head over to The It’s So Corinney Shop and check it out!
Round 6:
- Single crochet into next double crochet of round 5, chain 3
- Skip next double crochet, single crochet in single crochet from round 5, chain 3
- *Single crochet into center double crochet in three double crochet cluster, chain 3, single crochet into single crochet from round 5, then chain 3* (9 times)
- Slip stitch to beginning single crochet
Round 7:
- Slip stitch to chain 3 space from round 6
- *Single crochet into chain 3 space, chain 4* (20 times)
- Slip stitch to beginning single crochet
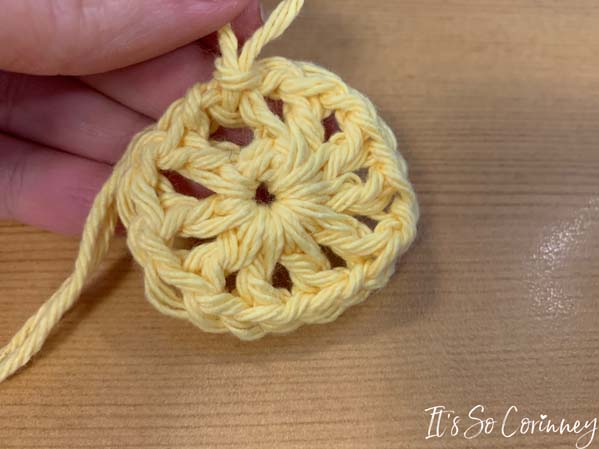
Round 8:
- Slip stitch to chain 4 space from round 7
- Chain 2 (counts as first double crochet), 2 double crochet, chain 1, 3 double crochet into first chain 4 space, chain 1
- Single crochet into next chain 4 space, chain 1
- *3 double crochet, chain 1, 3 double crochet in next chain 4 space, chain 1, single crochet into next chain 4 space, chain 1* (9 times)
- Slip stitch to beginning chain 2
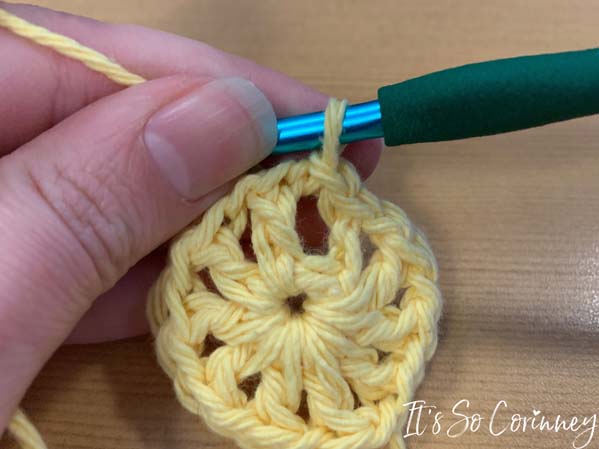
Fasten off and weave in your ends!
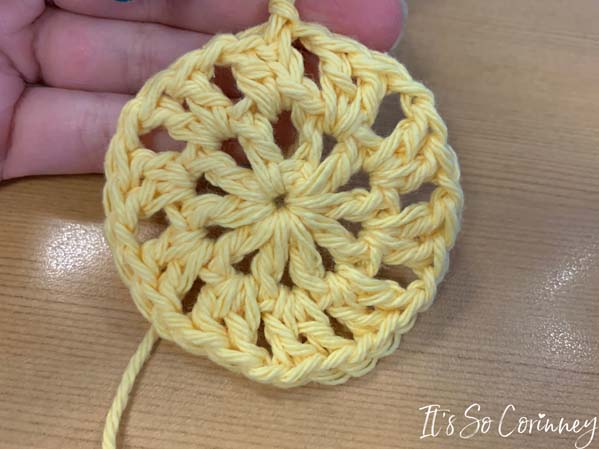
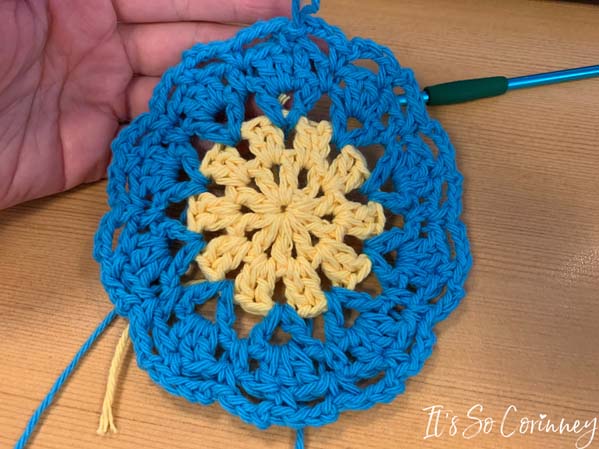
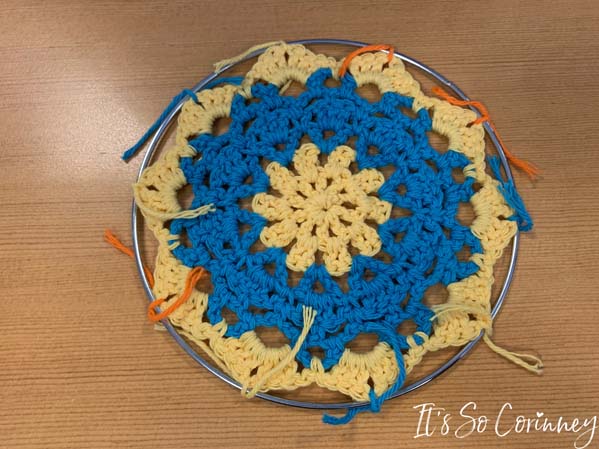
Now it’s time to attach the mandala to the metal ring! I used scrap yarn to temporarily tie the mandala to the metal ring.
FYI! Did you know you can get a printer friendly PDF of the crochet dream catcher tutorial and printable written pattern that prints without ads? Just head over to The It’s So Corinney Shop and check it out!
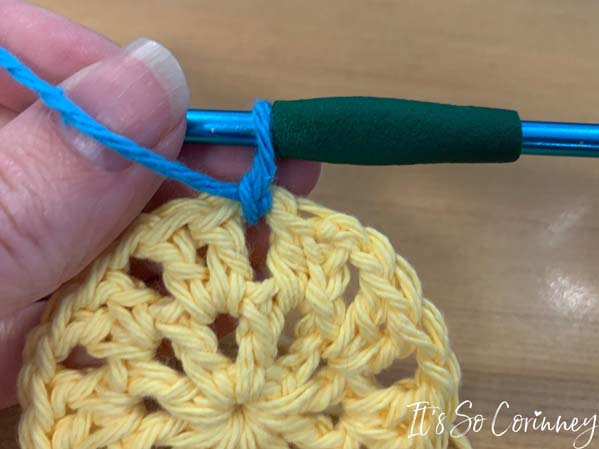
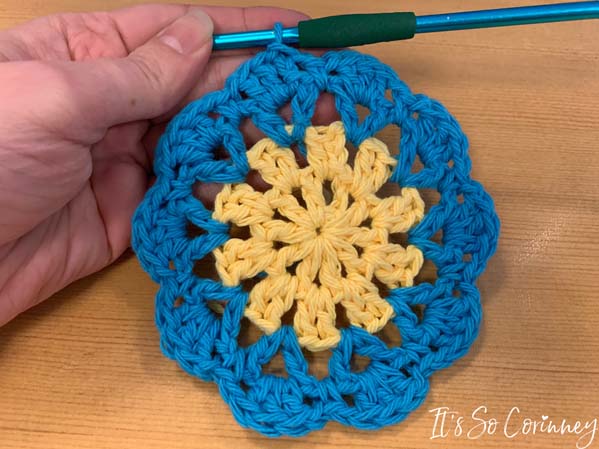
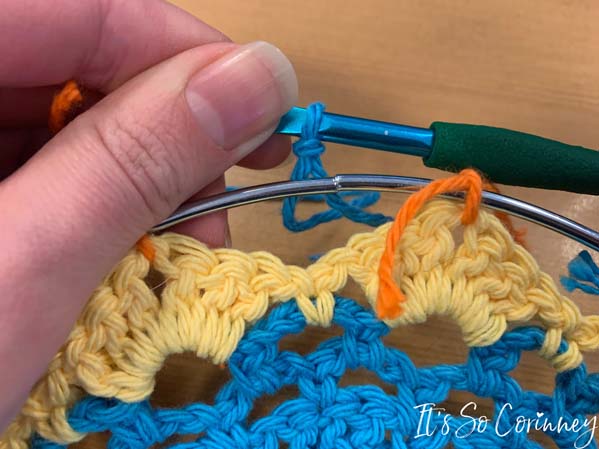
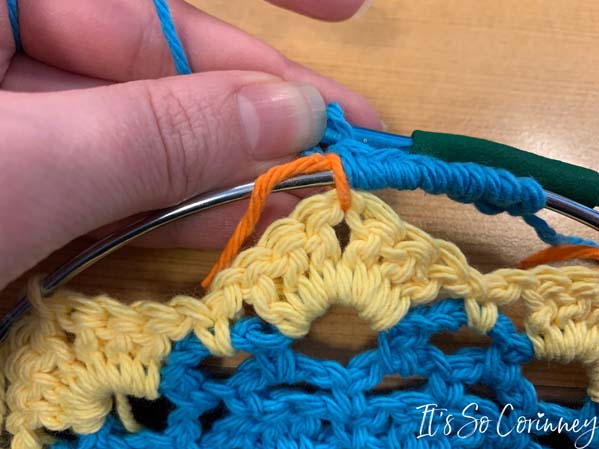
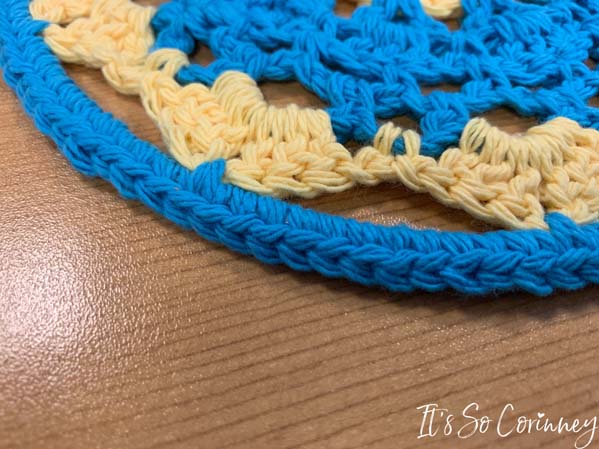
Next, we are going to single crochet all the way around the metal ring so no silver shows. Place your crochet hook on the outside of the metal ring.
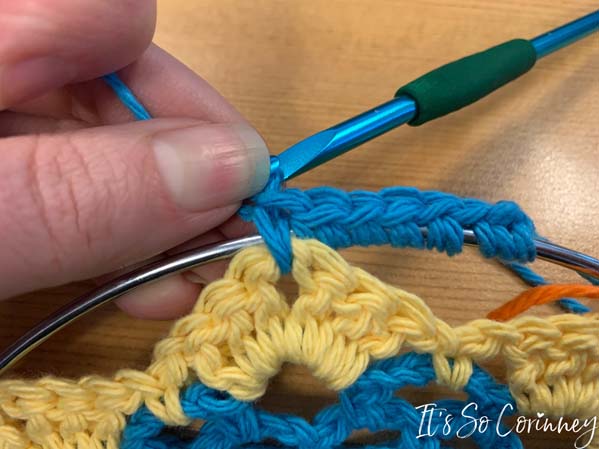
Then single crochet around the metal ring.
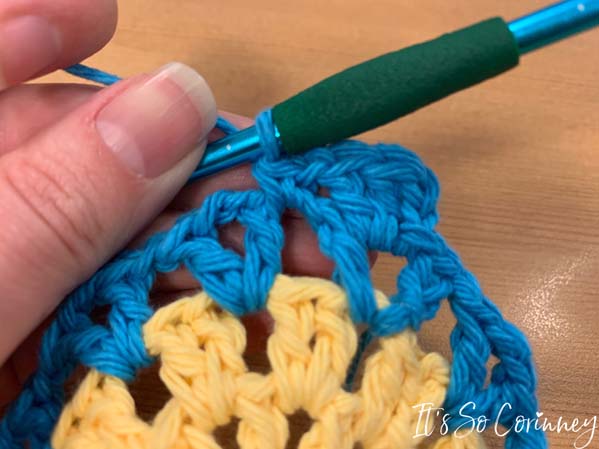
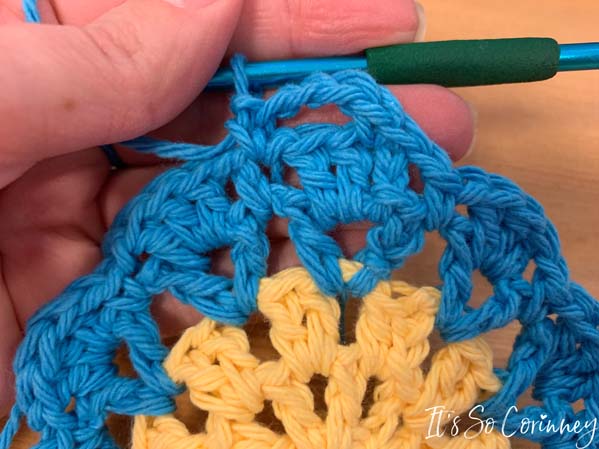
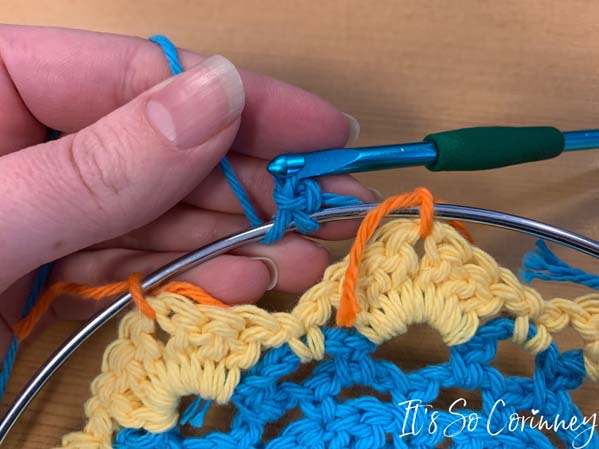
Keep single crocheting around the metal ring until you get to the first petal of the mandala.
Then single crochet right through the chain 1 space of the petal.
Are you visual and need to see a video to fully grasp this concept? Then check out my video on how to single crochet around a metal ring!
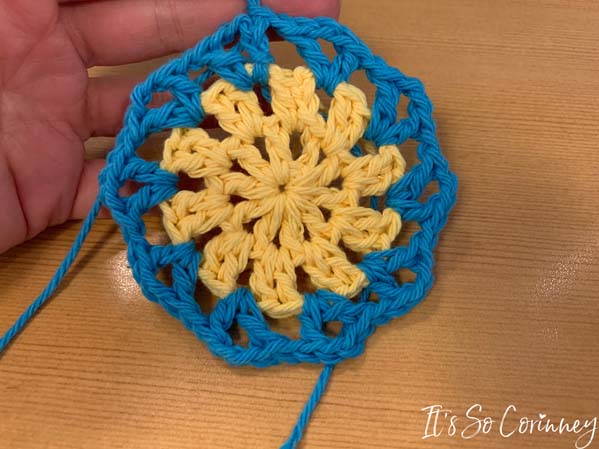
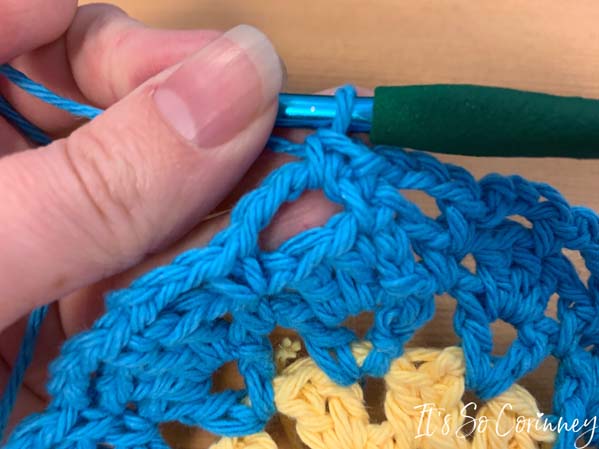
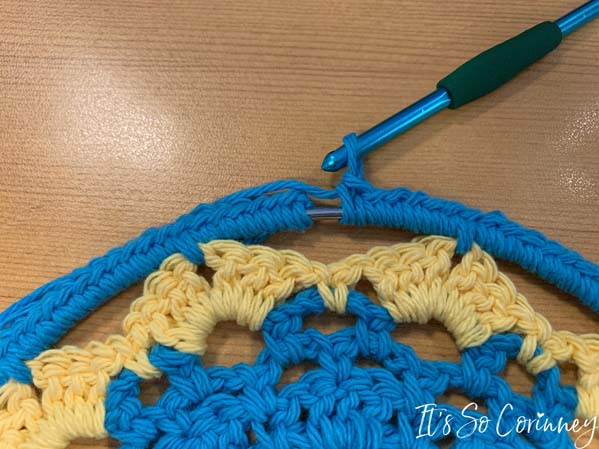
Repeat the process for the rest of the metal ring. Single crochet in between the petals and then single crochet through the chain 1 space of each petal.
FYI! Did you know you can get a printer friendly PDF of the crochet dream catcher tutorial and printable written pattern that prints without ads? Just head over to The It’s So Corinney Shop and check it out!
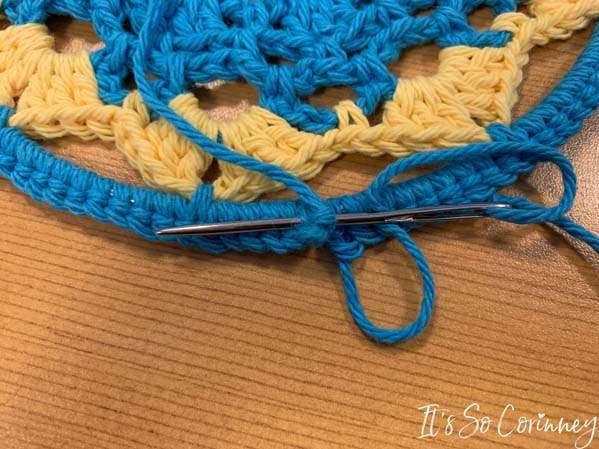
Once I got back to the beginning I took a yarn needle and joined the two sides of single crochet.
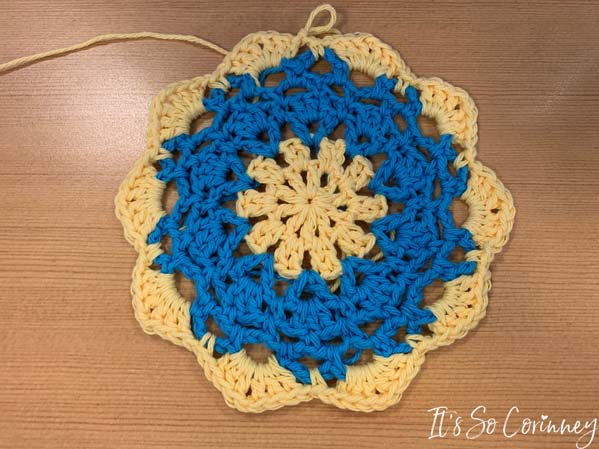
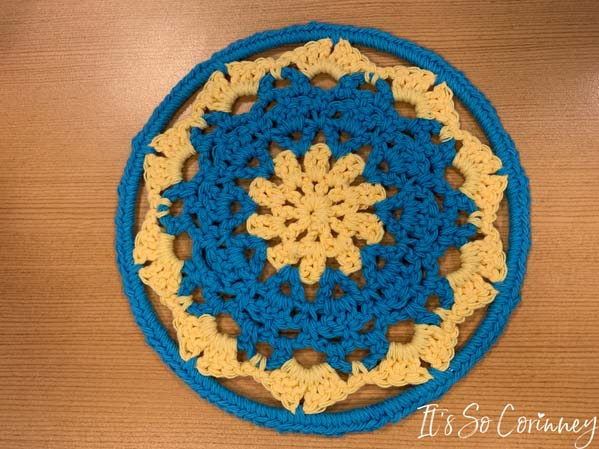
So, here is the dream catcher mandala after I had finished attaching to the metal ring!
Now when I did the single crochet between the petals I really didn’t stress with a certain amount of stitches. Instead I would crochet until I reached the next petal, crochet inside the petal, then see if I had made enough stitches in between. If you can still see the silver of the metal ring then you need to take out your stitch from the petal and add more single crochet in the gaps.
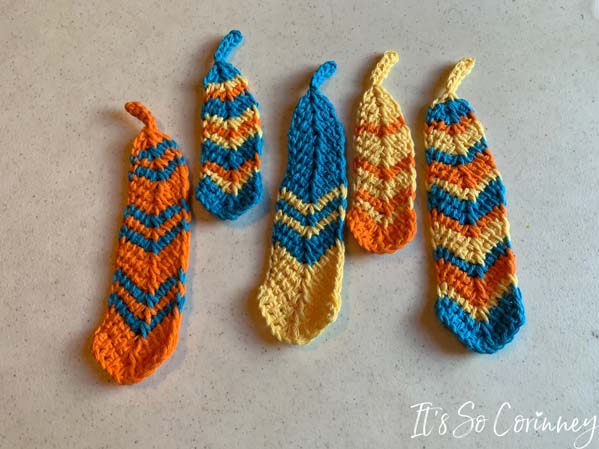
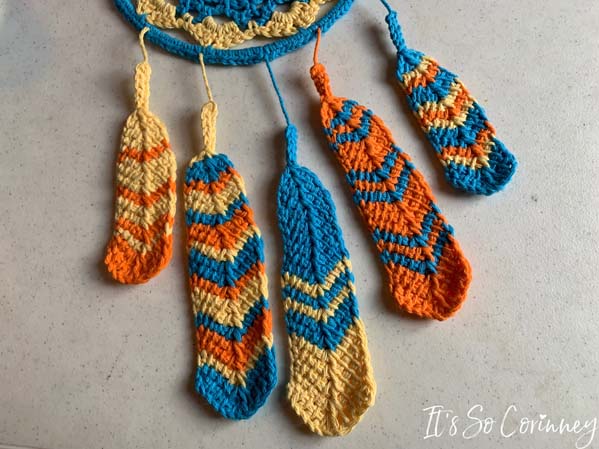
So, for the feathers of the dream catcher I used a pattern from Poppy and Bliss. This pattern is for the cutest Tunisian crochet feathers in two sizes! Now if you have never done any Tunisian crochet, don’t fret! If you do a simple YouTube search for Tunisian crochet it will pull up tons of tutorials. I found some very helpful videos from TL Yarn Crafts that really helped me to understand this technique. This was the first time I have ever tried my hand at Tunisian crochet so I was surprised at how quickly I picked it up!
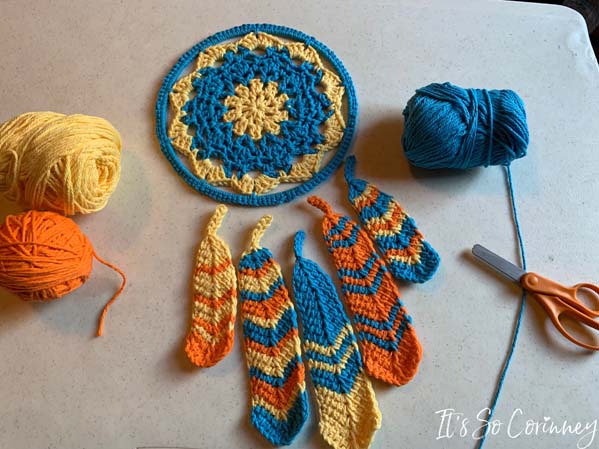
I ended up making three big feathers and two little. Of course this was totally a personal decision based on what I thought my sister would like. When all the feathers were made I fussed with them for like an hour trying to decide where to attach them to the mandala!
FYI! Did you know you can get a printer friendly PDF of the crochet dream catcher tutorial and printable written pattern that prints without ads? Just head over to The It’s So Corinney Shop and check it out!
Once I FINALLY decided where the feathers should go, I just used a yarn needle and some yarn to sew them into the bottom of the single crochet on the metal ring. Then I sewed some yarn through the back of the single crochet at the top of the mandala to make a simple loop to hang the dream catcher.
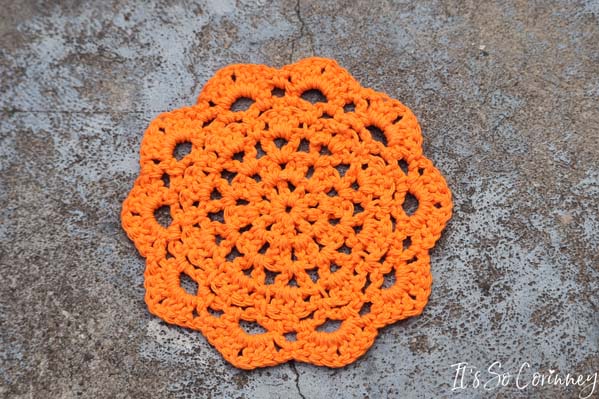
I also made an orange mandala that my sister ended up using as a large coaster on her desk! It also could be used as a hot pad while cooking.
Once you have attached the feathers and the hanger you are all done! So, all that’s left to do is sit back and enjoy your new crochet dream catcher!
Would you like a printer friendly PDF of the crochet dream catcher tutorial and printable written pattern that prints without ads? Then head over to The It’s So Corinney Shop!

Pin Me!
Want To Up Your Sewing Skills?
Are you ready to stop putting off sewing projects and gain confidence in sewing? This instant download digital book comes with over 50 pages of sewing knowledge to help you gain confidence in your sewing! Also included is 5 bonus printable sheets to help you keep your sewing projects and supplies more organized!
Love The Craft Tutorials On The Blog?
Do you enjoy the craft tutorials on the It’s So Corinney blog? If so, would you consider leaving a tip to help me keep the blog going? Your generous support would help me purchase more craft supplies and caffeinated products to create new and exciting craft tutorials to share with you!

do you have a pattern for the feathers besides the Poppy & Bliss pattern?
Hi Ruth! No, unfortunately I didn’t design feathers for this project. If you are not feeling the feathers from Poppy & Bliss I did see a lot of other feather patterns online that you may like better.
I LIKE THE PATTERN I WOULD LIKE TO HAVE ONE PLEAC THANK YOU
Hi Virginia! The entire pattern with step-by-step instructions are on this webpage. If you would like a printable copy of the pattern and tutorial you can purchase that in the It’s So Corinney Shop at https://itssocorinney.com/shop/.