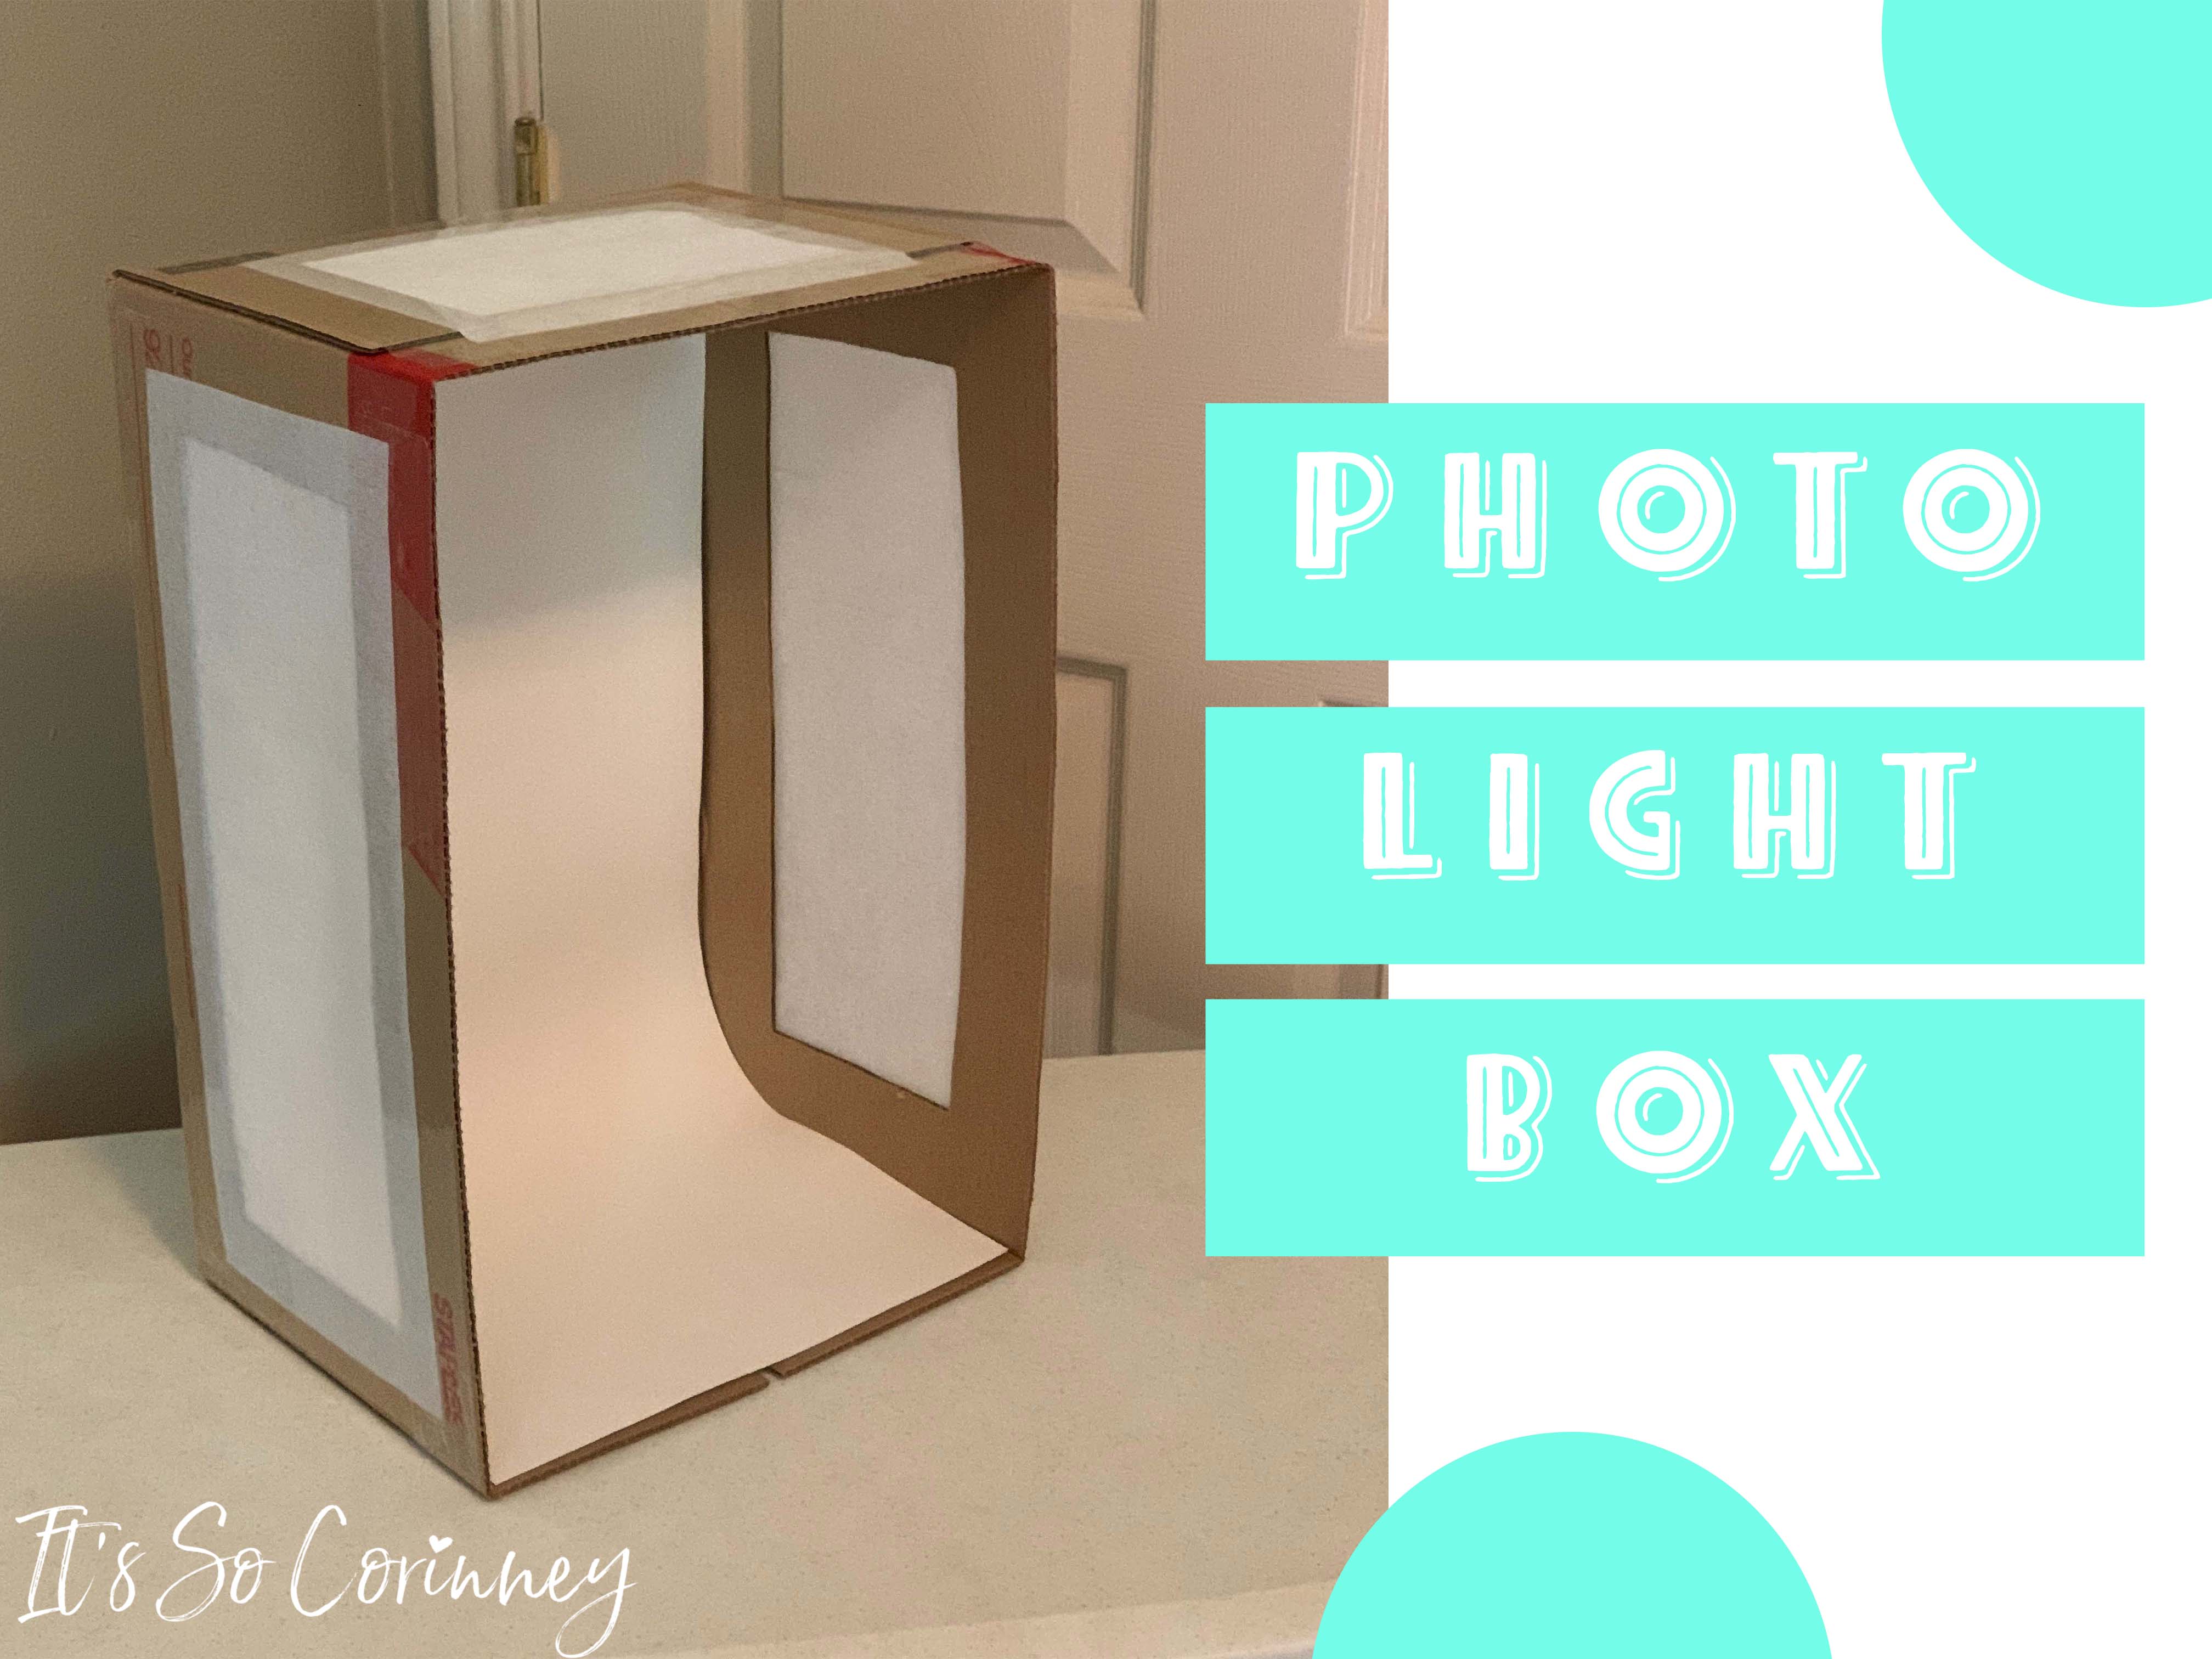
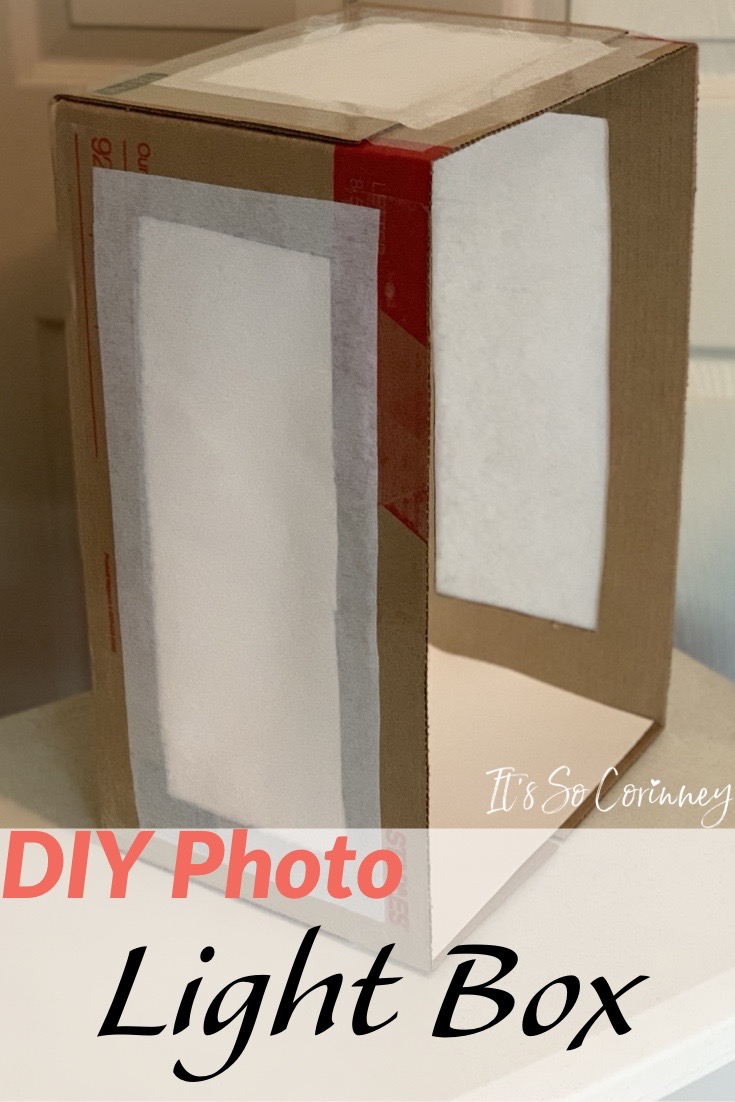
Have you ever had something that you wanted to take a picture of but just couldn’t find the right place to take it? You get so frustrated after searching all over the house and endlessly adjusting your photo settings just for the pictures to still look bad! You are not alone! So many times I try to take pictures but the lighting just isn’t right. Taking pictures outside makes it look better but you have to make sure the weather is perfect. The worse is when you really want or need to take a picture at night! Good thing there is a solution to this problem! A photo light box helps you get bright clean looking pictures during any time of the day! Now you could buy one of the many light boxes that are online but the cheapest I found was around $20 and that didn’t even include the lamps. So I dug through what I had on hand and made one of my own which cost me NOTHING (free is my favorite)! I did purchase the lamps and light bulbs, but I would have had to do that with the online one as well.
This post contains affiliate links. That’s just a fancy way of saying if you click on a link and purchase something I get a little money (total score for me). For more information, see my disclosure here.
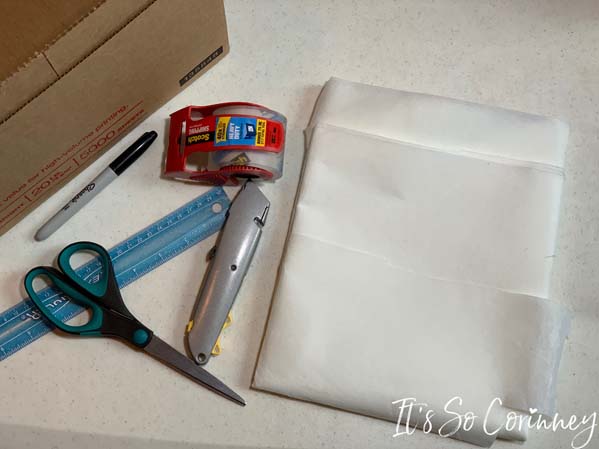
What You Need!
- Cardboard Box
- Interfacing
- White Poster Board
- Packing Tape
- Scissors
- Box Cutter
- Measuring Tape
- Straight Edge
- (3) Lamps
- (3) 100w Daylight Light Bulbs
What to Do!
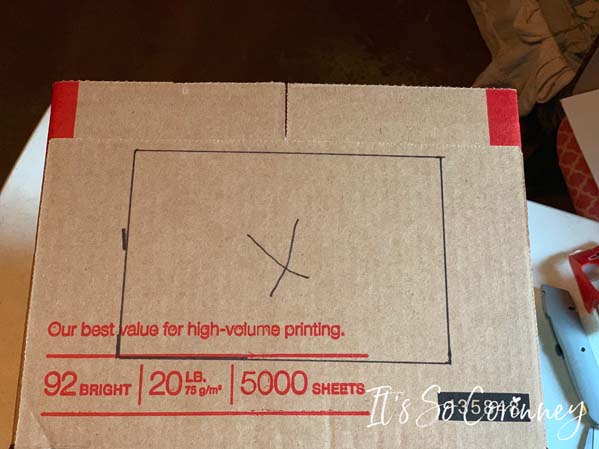
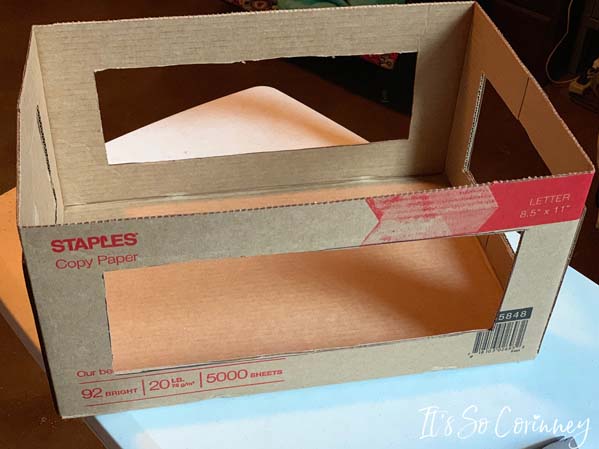
Measure 11/2 inches from each edge on three sides of the box. I obviously didn’t make it perfect but it really doesn’t matter.
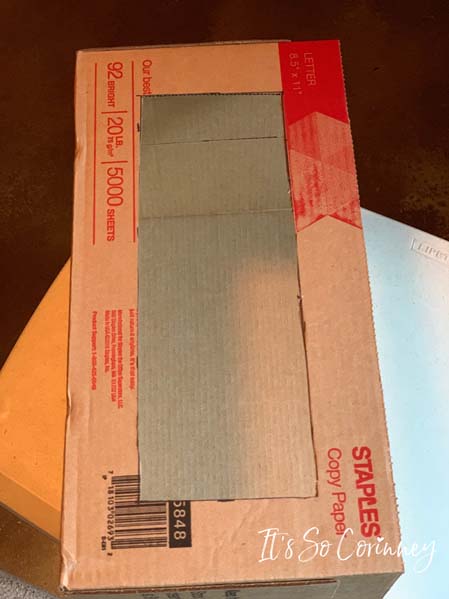
Cut out the rectangles you just measured.
Here is the box with all three sides cut out.
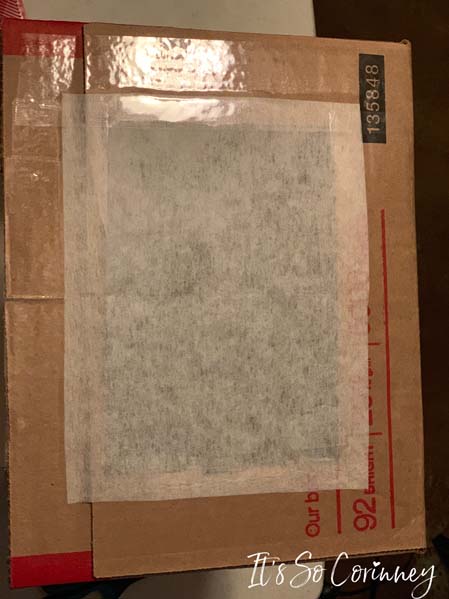
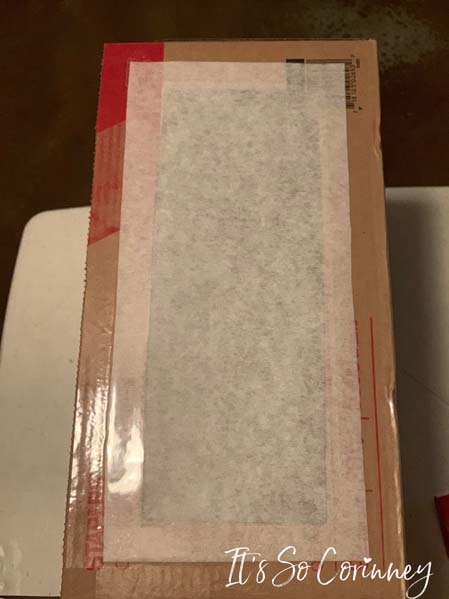
Tape the interfacing over the openings.
Tip! At first I used wax paper for the cutouts but didn’t I like the way the pictures looked. So, I changed out the wax paper to interfacing and got the look I was wanting!
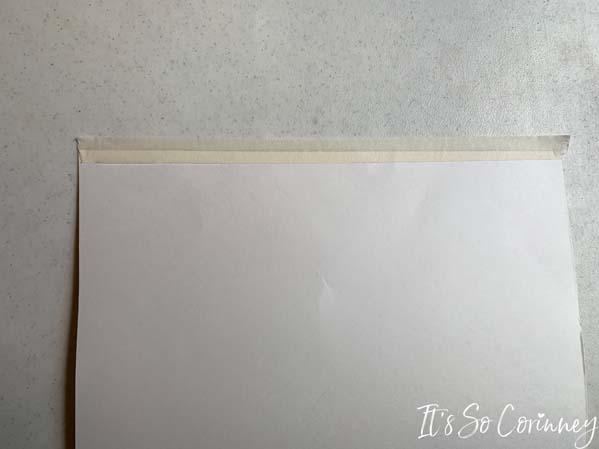
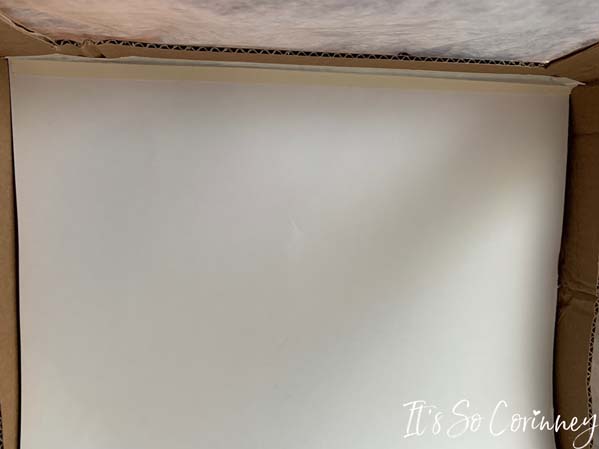
Cut the poster board to fit the size of your photo light box. Run tape along the top length of the poster board.
Tape the poster board to the top of the photo box.
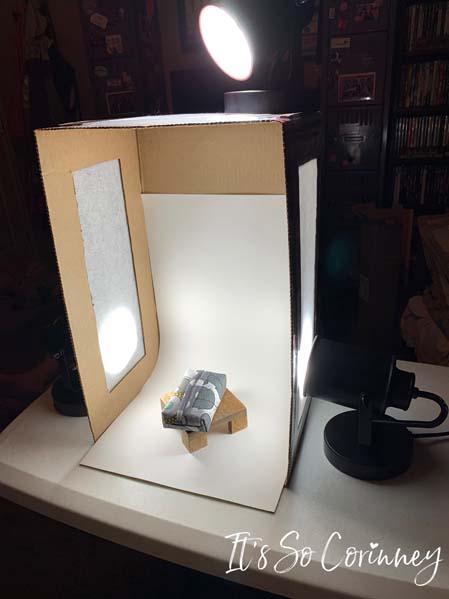
Adjust the lights and take amazing pictures! Yes, I realize that my poster board doesn’t go all the way to the top. I didn’t have a big enough piece and I really wanted to start taking photos so I just made do!
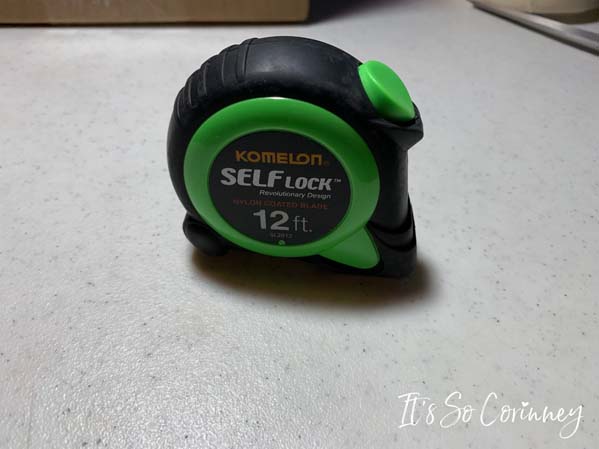
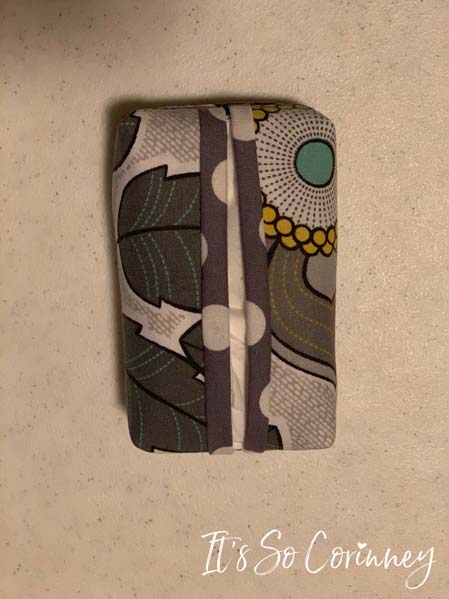
This picture was taken in normal lighting.
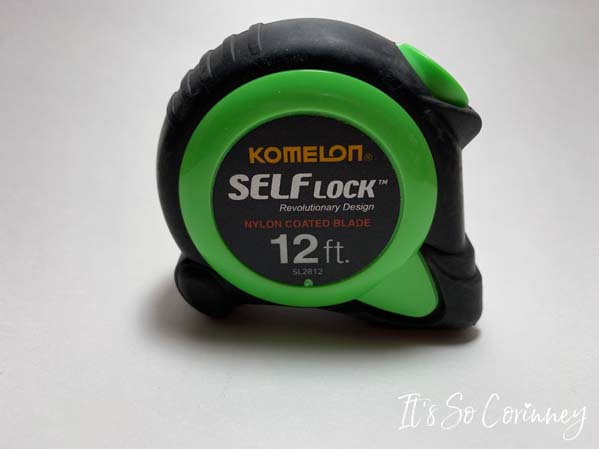
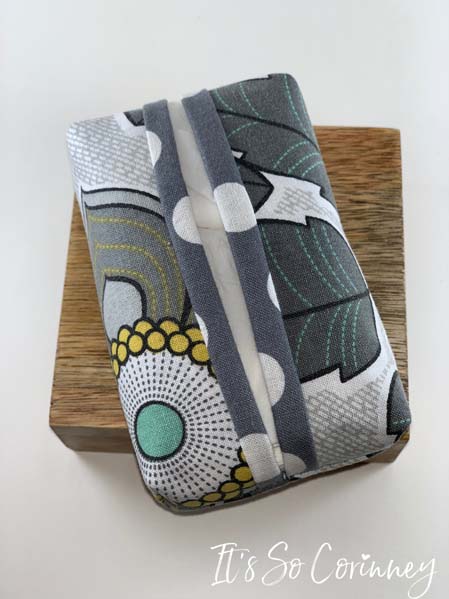
This one was taken in the photo light box using just my iPhone’s camera!
Here is the mini tissue pack cover without the photo light box.
Here is the mini tissue pack cover with the photo light box. What an amazing difference!
Now you can take great photos regardless if you have enough natural light! I love this easy DIY photo light box because it’s so easy to make and to use!

Pin Me!
Love The Craft Tutorials On The Blog?
Do you enjoy the craft tutorials on the It’s So Corinney blog? If so, would you consider leaving a tip to help me keep the blog going? Your generous support would help me purchase more craft supplies and caffeinated products to create new and exciting craft tutorials to share with you!

