I LOVE being outdoors! My favorite thing to do is go walking/hiking in nature. There is something so amazing about being outdoors reminding you that there are bigger things in life than your issues. It always amazes me how close I feel to God while I’m on one of my walks! As much as I love being in nature, during summer months it’s nearly impossible to do. And this summer has been no exception! Besides the Texas heat that we always deal with, this summer has been SO rainy!
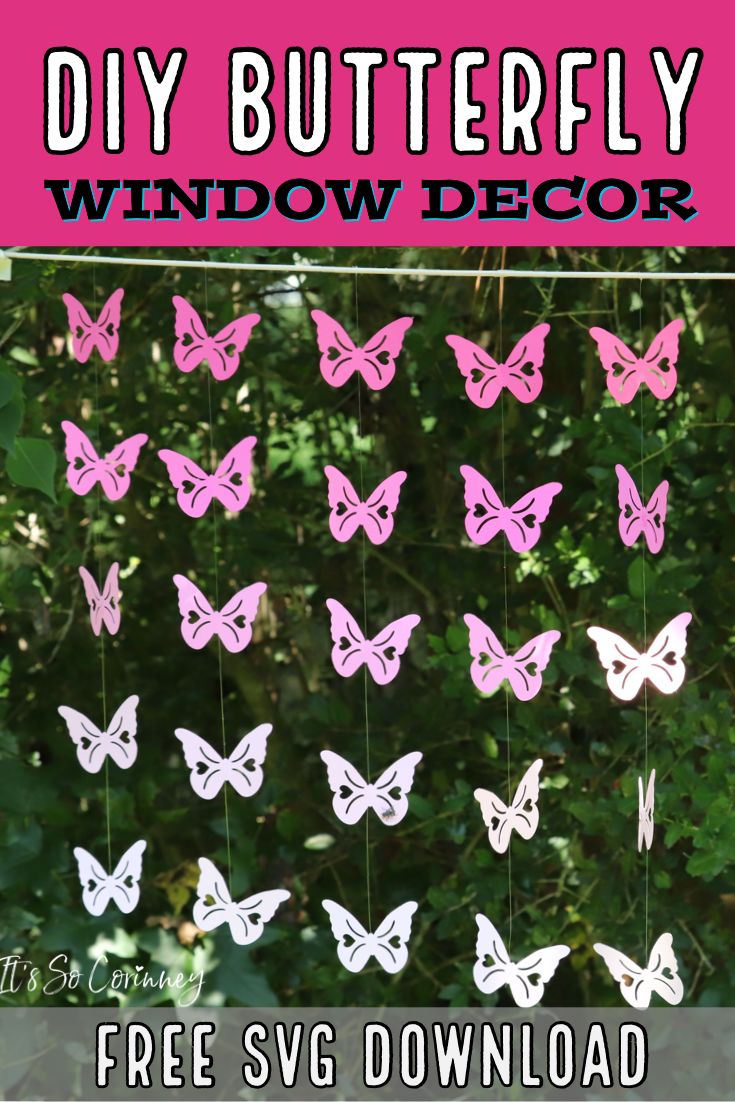
So instead of being down about not having my nature walks, I thought I would make something! I decided since I can’t enjoy nature right now because of the heat I would try to bring some nature inside! This is where the DIY butterfly hanging window decor comes in. I absolutely love how simple this project is and super cheap (total score)!
This post contains affiliate links. That’s just a fancy way of saying if you click on a link and purchase something I get a little money (total score for me). For more information, see my disclosure here.
What You Need!
- Card Stock Paper ~ I used 60 lb paper
- Cricut Machine ~ Any Model
- 1/8 Inch Wood Dowel ~ Mine was 36 inches long
- Hot Glue Gun
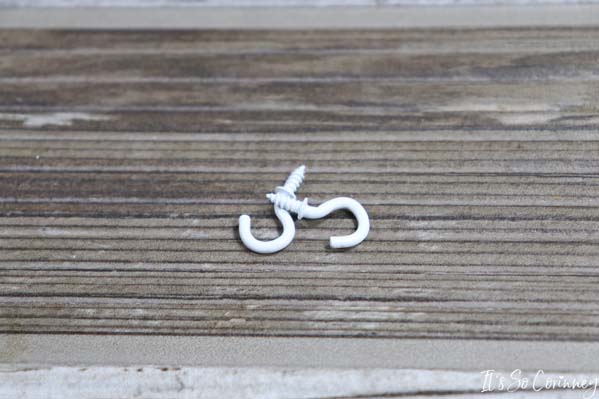
- 1/2 Inch Cup Hooks
- 6lb Fishing Line
- Free #11 ~ Butterfly SVG Download ~ Available in my pattern stash! Head on down to the bottom of the page, fill out the form, and instantly receive an email with the password!
FYI! If you don’t have a Cricut machine, don’t fear! You can still make this super easy craft with a butterfly paper punch. Also, I got some of my supplies at Walmart for really cheap. So, before you buy from a craft store check your local Walmart to see if you can get the same items for cheaper.
What To Do!
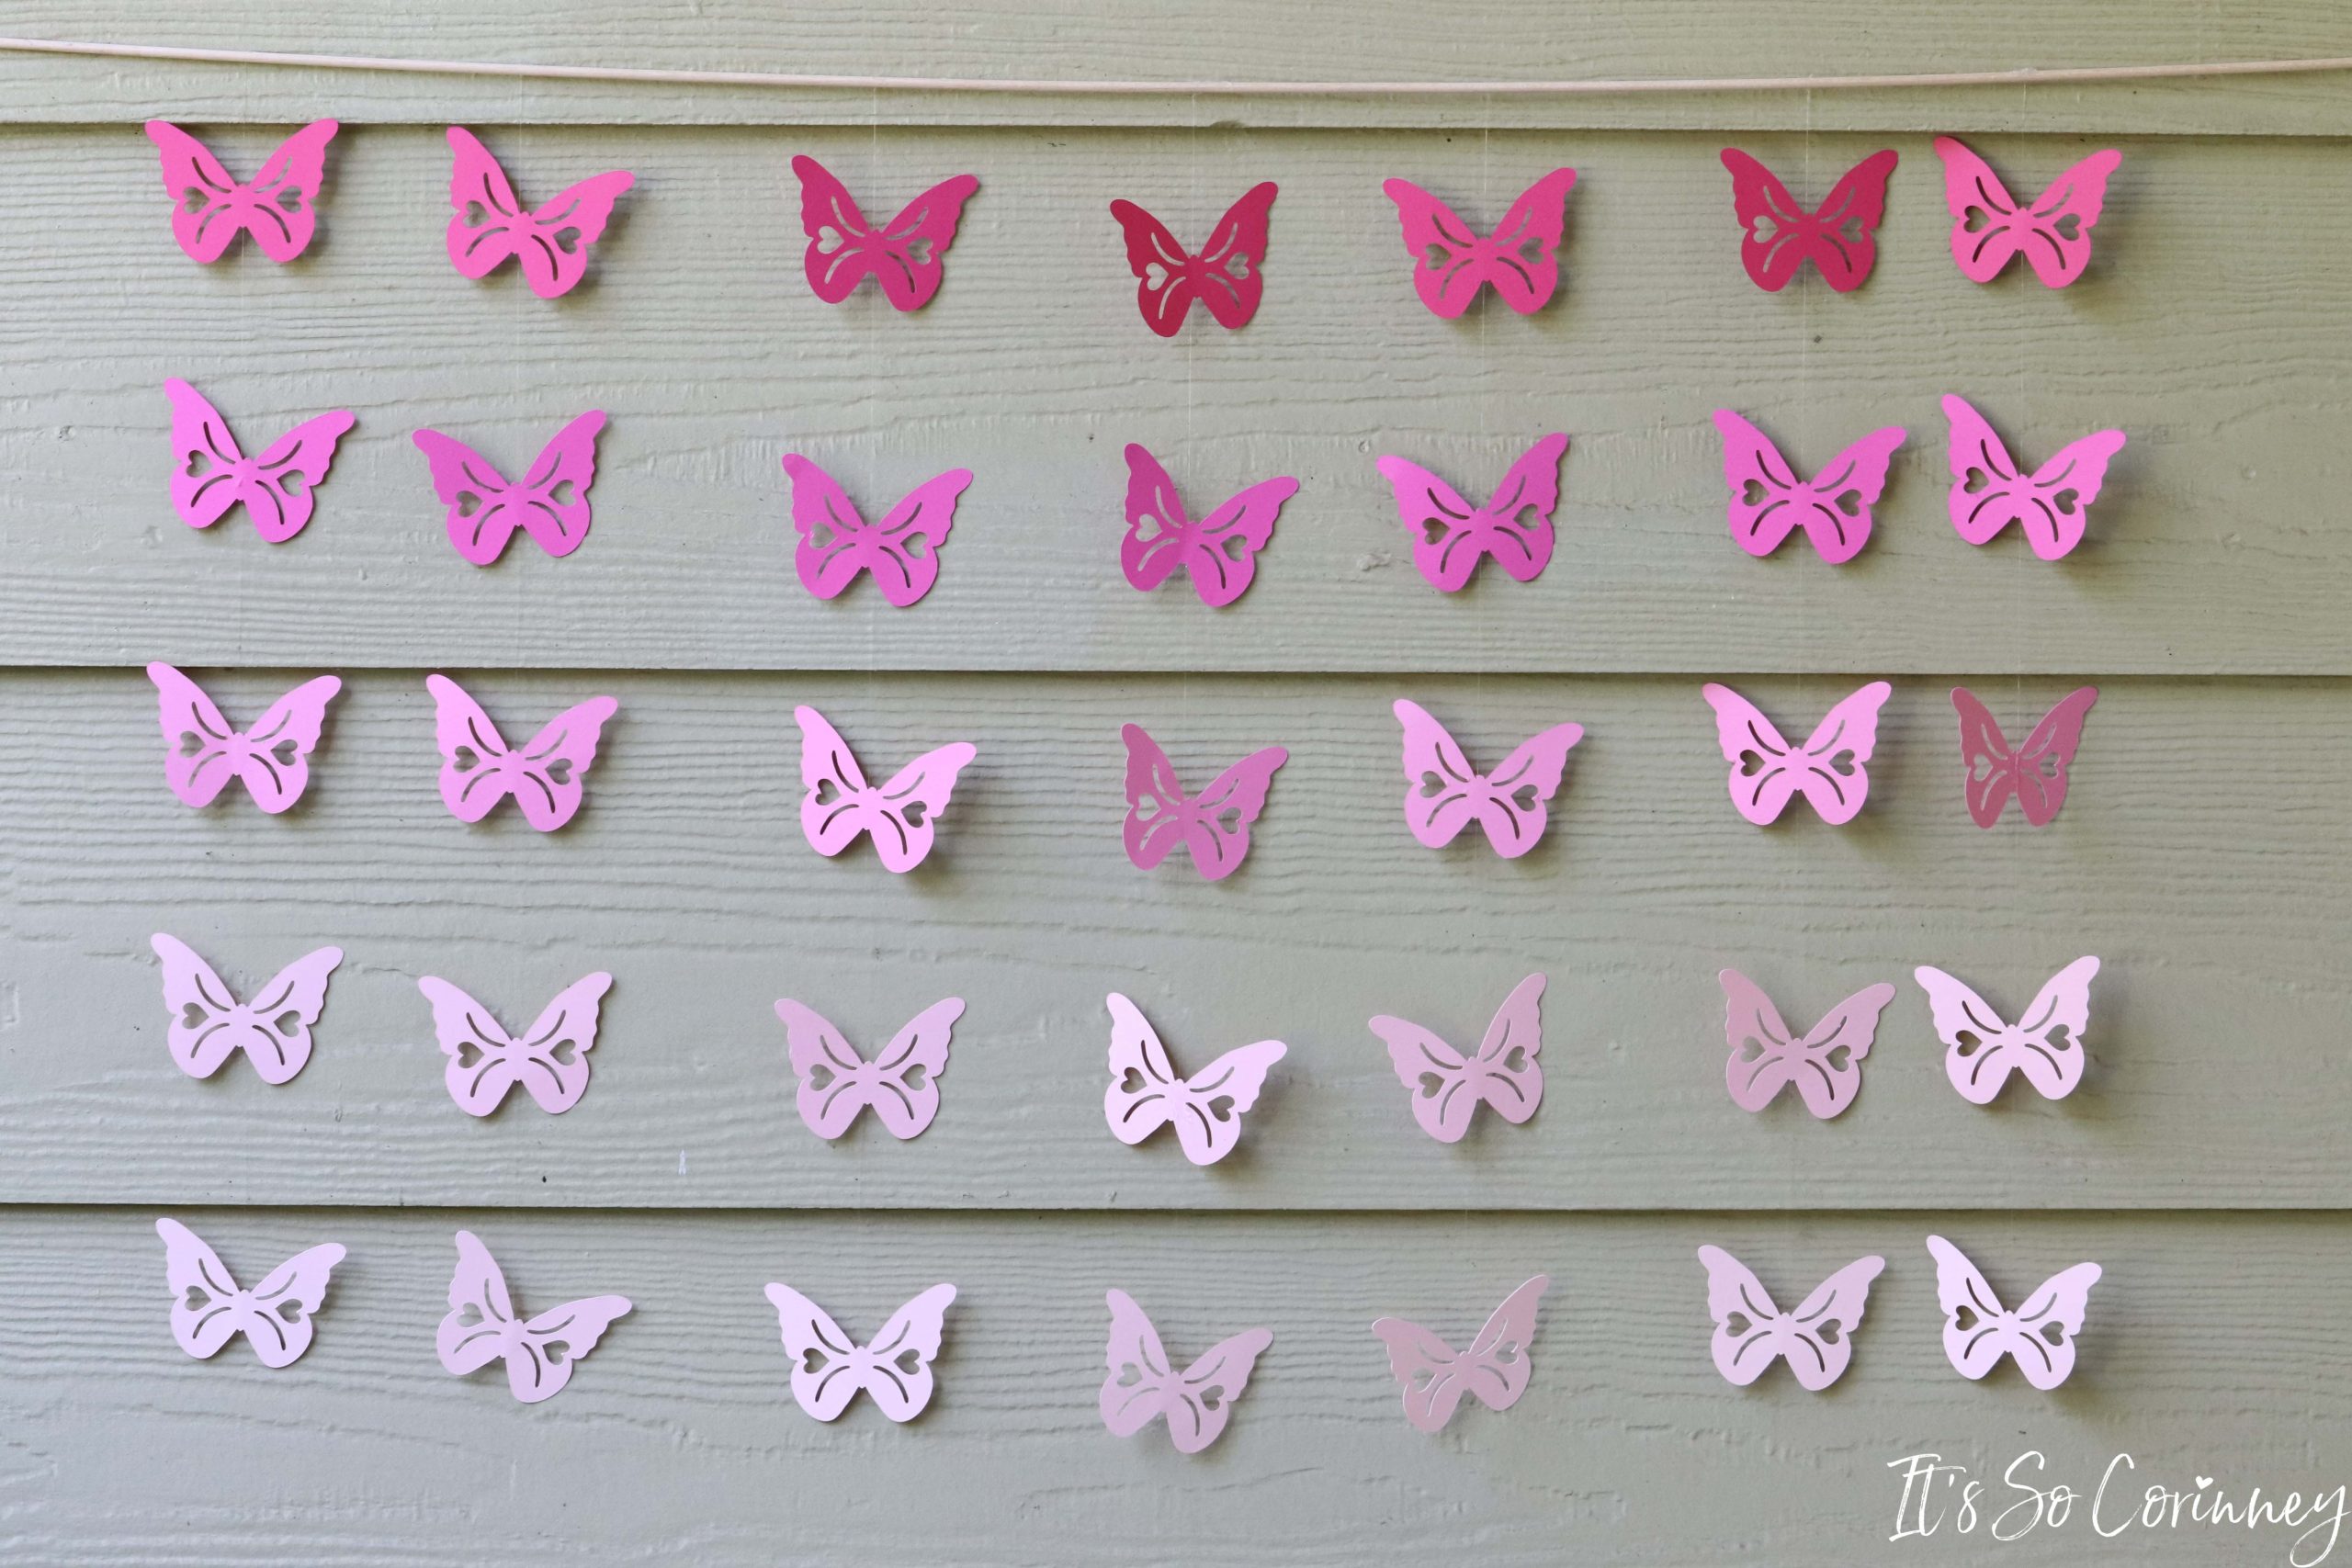
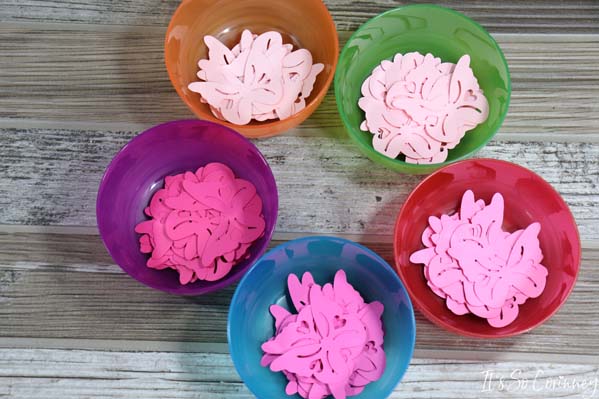
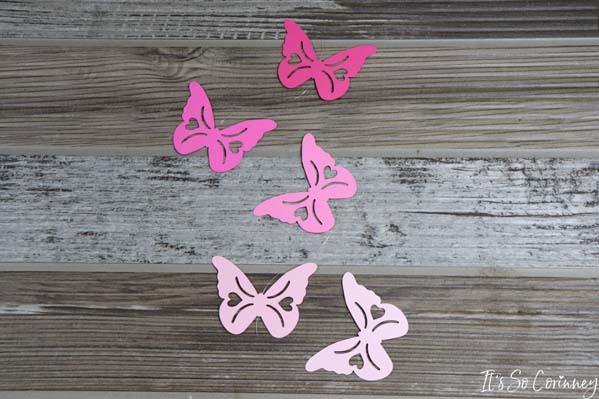
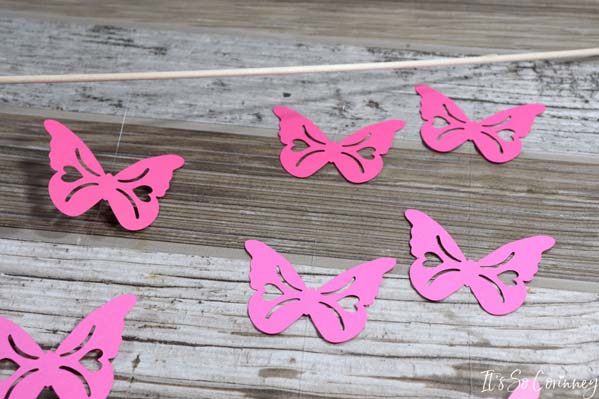
To begin the DIY butterfly window hanging decor you need to download the free SVG file from The Pattern Stash and load into the Cricut Design Space. Need help doing this? Check out my post How To Upload SVG Files to Cricut Design Space for step-by-step instructions! Then cut the butterflies using the settings appropriate for the thickness of paper. I decided to do an ombre effect with my window decor so I cut out my butterflies in five different pink colors. Also, you could totally go bigger with your butterflies than the 2 1/2 inch size that they are set up as. If you want them larger you just have to resize them once they are uploaded into the Cricut Design Space.
FYI! You will notice once you upload the SVG to the Cricut Design Space that I included a plain butterfly just in case you would rather not have hearts on your butterflies!
Then decide how long your lines of butterflies will be. I didn’t want mine super long so I went with 17 inches. Cut the fishing line the length that you just measured. Next, hot glue your butterflies to the fishing line. It’s hard to tell here but they are totally attached to the fishing line. You could put as many butterflies as you would like on one line and do a ton of lines but I did 7 lines of 5 butterflies each.
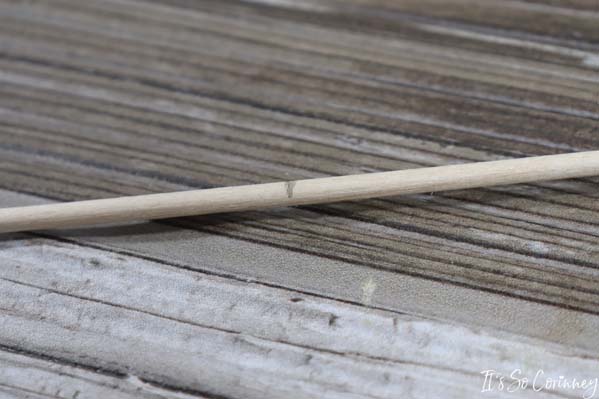
Then measure the inside of the window where you will be place this window decor. If you’re lucky the window will be the exact size as the wooden dowel. However, that was not my experience. My window was around 27 inches wide so I had to cut the wooden dowel down. Next, mark the center of the wooden dowel. This is to make sure that your first line of butterflies is centered.
Next, hot glue (without burning yourself) the first line of butterflies to the center mark you just made. Then evenly space the other lines of the butterflies on the wooden dowel and glue. MAKE SURE that all of your lines are all hanging down the same way! If you don’t then when you hang the decor in the window all the lines will be wonky.
Then screw one of your 1/2 cup hooks into the top of the inside of your window. Measure where you put the first cup hook and repeat the process on the other side of the window.
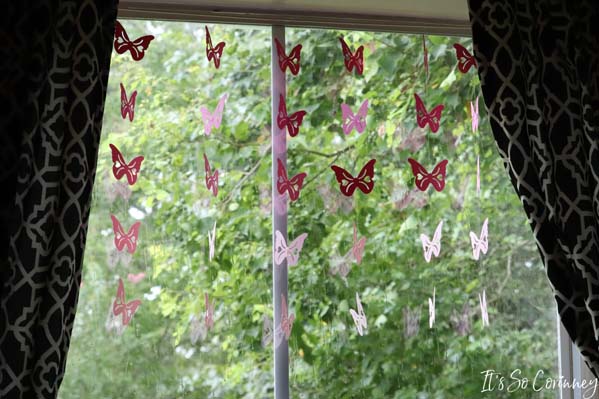
Next, place the finished DIY butterfly hanging window decor into the cup hooks. And……BOOM you have nature inside your house to enjoy!
I absolutely LOVE this project because every time I look out my window I feel happy! This is so awesome because it has been so rainy this summer (no joke, it was raining when I took the above picture). So, now when it rains and looks crummy outside I have happy butterflies to brighten my day!

Pin Me!
Want To Up Your Sewing Skills?
Are you ready to stop putting off sewing projects and gain confidence in sewing? This instant download digital book comes with over 50 pages of sewing knowledge to help you gain confidence in your sewing! Also included is 5 bonus printable sheets to help you keep your sewing projects and supplies more organized!
Love The Craft Tutorials On The Blog?
Do you enjoy the craft tutorials on the It’s So Corinney blog? If so, would you consider leaving a tip to help me keep the blog going? Your generous support would help me purchase more craft supplies and caffeinated products to create new and exciting craft tutorials to share with you!

