This post contains affiliate links. For more information, see my disclosure here.
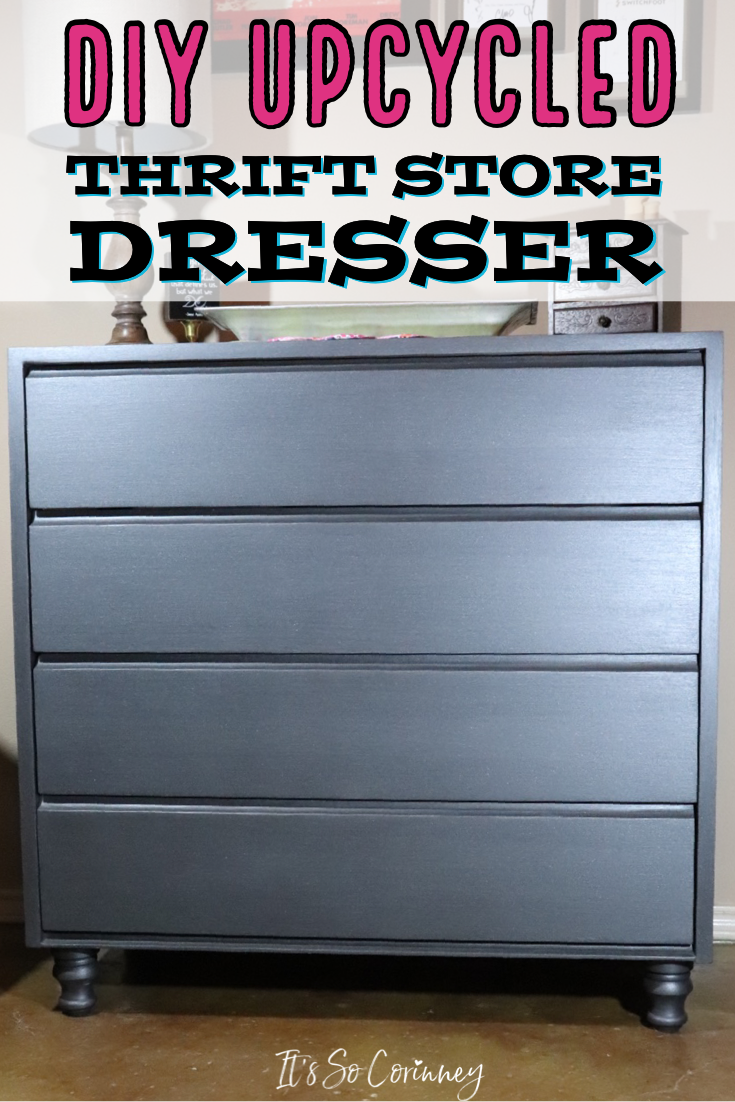
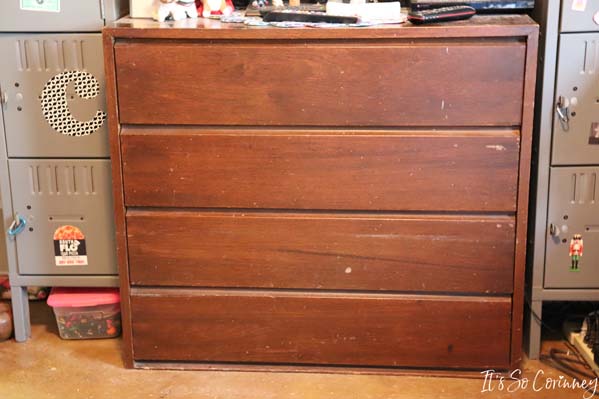
Have you ever shopped for a new dresser? I have and I was SHOCKED how expensive one can be! And if you want a solid wood dresser you might as well kiss a pretty penny good bye. So, I was totally bummed after looking everywhere for a decent priced dresser. Then…..my mom found a solid wood dresser at a thrift store for only $20! As exciting as the price was there was a catch. The dresser needed some MAJOR love. Someone had taken off the legs (so sad), some of the drawers were cracking, and the finish was horrible.
So, since I love redoing furniture I instantly started looking up finishes for my new/old dresser. When I saw several dressers in metallic paint online I KNEW that my dresser wanted to be fancy like that! So, I did a ton of research on paint brands and finally settled on the Modern Masters Metallic paint. Check out my full review of the paint in my Is Modern Masters Metallic Paint Right For You’re Project post!
What You Need!
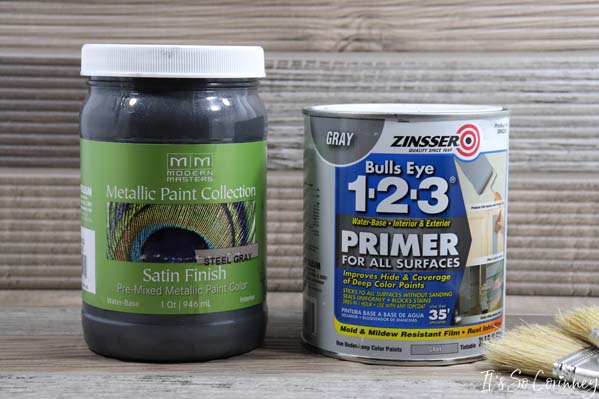
- Metallic Paint ~ I used Modern Masters Metallic Paint in Steel Gray
- Water Based Primer ~ I used Zinsser Bulls Eye Water Based Primer in Gray
- 4 Inch Wood Table Legs
- Leg Bracket Kit
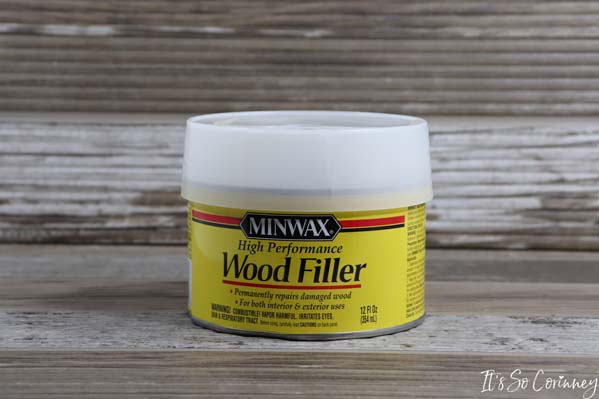
- Minwax Wood Filler ~ Optional
- Paintbrushes
FYI! I purposely bought a gray primer because I was using a dark gray paint. If I was to use a white primer instead of the gray it would have taken more coats of the metallic paint to cover the primer. So, I tried to find a primer that was as close as possible to the color of the metallic paint.
What To Do!
So, here is the thrift store dresser in all of it’s run down glory! I’m sad to say that I left it in this state for quite some time (rolls eyes and shakes head).
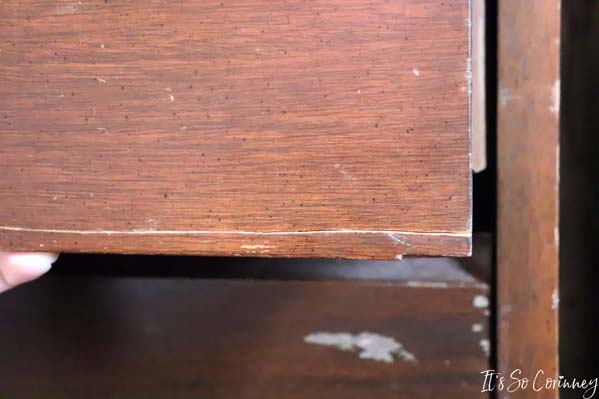
Unfortunately, most of the drawers had started to crack since you have to use the bottom of the drawer as a pull.
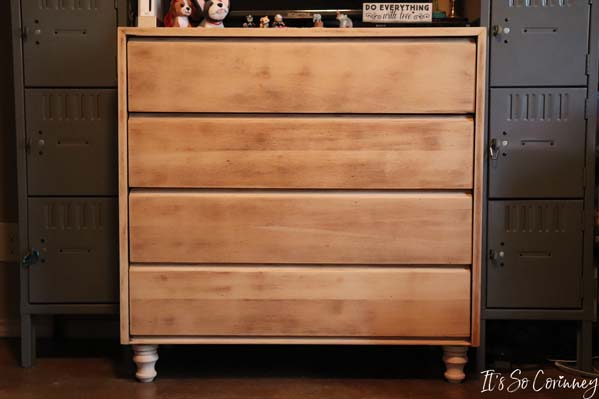
The first step in my DIY upcycled thrift store dresser was to sand ABSOLUTELY everything on the dresser. I have no clue what they finished this dresser with but it seriously took me several days to get all of the finish off. I know what you are thinking, why did you sand off all of the finish when you are going to use a primer? Well, the reason is I like to start fresh so I don’t have to worry later about the bottom layer freaking out my top layers.
Next, I added the 4 Inch Wood Table Legs using the Leg Bracket Kit. If you have ever wanted to add legs to a piece of furniture I have great news! It’s super easy to add legs with the leg bracket kit. All you have to do is screw on the metal plates to the bottom of your furniture, thread on the legs, and BOOM you now have legs!
To fix the cracked edges of the dresser I used Minwax Wood Filler! This stuff is a total miracle worker. I had never even heard about this product and now I regret not having it for every furniture redo that I have done! The amazing thing about this product is that you can sand it once it dries to smooth out the damaged part of the dresser. After I fixed all of the cracks on the dresser I primed the entire thing. Unfortunately, I don’t have pictures of the priming/paint phase because I didn’t take any (that’s what happens when I’m super focused on a project).
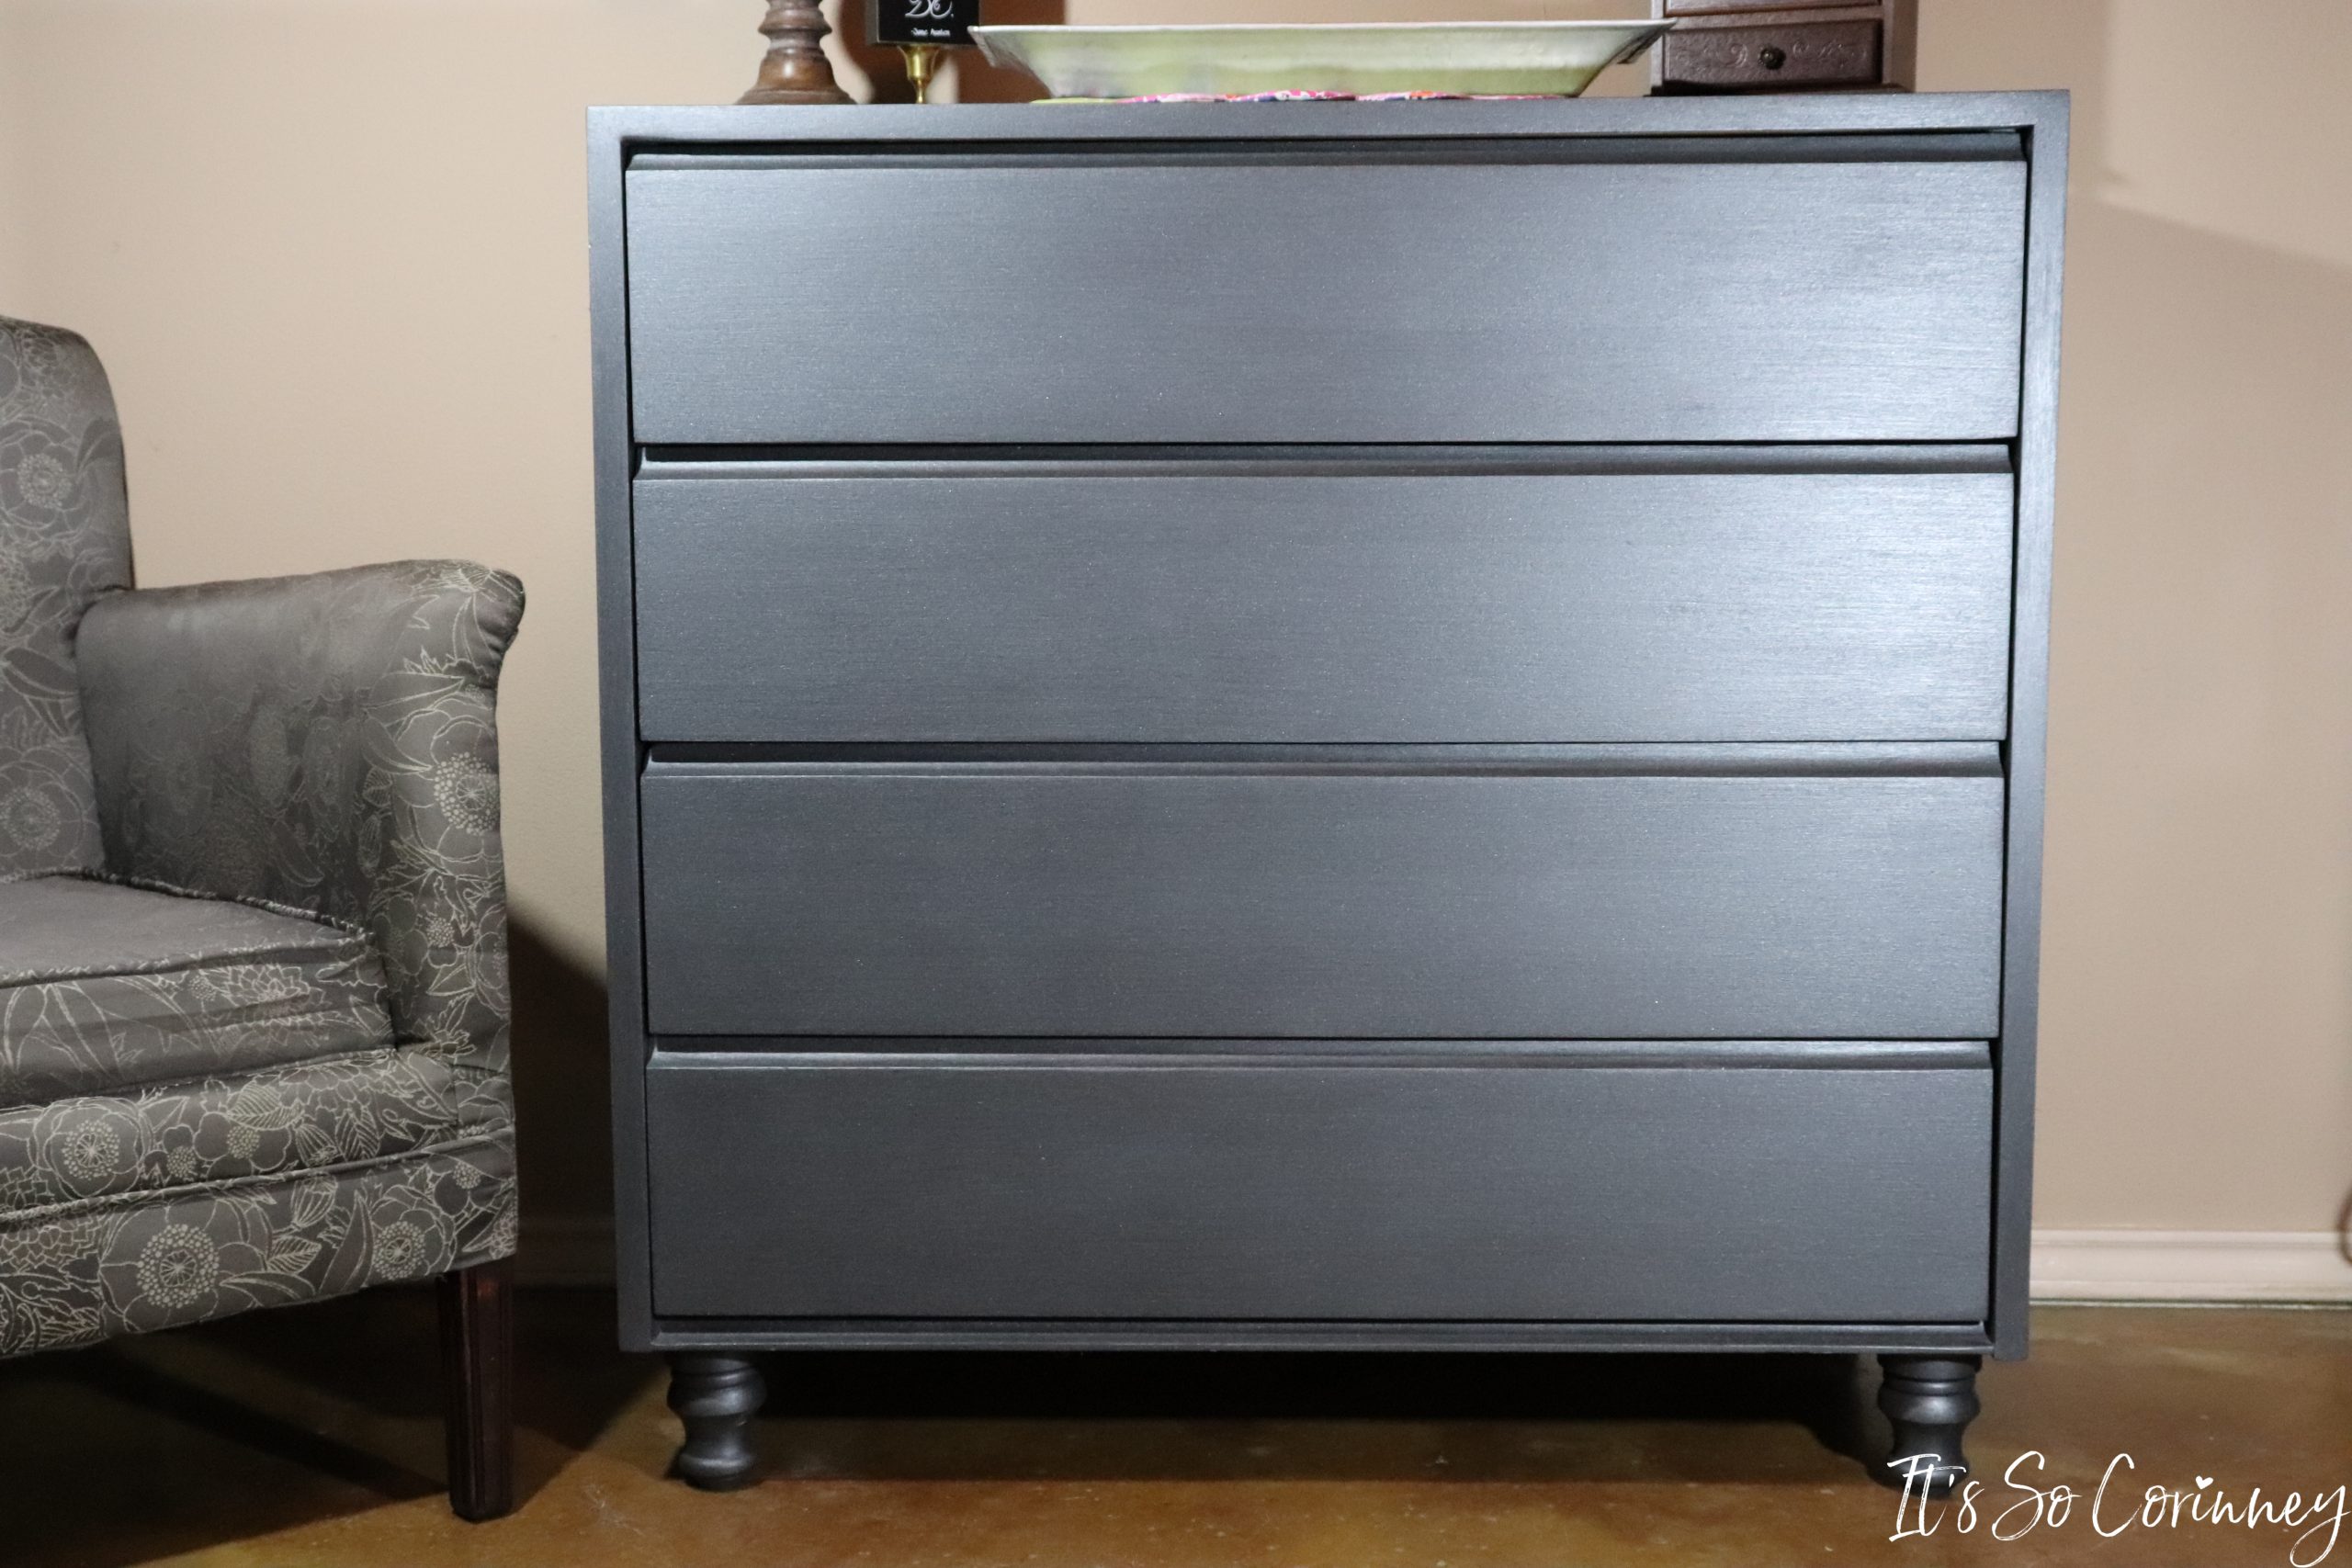
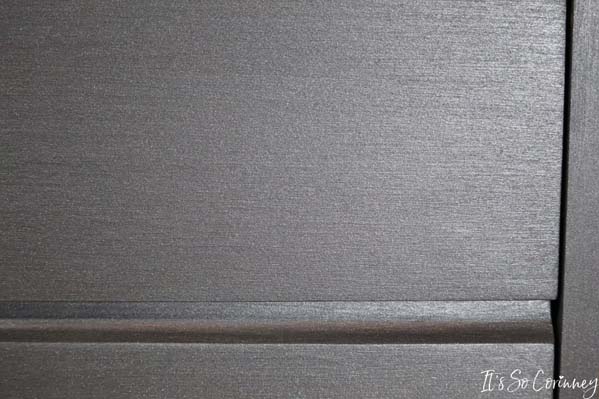
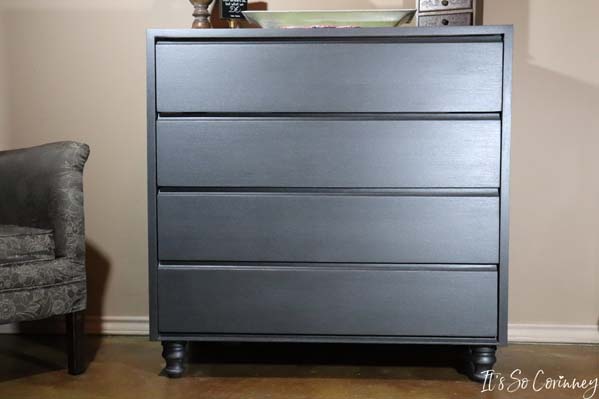
So, once I had fixed the issues with the wood filler, sanded, primed, and painted the dresser it looked amazing! Now, you can’t even notice that the drawers were broken!
Once painted all that was left was to place my DIY upcycled thrift store dresser in my room and fill it!
I absolutely LOVE how this dresser came out and can’t wait to start on my next upcycled thrift store find!

Pin Me!
Want To Up Your Sewing Skills?
Are you ready to stop putting off sewing projects and gain confidence in sewing? This instant download digital book comes with over 50 pages of sewing knowledge to help you gain confidence in your sewing! Also included is 5 bonus printable sheets to help you keep your sewing projects and supplies more organized!
Love The Craft Tutorials On The Blog?

Do you enjoy the craft tutorials on the It’s So Corinney blog? If so, would you consider leaving a tip to help me keep the blog going? Your generous support would help me purchase more craft supplies and caffeinated products to create new and exciting craft tutorials to share with you!




What number sanding did you go with? Working on a buffet i got like a month ago, so I get the dragging your feet. 🙂
Hi Tricia! I started with a very fine grit sand paper (220-240) to check how much of the old finish there was. You always want to start with the softer grit sandpaper and go from there so you don’t sand too much of the wood down. In my case the finish was SEVERAL layers so I ended up using a super corse paper and still go a total arm workout. Good luck with your buffet I’m sure it’s going to turn out great!