Turns out that I have a really bad habit of writing a note on a scrap piece of paper or sticky note and then shoving it in my planner. Then when I go to pick up my planner they all fall out ALL over the ground and I have to scramble to get them all picked up. Unfortunately, this has always been the case with me and after I had dropped all of my important little notes for like the hundredth time (that day) I made the decision that something had to change!
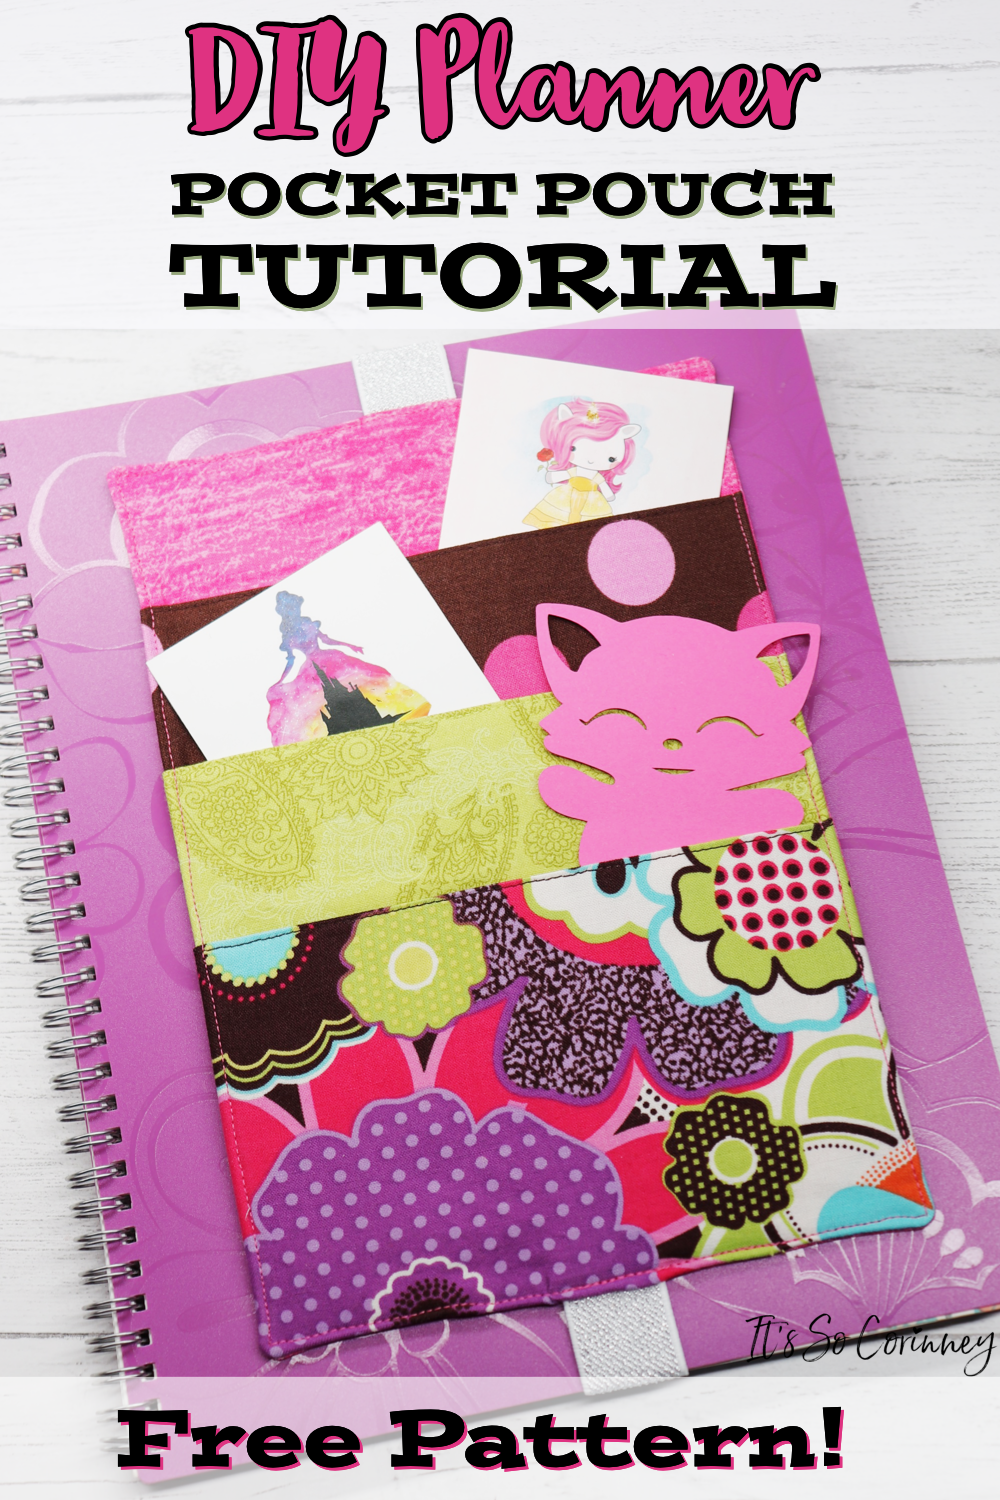
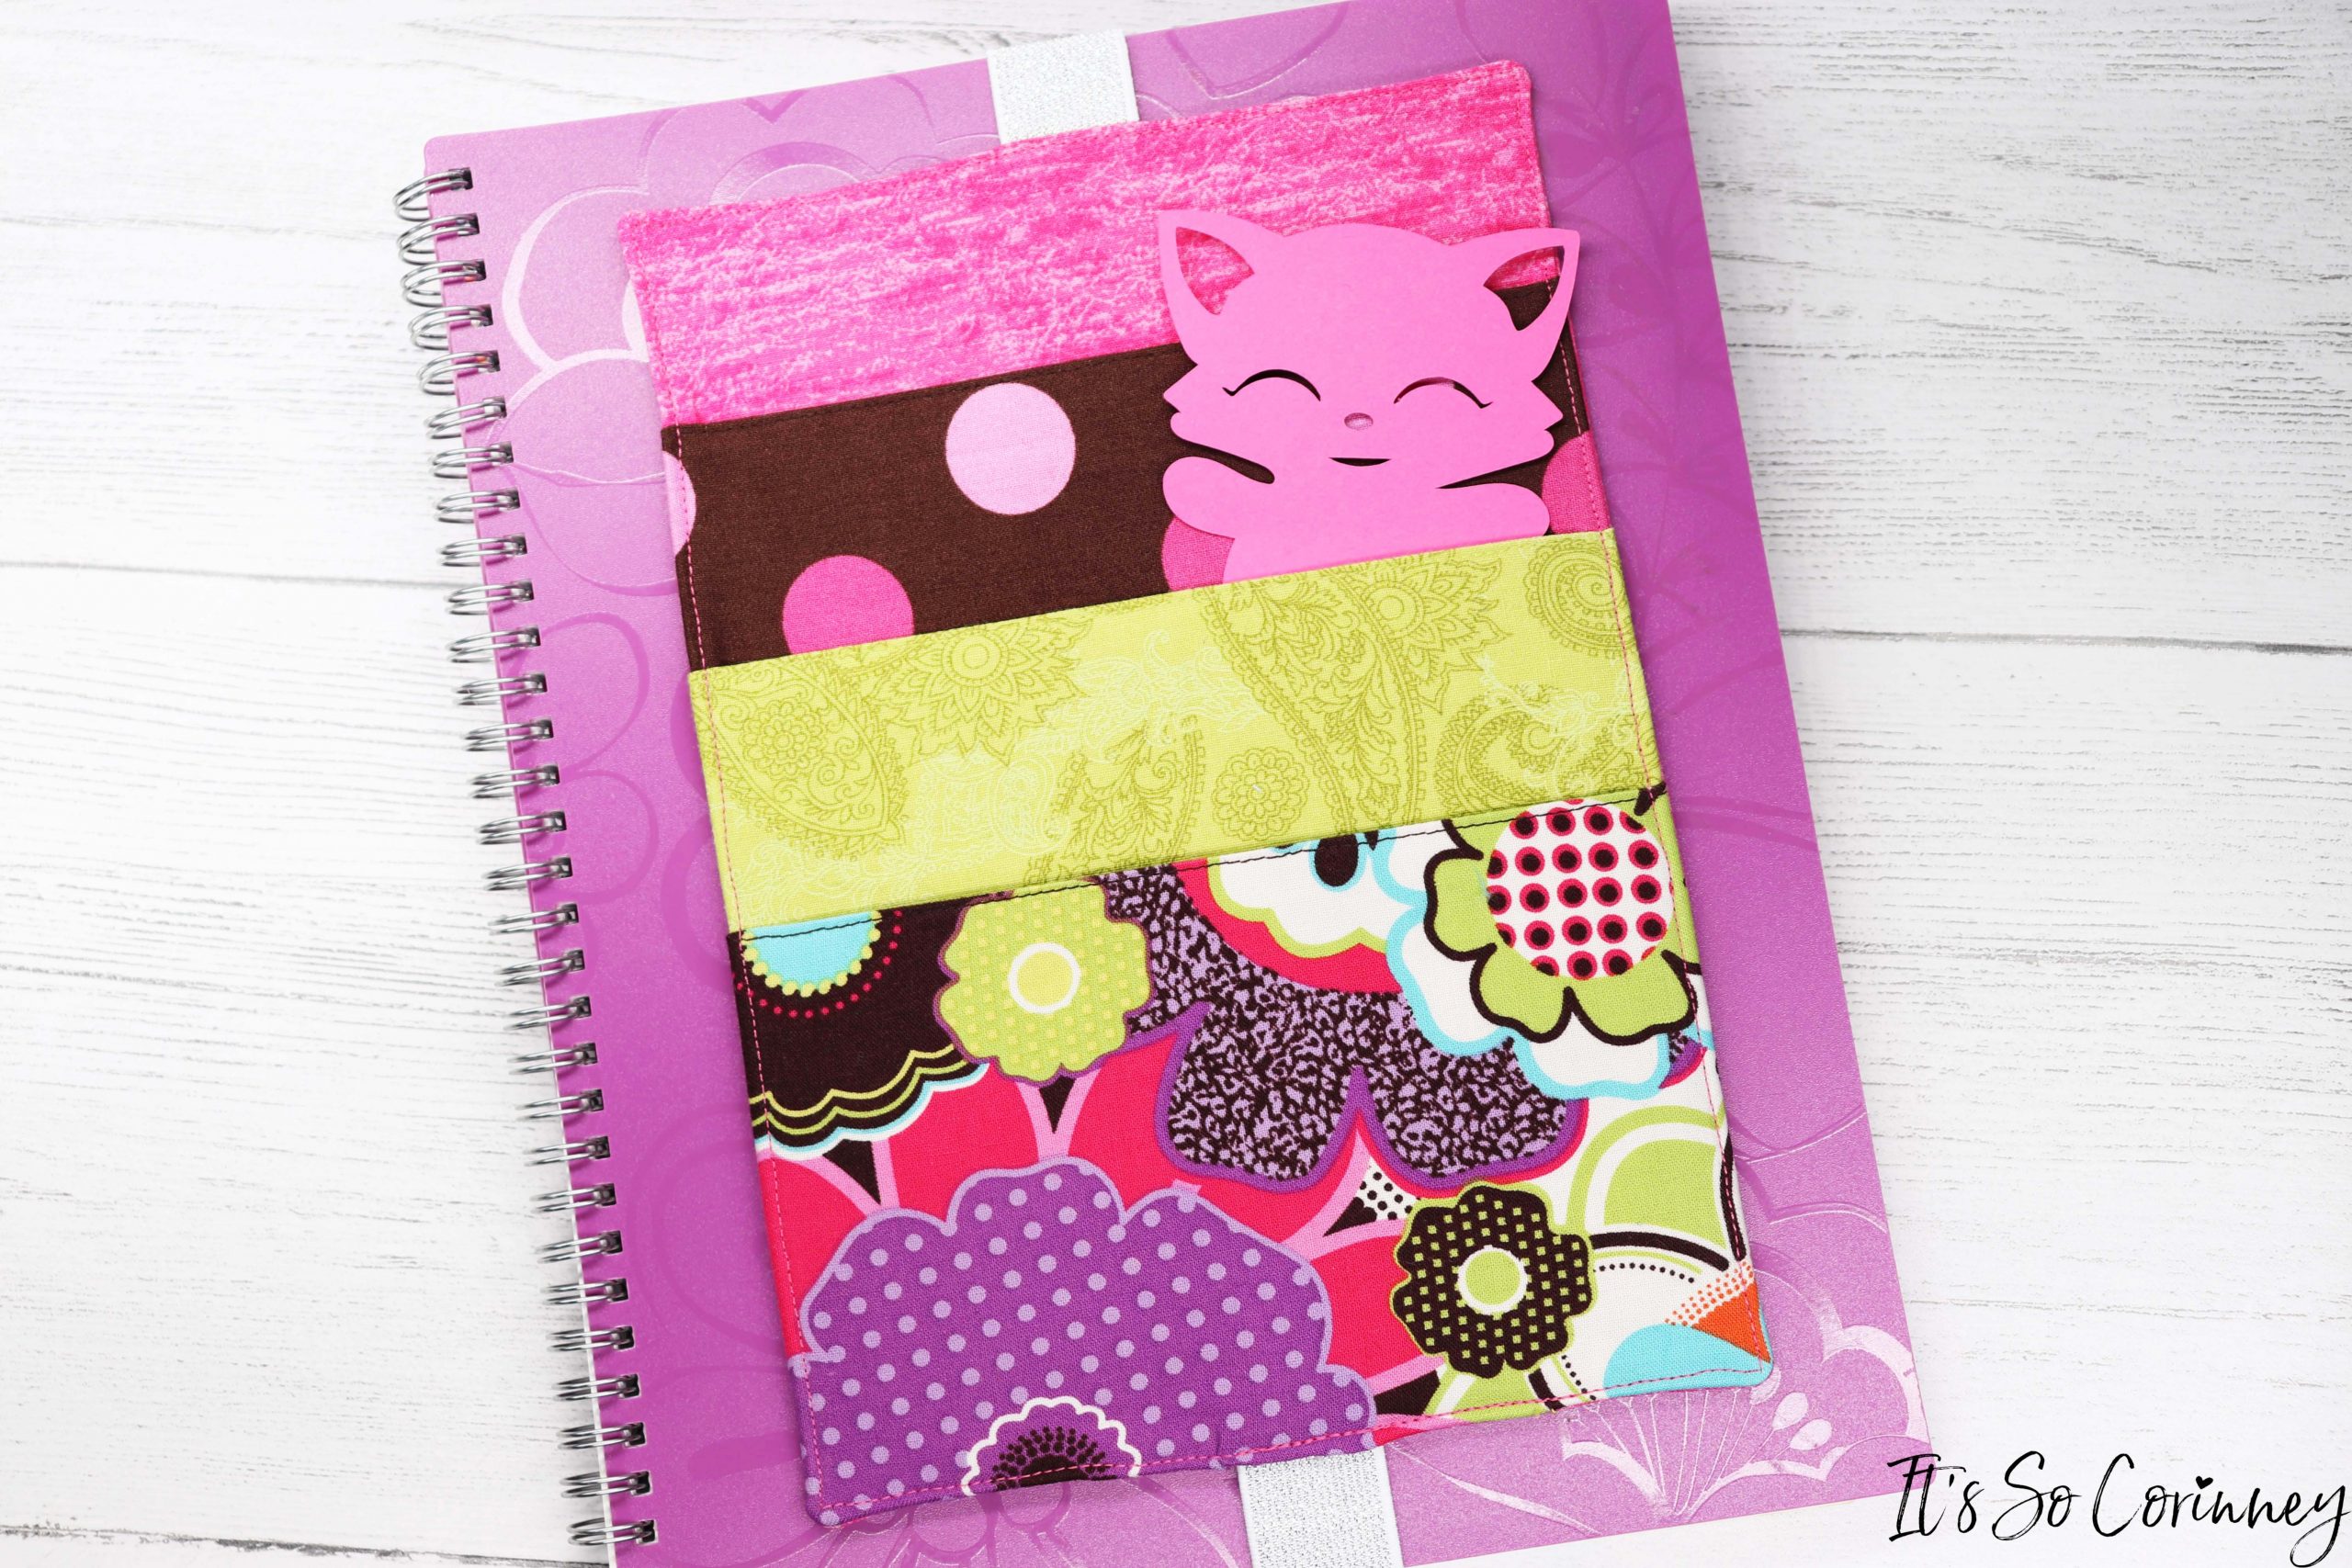
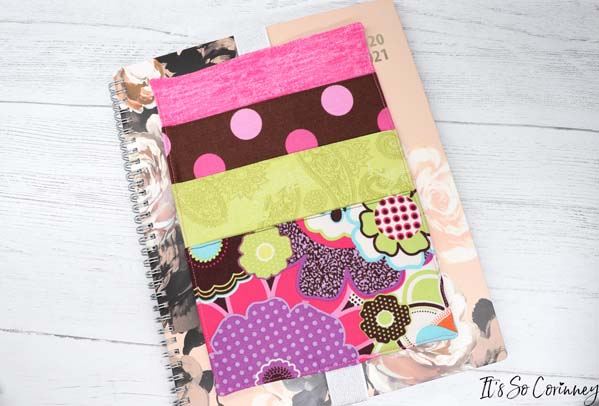
Since I seriously doubt I will stop writing down little notes I figured I would have to solve the problem a different way. So, I started to design a planner pocket pouch with elastic that you could put in your planner or any binder. I’ll tell you what this is one of my best ideas so far because it’s so helpful! Instead of having to worry about my notes falling out I have them in cute little pockets safe and sound! I made my planner pocket pouch for my 11 inch planner but you can adjust the elastic length for any size binder or book (total score)!
This post contains affiliate links. That’s just a fancy way of saying if you click on a link and purchase something I get a little money (total score for me). For more information, see my disclosure here.
What You Need!
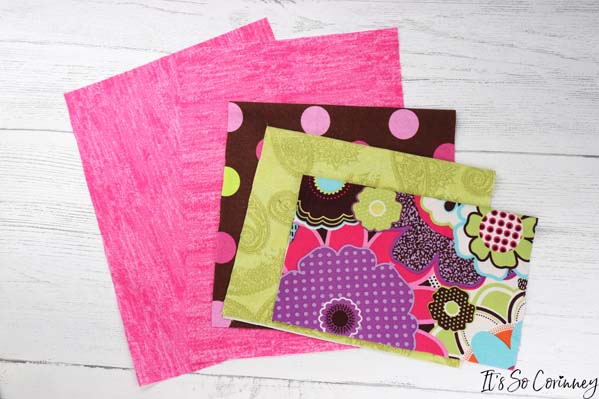
- Quilting Cotton
- Pinking Shears
- Lightweight Fusible Interfacing
- 1 Inch Elastic ~ I used Dritz Metallic Elastic
- Matching Thread
- Free #30 ~ Planner Pocket Pouch Printable Pattern ~ Available in The Pattern Stash! Head on down to the bottom of the page, fill out the form, and instantly receive an email with the password!
FYI!
All sewing is done with a 1/4 inch seam allowance.
Important Info!
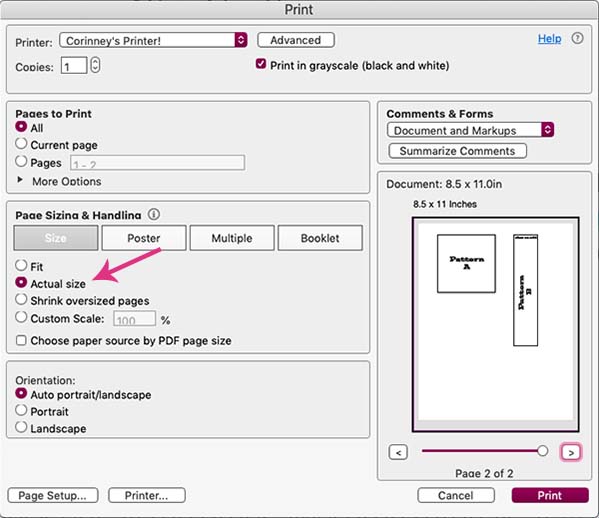
When printing the sewing pattern PDF make sure to adjust the print settings. After you click on the print button in the PDF the printer dialog box will come up. On this screen you want to change the default zoom page size to be Actual Size. If you don’t change this setting then the pattern will print smaller then intended (so sad!).
What To Do!
To begin the planner pocket pouch you need to download the free pattern from The Pattern Stash and cut it out. Then you need to figure out how long you need the elastic to be. For that you have to do a little math. I made my planner pocket pouch for my planner that has a cover that’s 11 inches high but you can make this for any size binder or book. All you have to do is…..
- Measure your planner cover from top to bottom (11 inches)
- Multiple planner cover size by 2 (11 x 2 = 22)
- Then minus last total by 9.75 (22 – 9.75 = 12.25)
- Take that number and minus 1 (12.25 – 1 = 11.25)
- So, the length of the elastic for my planner is 11 1/4 inches
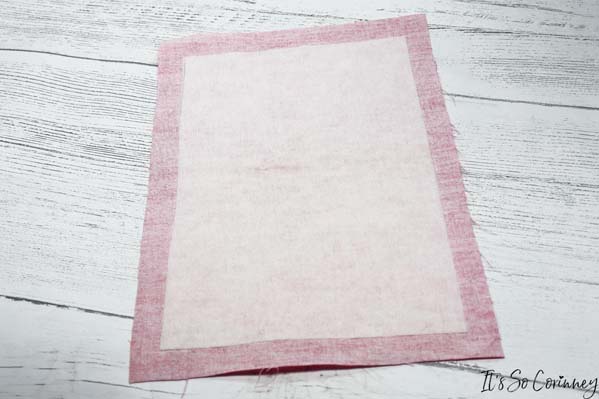
Then press the fusible interfacing to the back of one of the main body pieces.
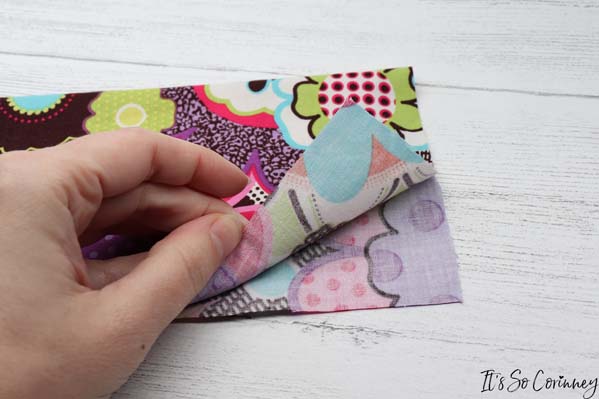
Next, take one of the pockets and fold in half making the two 7 inch sides touch. Then with wrong sides together press the pocket with iron.
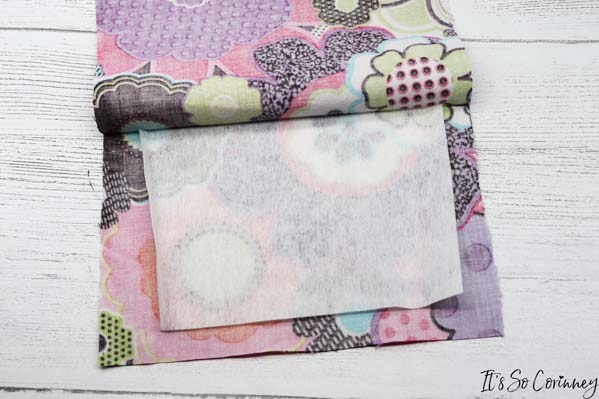
Then take the interfacing and press it in the folded crease of the pocket.
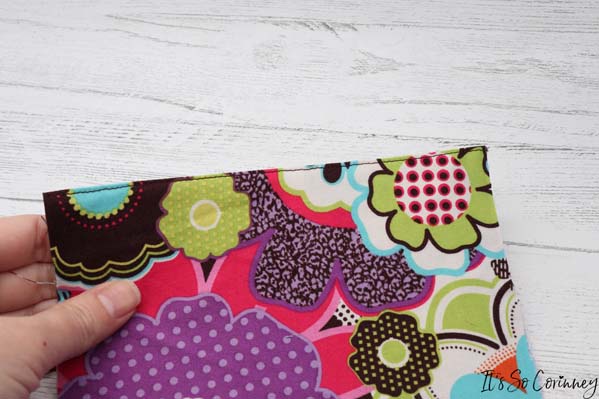
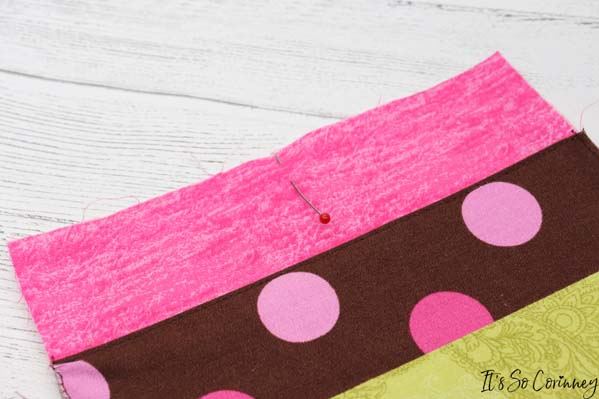
Next, sew a straight stitch across the top of the folded edge of the pocket. Repeat this process for the other two pockets.
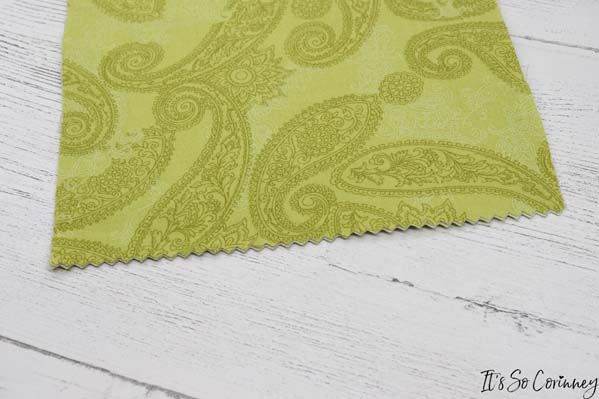
Once all of the pockets have the top edge sewn take your pinking shears and cut the bottom raw edge of pocket A and pocket B.
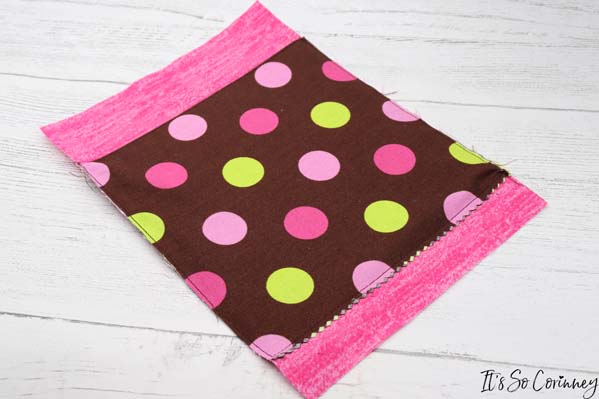
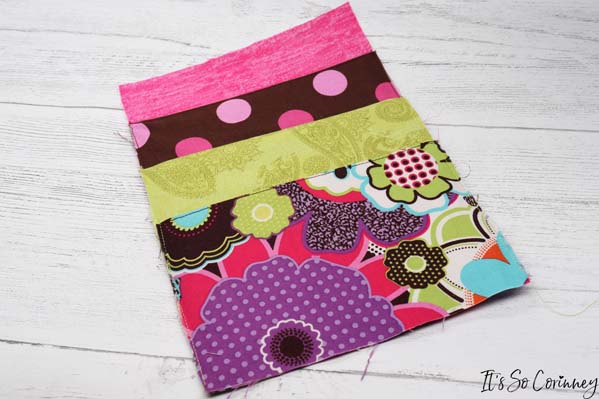
Next, lay the main body piece that you put the fusible interfacing on right side up. Measure 1 3/4 inches down from top of main body piece and place the top of pocket A. Sew the bottom and baste stitch both sides of pocket A.
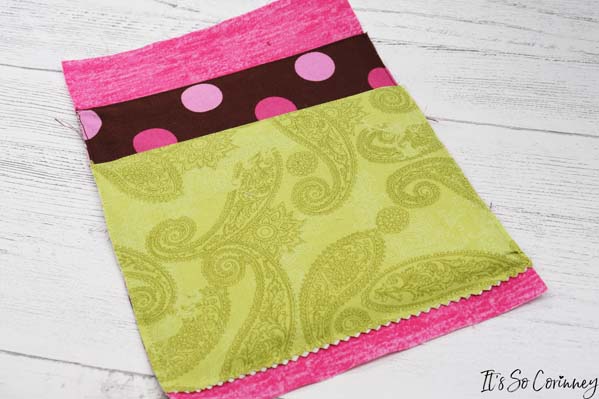
Next, measure 1 3/4 inches down from the top edge of pocket A and pin pocket B. Sew the bottom and baste stitch both sides of pocket B.
Then measure 1 3/4 inches down from pocket B and place pocket C. Baste stitch around both sides and bottom of pocket C. Trim the pockets to make sure they don’t overlap the main body piece.
Next, find the center of the mail body piece.
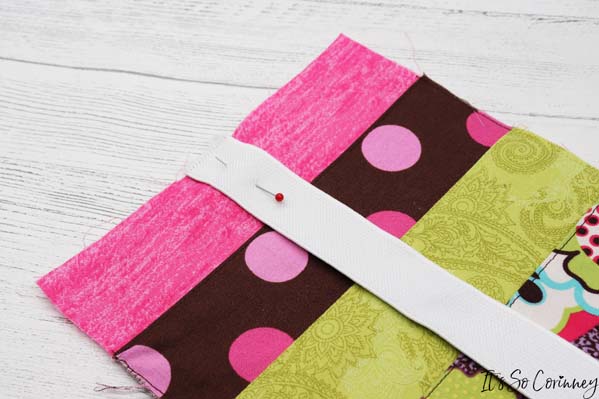
Then pin your elastic to that center mark.
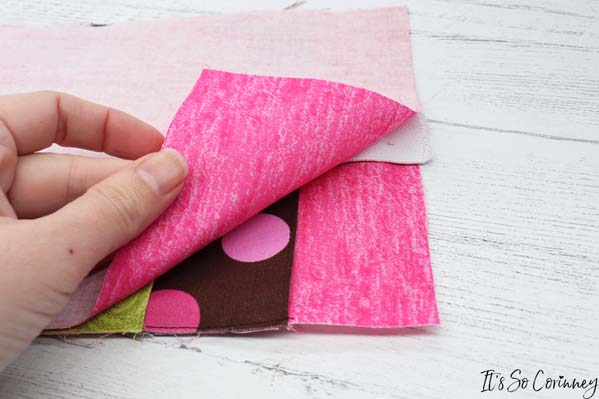
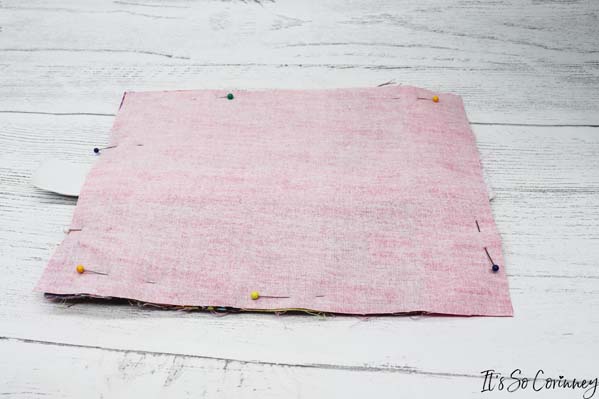
Next, lay your other main body piece on top of the pockets right sides together.
Then pin around entire planner pocket pouch. Carefully, move the the pin from the elastic to the top layer so you don’t accidentally hit it while sewing. Sew around entire pocket pouch making sure to leave a 1 1/2 inch turning hole at the bottom.
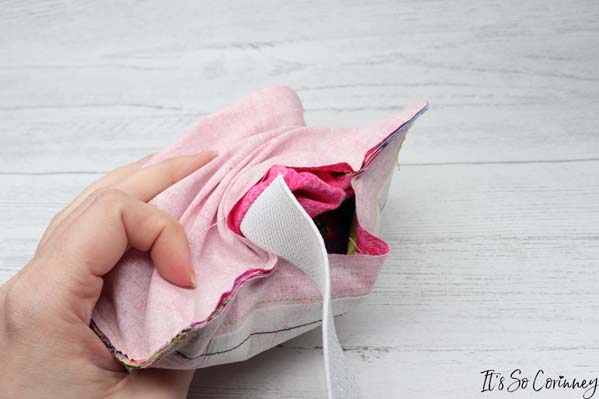
Then trim your edges and turn the pocket pouch right side out through the turning hole.
Next, press the pocket pouch and insert the free edge of the elastic inside of the turning hole. Make sure you measure to make sure you are placing the elastic at the same spot as the top elastic.
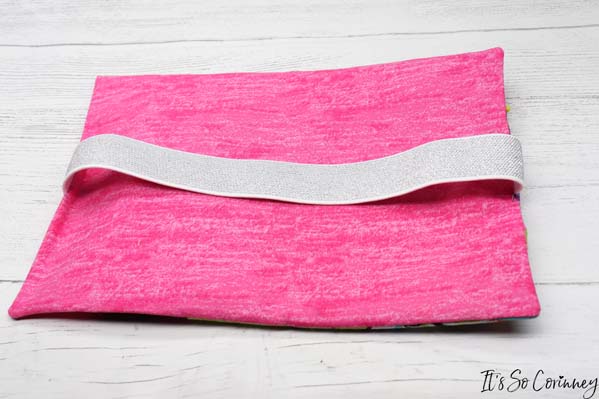
STOP! Before you start sewing, make sure that the elastic isn’t twisted! Then starting at the pinned end top stitch around the planner pocket pouch super close to the edge making sure to close the turning hole and securing elastic.
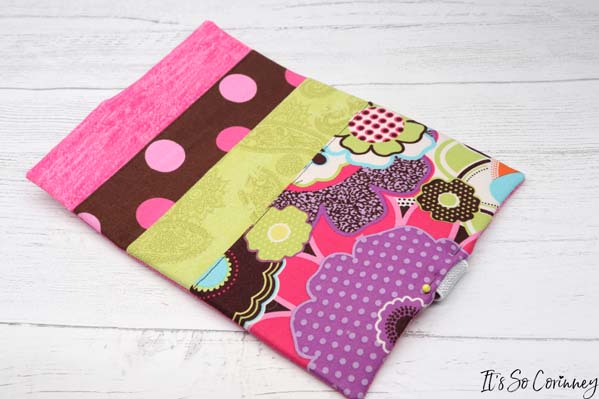
Then you’re all done! Add your super cute creation to the journal, book, or planner of your choice!
Now you too have a super cute way to keep all your scribblings together in one safe space!

Pin Me!
Want To Up Your Sewing Skills?
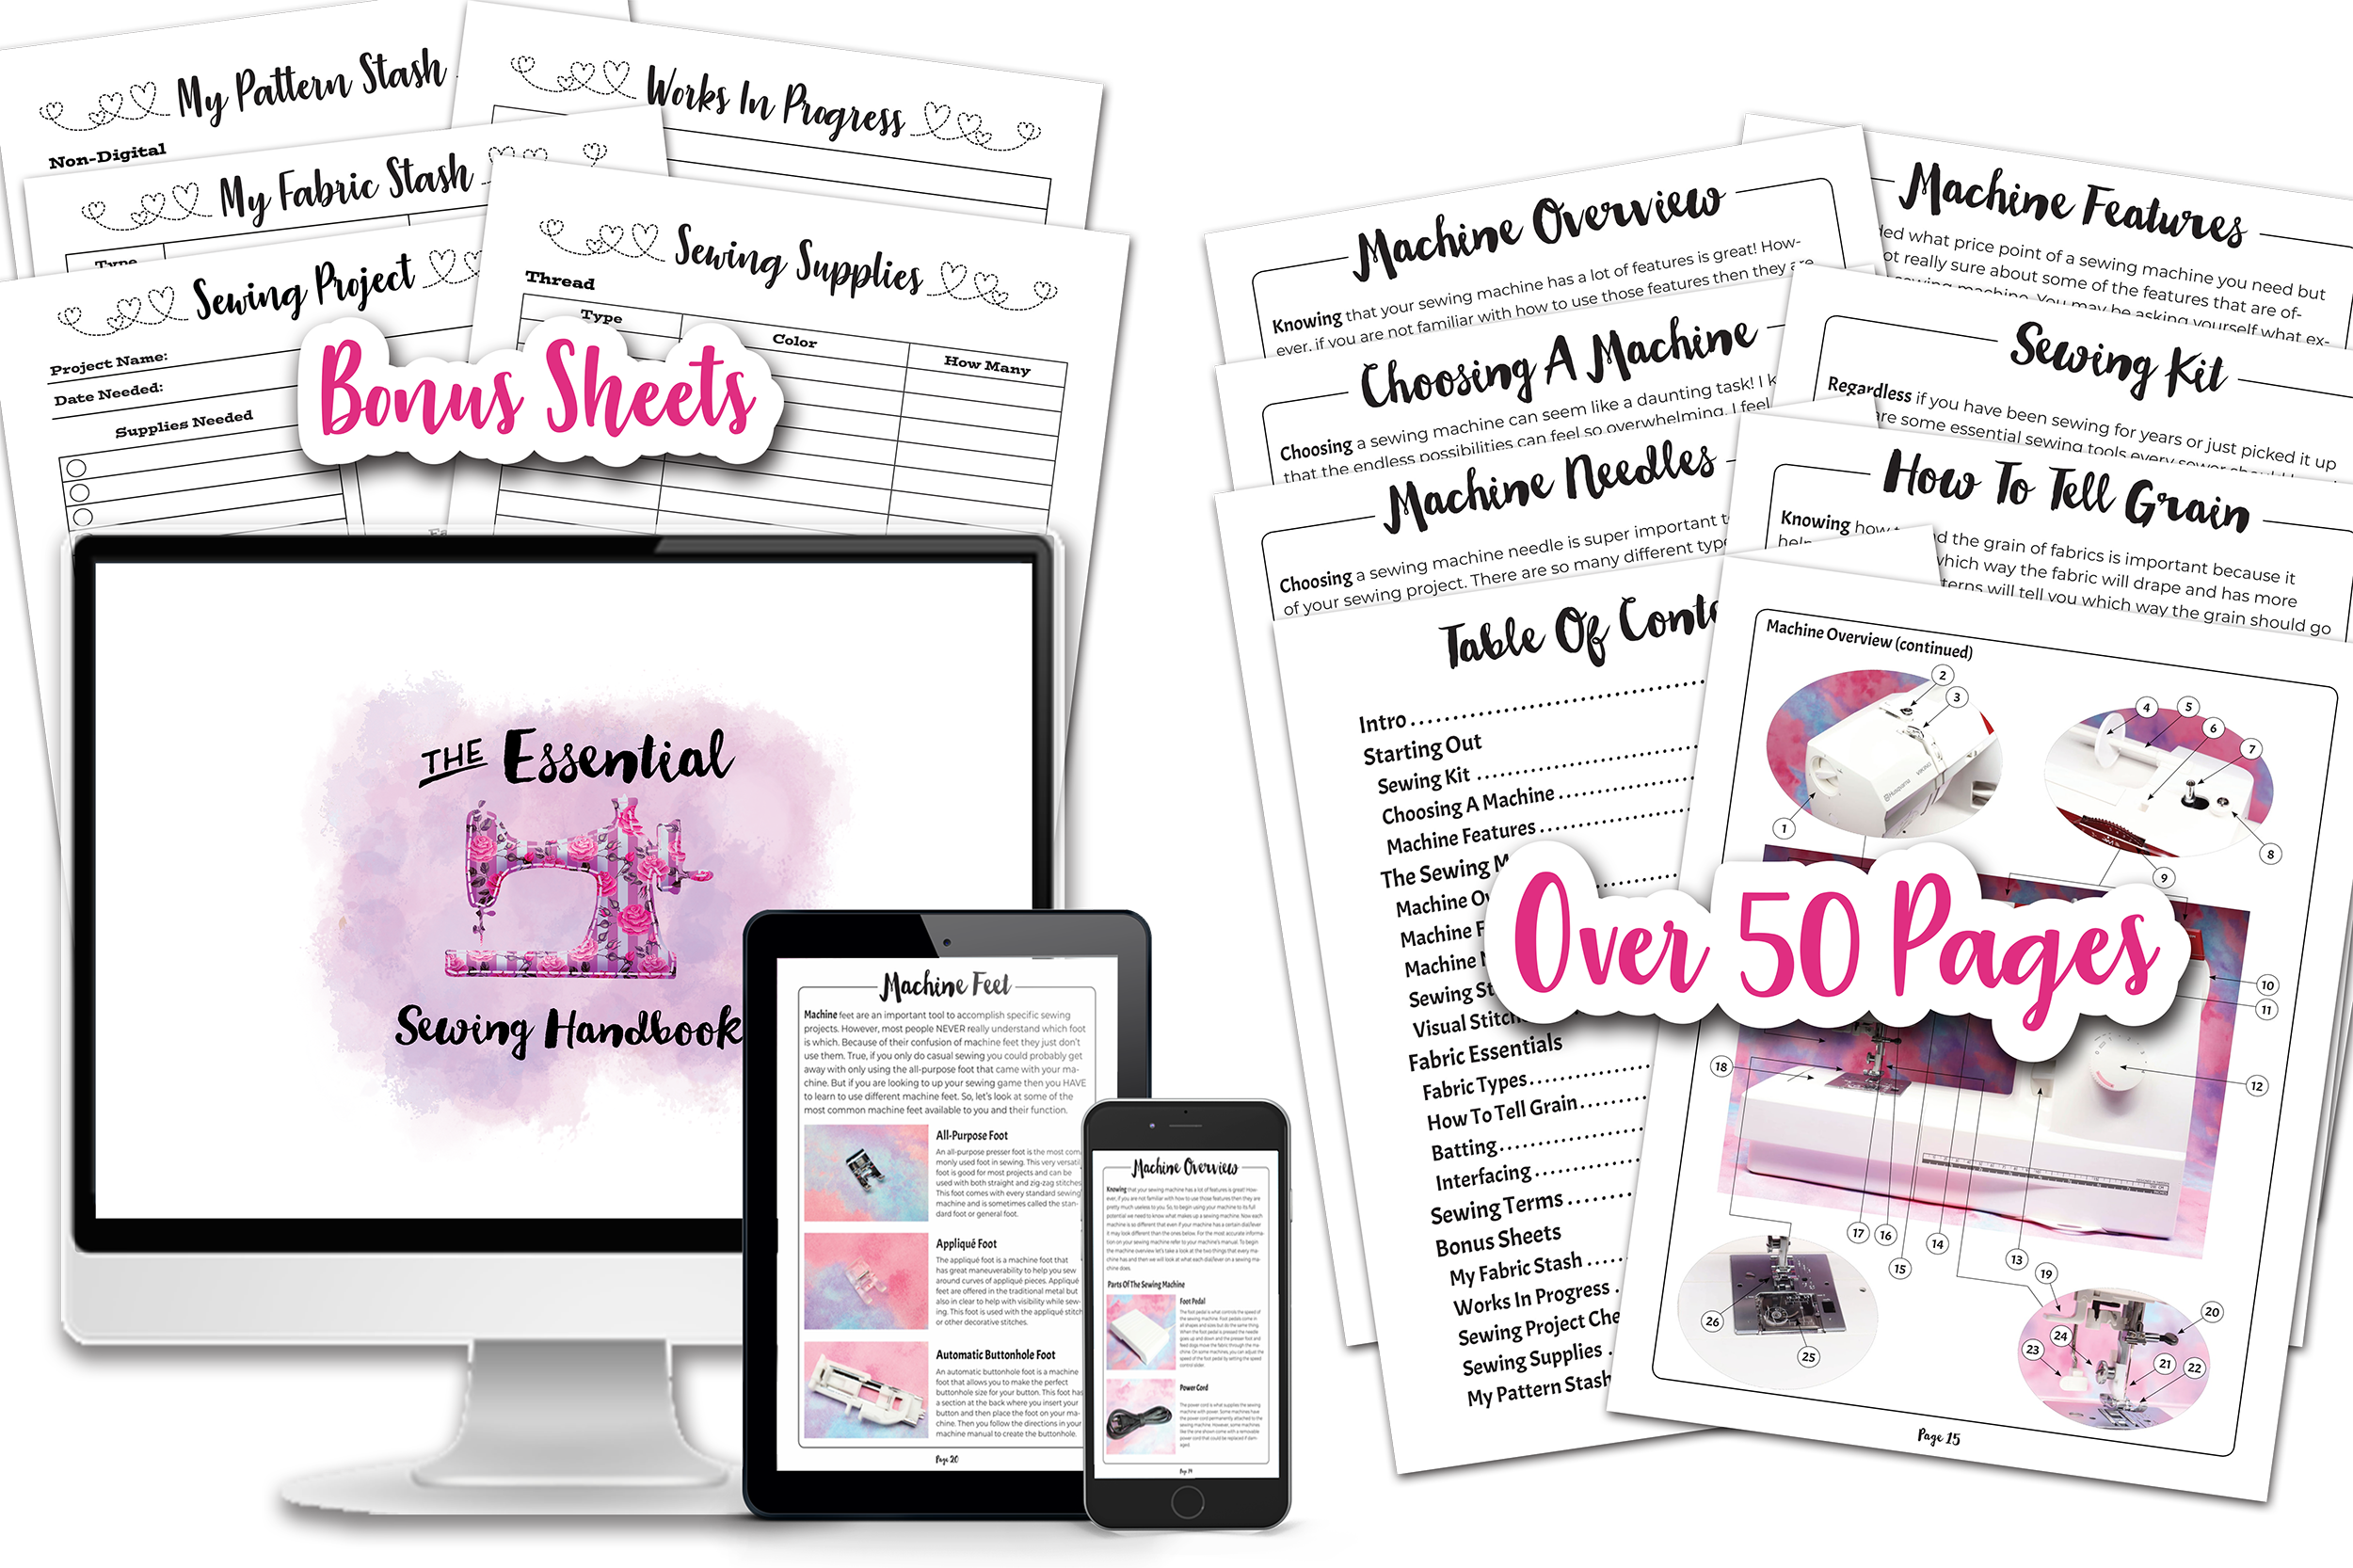
Are you ready to stop putting off sewing projects and gain confidence in sewing? This instant download digital book comes with over 50 pages of sewing knowledge to help you gain confidence in your sewing! Also included is 5 bonus printable sheets to help you keep your sewing projects and supplies more organized!
Love The Craft Tutorials On The Blog?
Do you enjoy the craft tutorials on the It’s So Corinney blog? If so, would you consider leaving a tip to help me keep the blog going? Your generous support would help me purchase more craft supplies and caffeinated products to create new and exciting craft tutorials to share with you!


love these patterns for my grands
I’m so glad you like the pattern!