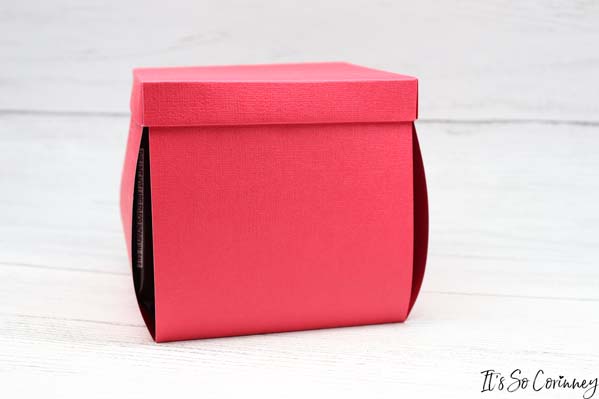
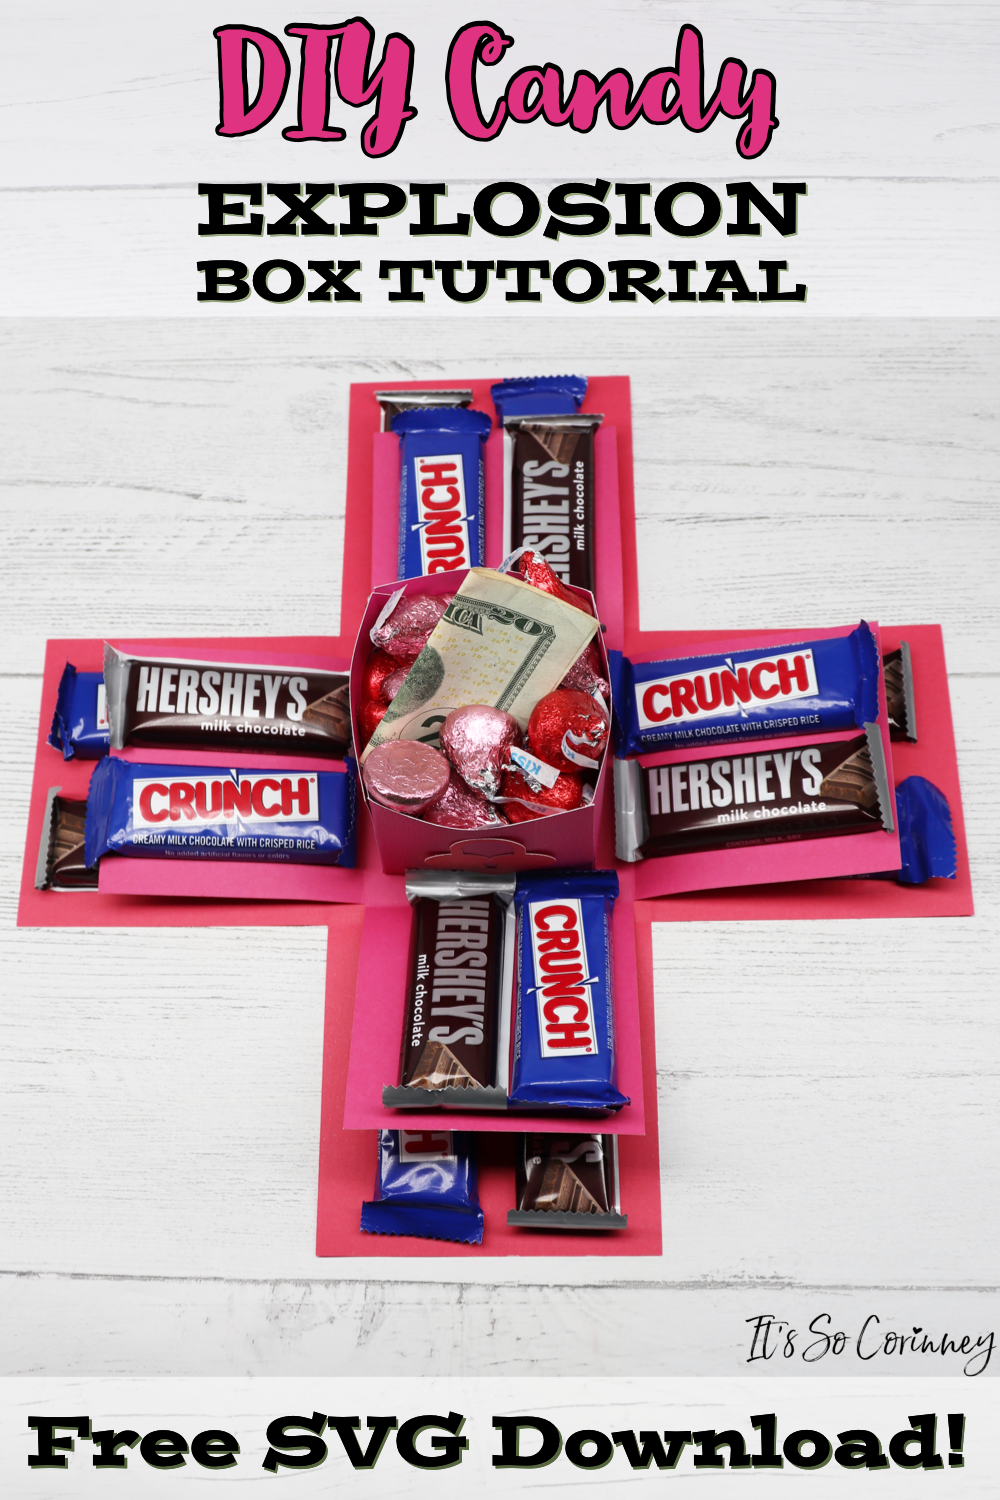
I love giving candy as a gift for any holiday. And what better holiday to give candy than Valentine’s Day? However, sometimes just giving candy to someone can seem kind of chintzy (although still delicious). So, over the years of my insatiable desire to give a gift for every single holiday I have come up with some creative ways of gifting candy.
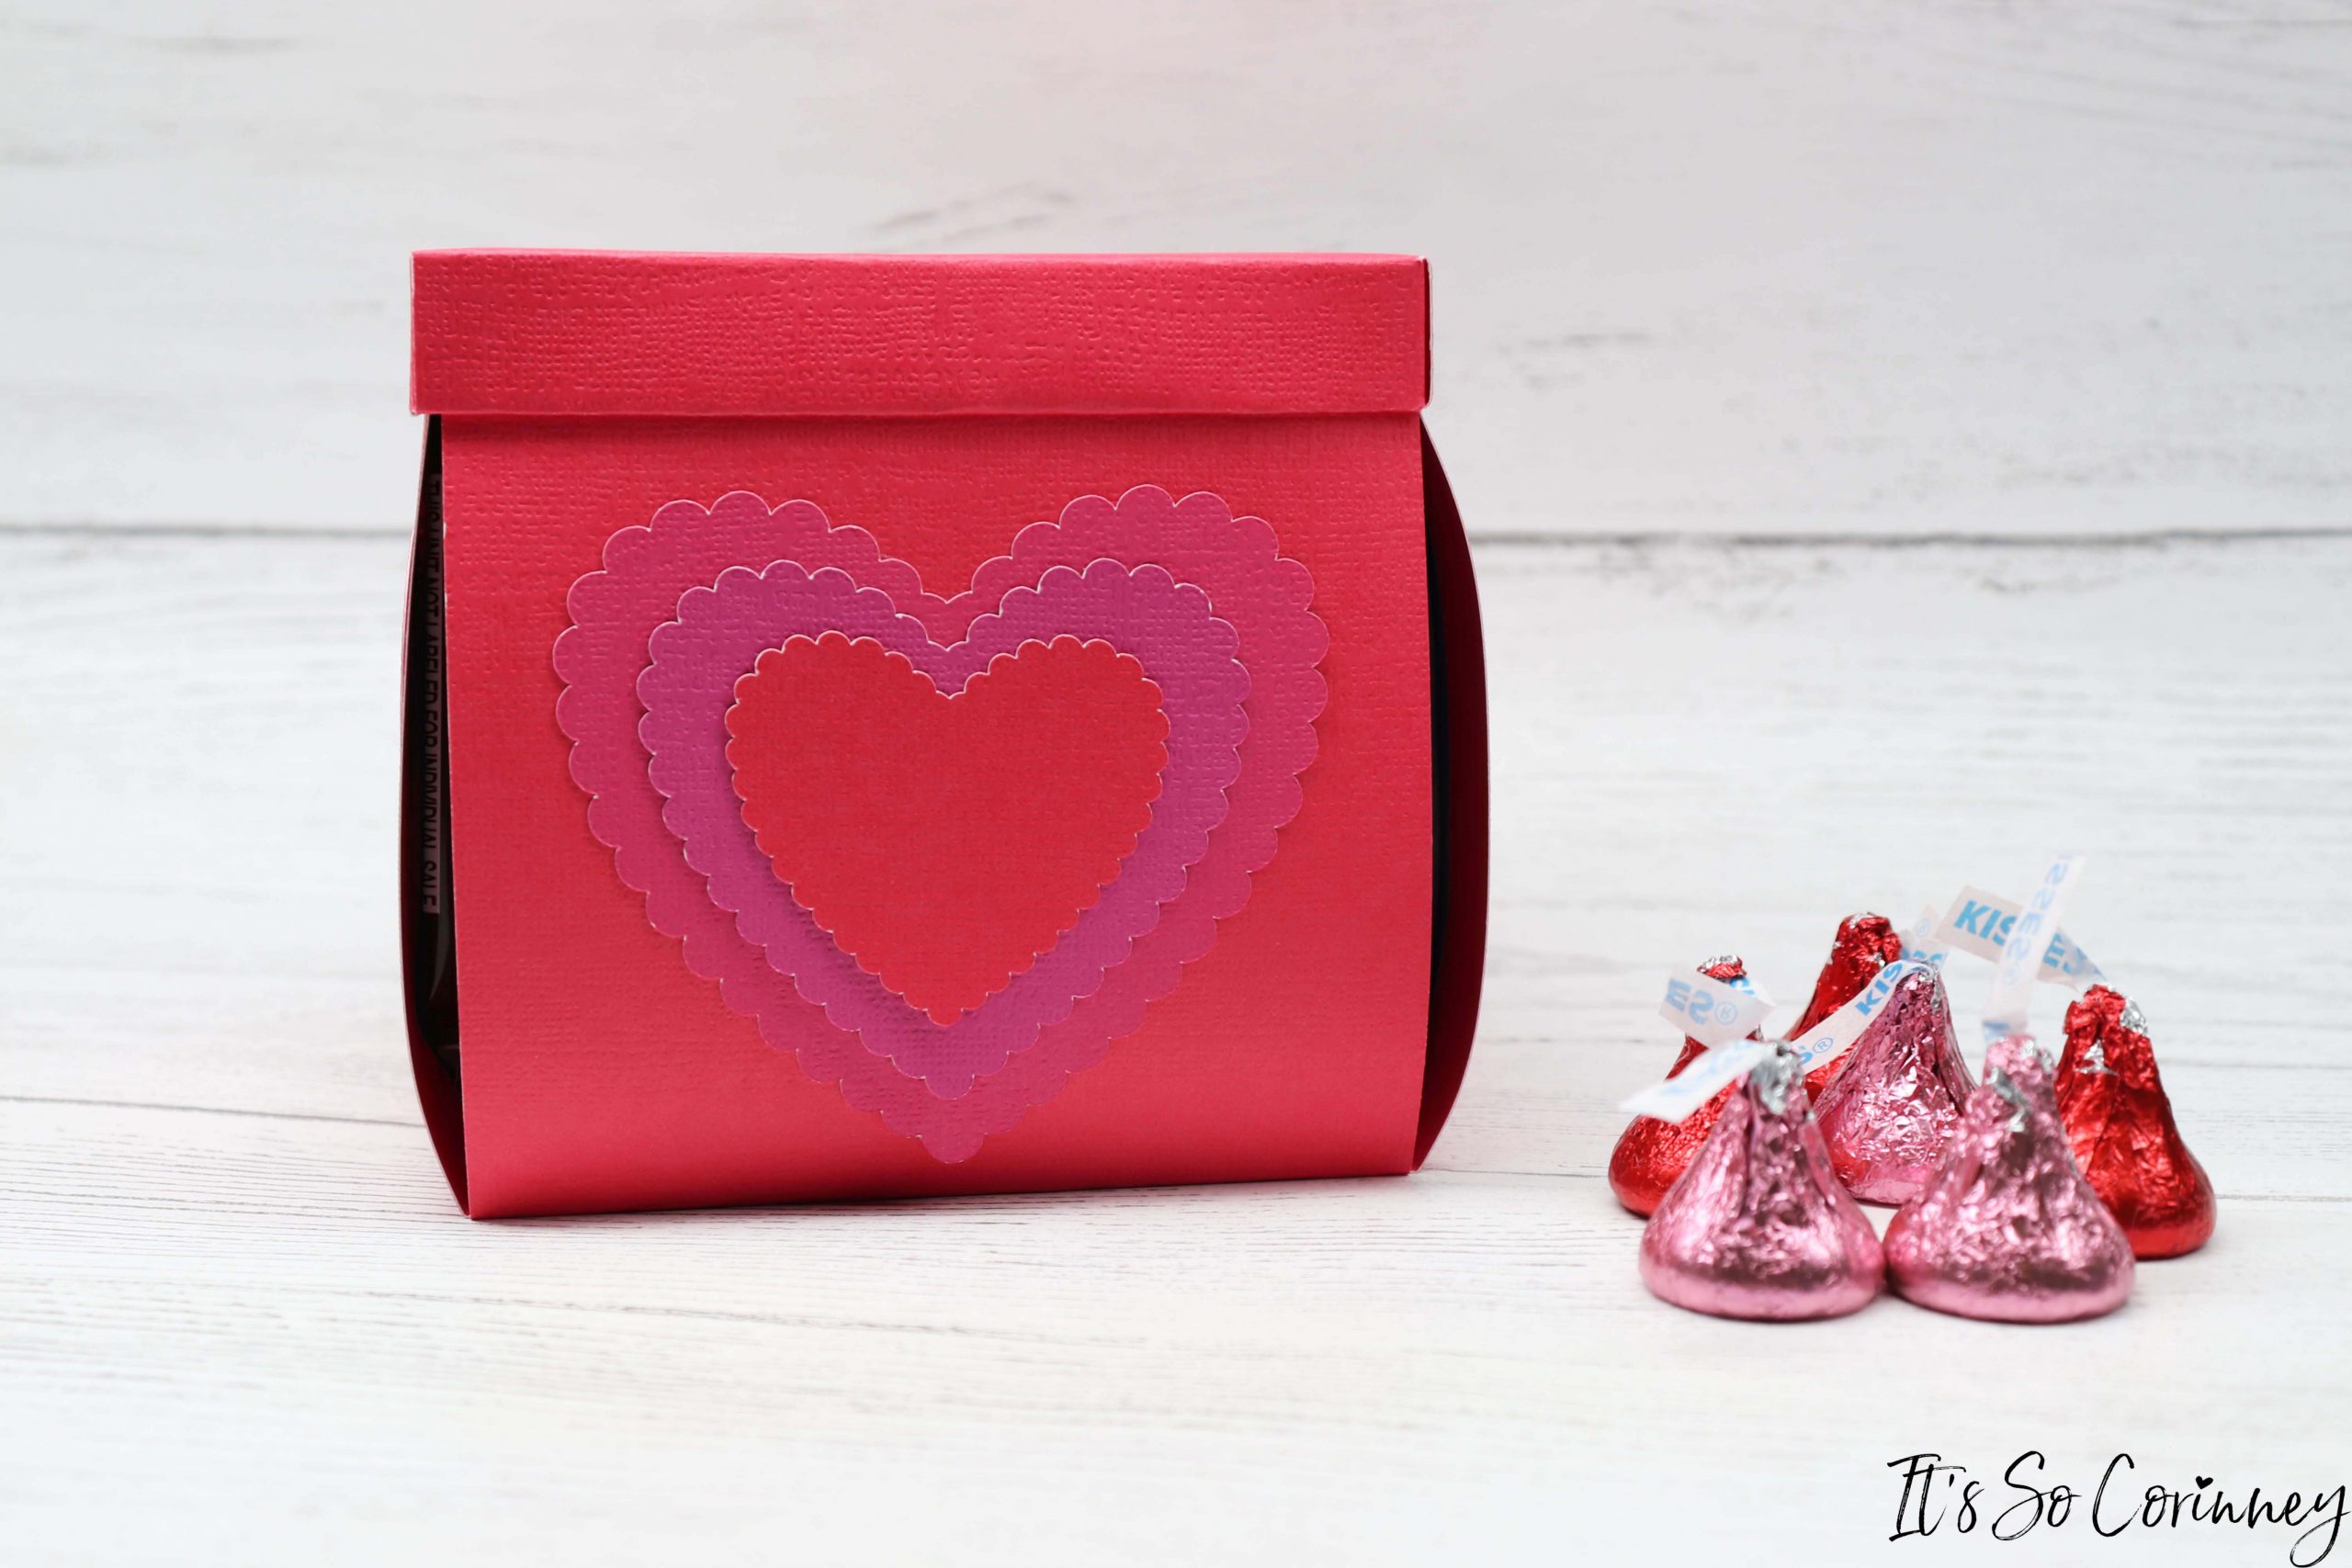
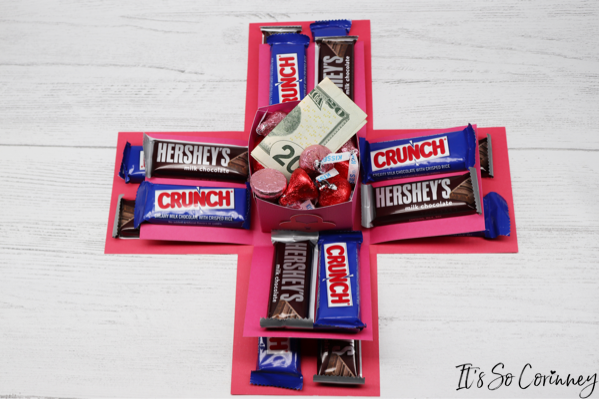
This year I really wanted to make a surprise candy box that was cute and of course held candy! So, I put on my creating cap and started designing. What I came up with is a super cute DIY candy explosion box that holds fun size candy bars with an inner box that can hold anything! Seriously, you could put all kinds of goodies in that box for your very special valentine!
This post contains affiliate links. That’s just a fancy way of saying if you click on a link and purchase something I get a little money (total score for me). For more information, see my disclosure here.
What You Need!
- Card Stock Paper ~ I used 60 lb paper
- Cricut Machine
- Tape or Glue ~ I used Elmer’s Tape Runner
- 3/8 Inch Ribbon ~ Optional
- Diamond Earrings ~ Optional but Highly Recommended!
- Fun Size Candy of Your Choice
- Free #26 ~ DIY Candy Explosion Box SVG ~ Available in my pattern stash! Head on down to the bottom of the page, fill out the form, and instantly receive an email with the password!
Cricut Supplies Used!
What To Do!
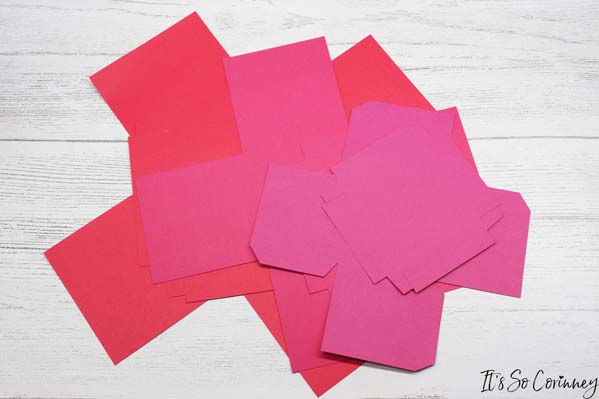
To begin the DIY candy explosion box you need to download the free SVG file from The Pattern Stash and upload it into the Cricut Design Space. Need help doing this? Check out my post How To Upload SVG Files to Cricut Design Space for step-by-step instructions! Then cut the explosion box using the settings appropriate for the weight of the card stock paper you are using. I cut my boxes and lids in three different colors, however the color choice is up to you!
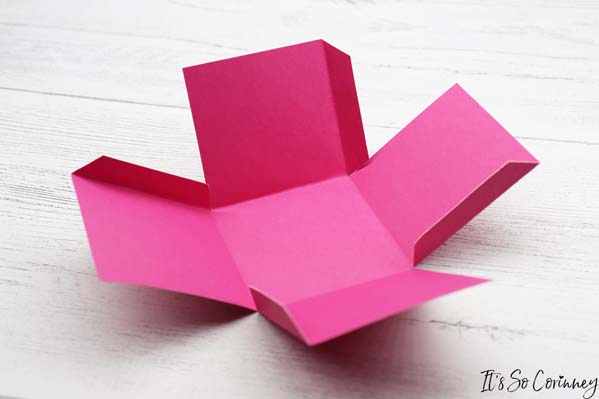
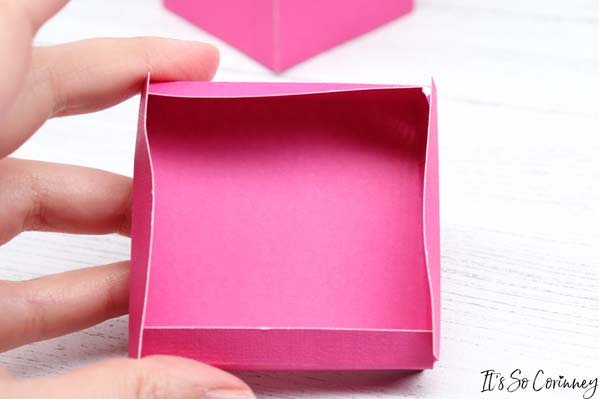
Then fold the smallest box along the score lines. Refer to original SVG file if you are unsure where the score lines are.
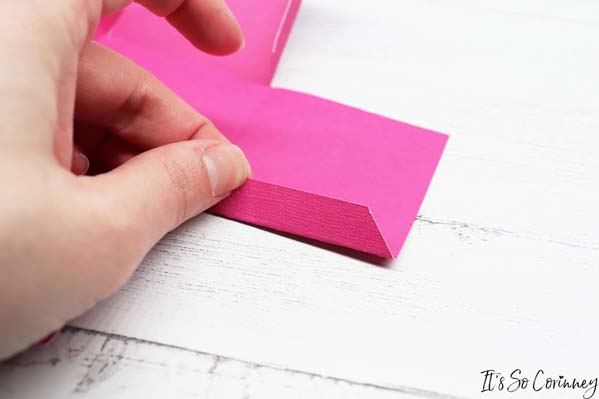
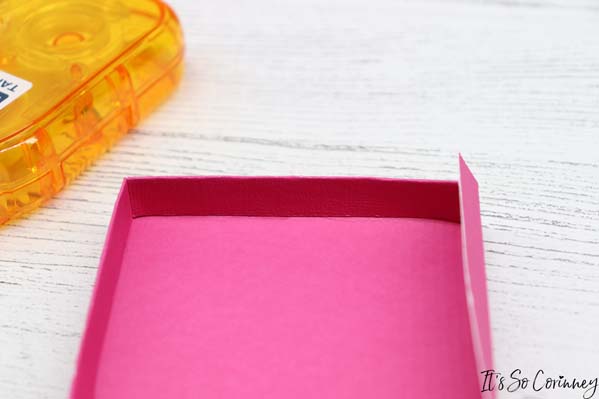
Next, put some tape or glue on one of the box tabs.
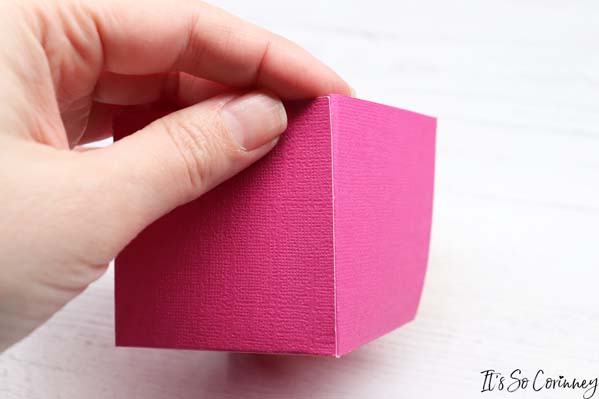
Then press the glued tab to the flat side of the square to the left of it. Now you have your first corner of your box made!
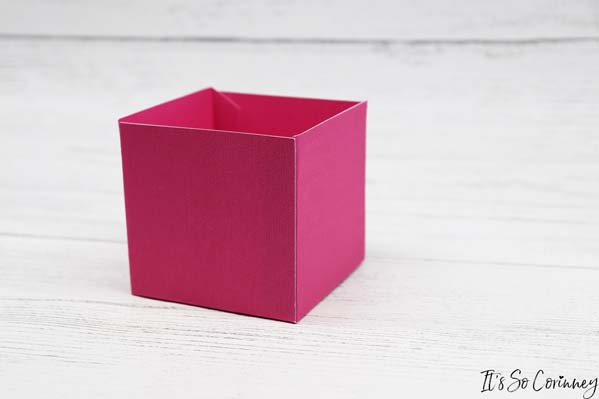
Next, glue the other three tabs of the box to finish it!
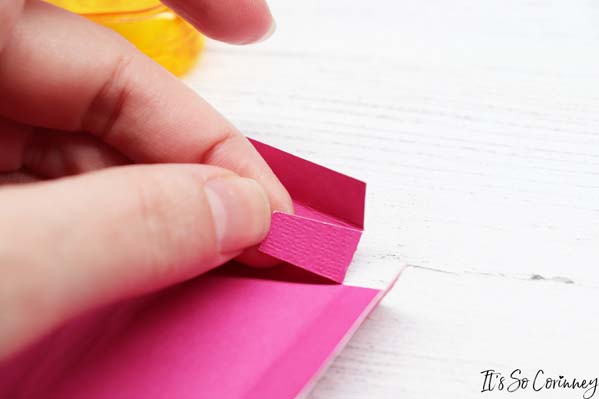
On to the lid! The first thing to do is fold the smallest lid on the score lines. Then put glue or tape on the small tab.
Next, press the small tab into the lower portion of the paper to the right of the tab to make a corner.
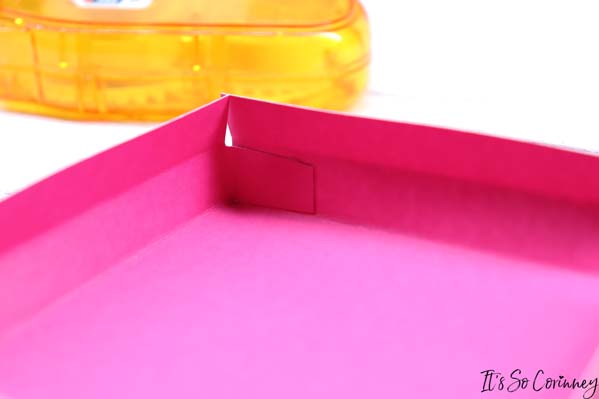
Then tape down the other three small tabs.
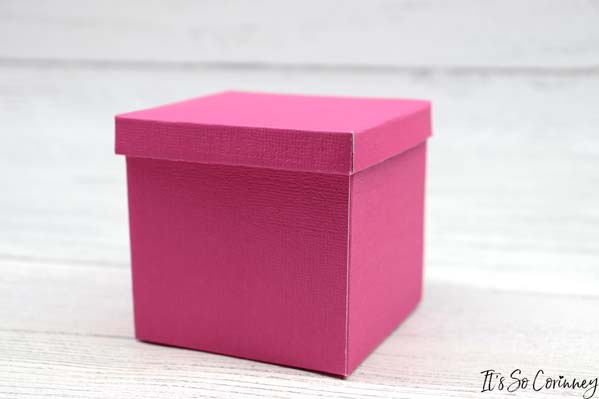
Next, take the top portion above the small tabs and put glue or tape on the underside. Then press it down to conceal the small tabs you just glued.
Now you have a finished box (go ahead and pat yourself on the back)!
Next, now that you are a lid making pro tape the other two lids together.
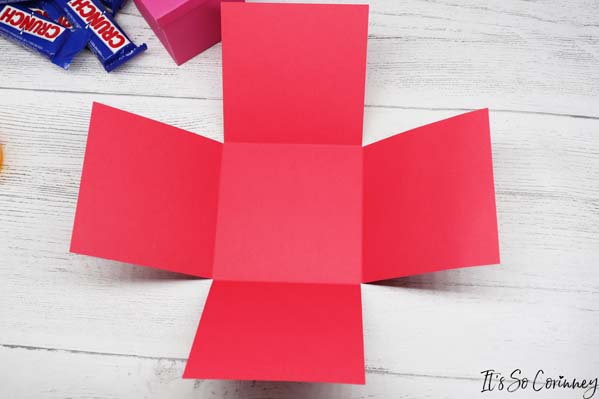
Then take the largest box and fold the score marks.
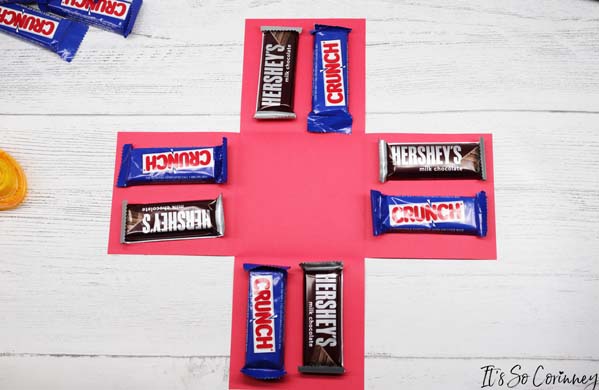
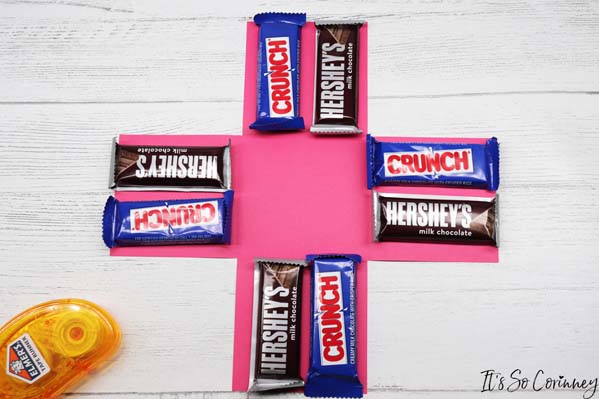
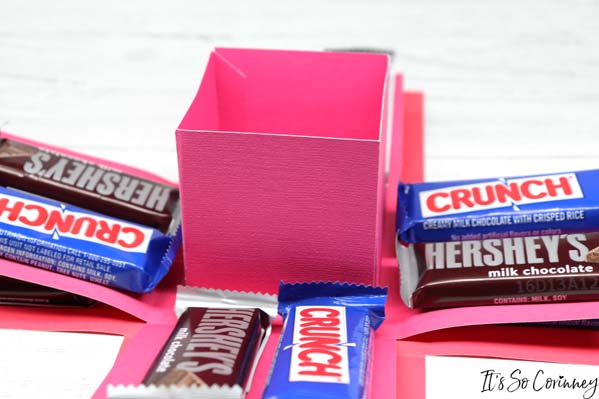
Next, take the fun size candy you chose and either glue or tape the candy to each of the four sides of the box. I used the Elmer’s tape runner and it worked just fine. Now make sure to not tape the candy too close to the score fold or the box won’t close properly.
Then take the medium size box and fold the scores lines. Next, add the candy to the sides just like you did for the bigger box.
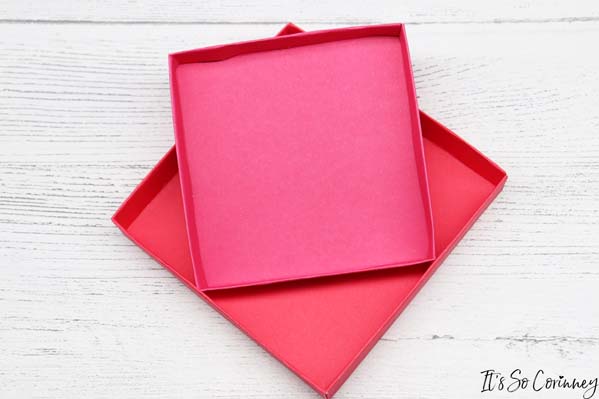
Then take the medium size box and glue or tape it in the center of the larger box.
Next, take the smallest box and glue or tape it down to the center of the medium size box. You should be feeling pretty good about your cute creation right about now!
Then fill the inner box with candy, money, diamond earrings , or whatever you like (I recommend jewelry but that’s just me).
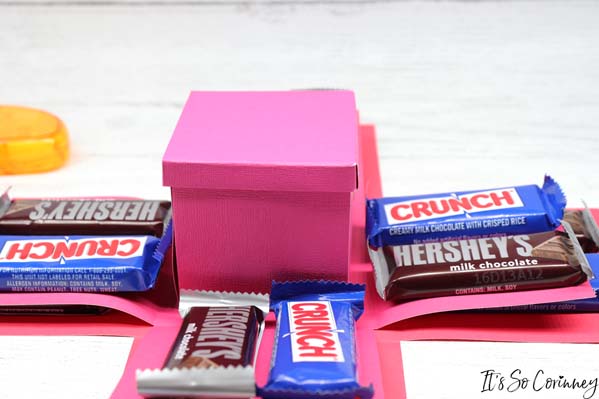
Next, place the lid on the smallest box.
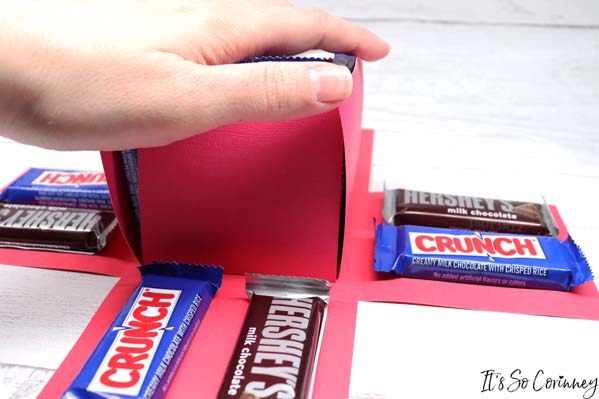
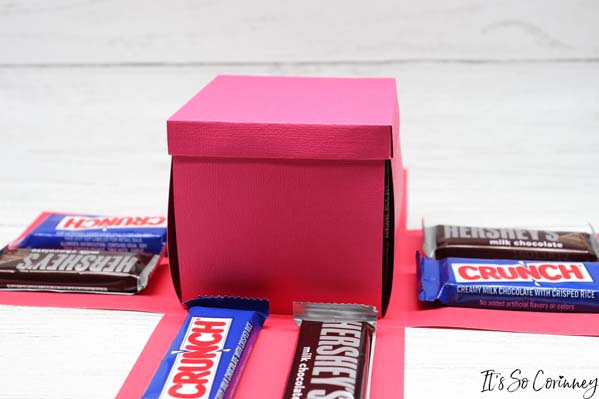
Then fold up the flaps of the medium box and add the lid.
Next, fold up the flaps of the largest box, add the lid, and you’re done!
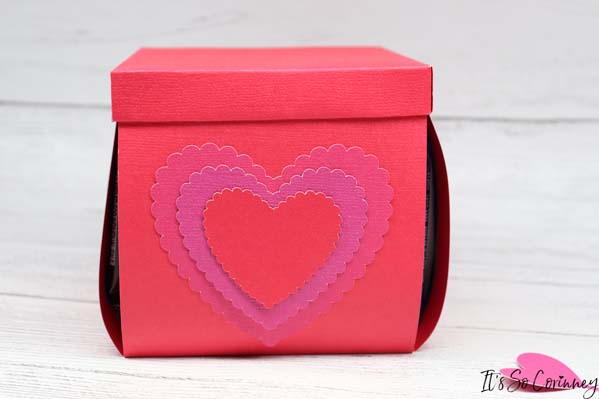
Now, if you want to add some extra pretty to your candy explosion box you could always decorate it. I went into the Cricut Design Space and searched for free heart images and got some pretty cute stuff. Then I just cut them in different sizes and slapped them onto my box using tape!
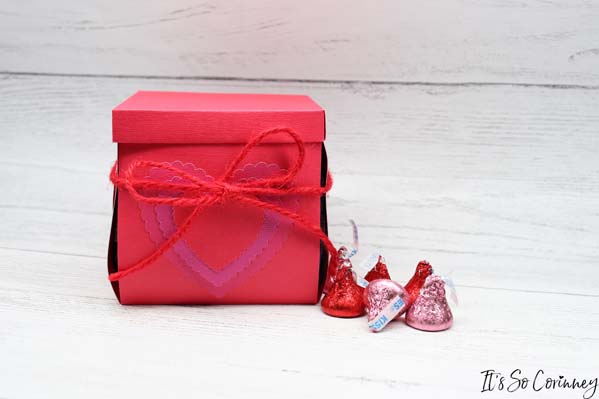
Then you could also add a ribbon to your box to dress it up even more. And….the last but not least thing to do is give it away!
Now, isn’t this such a cute way to give candy this Valentine’s Day? I know I plan on making a few to give away because they are simple to make and dress up candy gifting!

Pin Me!
Want To Up Your Sewing Skills?
Are you ready to stop putting off sewing projects and gain confidence in sewing? This instant download digital book comes with over 50 pages of sewing knowledge to help you gain confidence in your sewing! Also included is 5 bonus printable sheets to help you keep your sewing projects and supplies more organized!
Love The Craft Tutorials On The Blog?
Do you enjoy the craft tutorials on the It’s So Corinney blog? If so, would you consider leaving a tip to help me keep the blog going? Your generous support would help me purchase more craft supplies and caffeinated products to create new and exciting craft tutorials to share with you!

