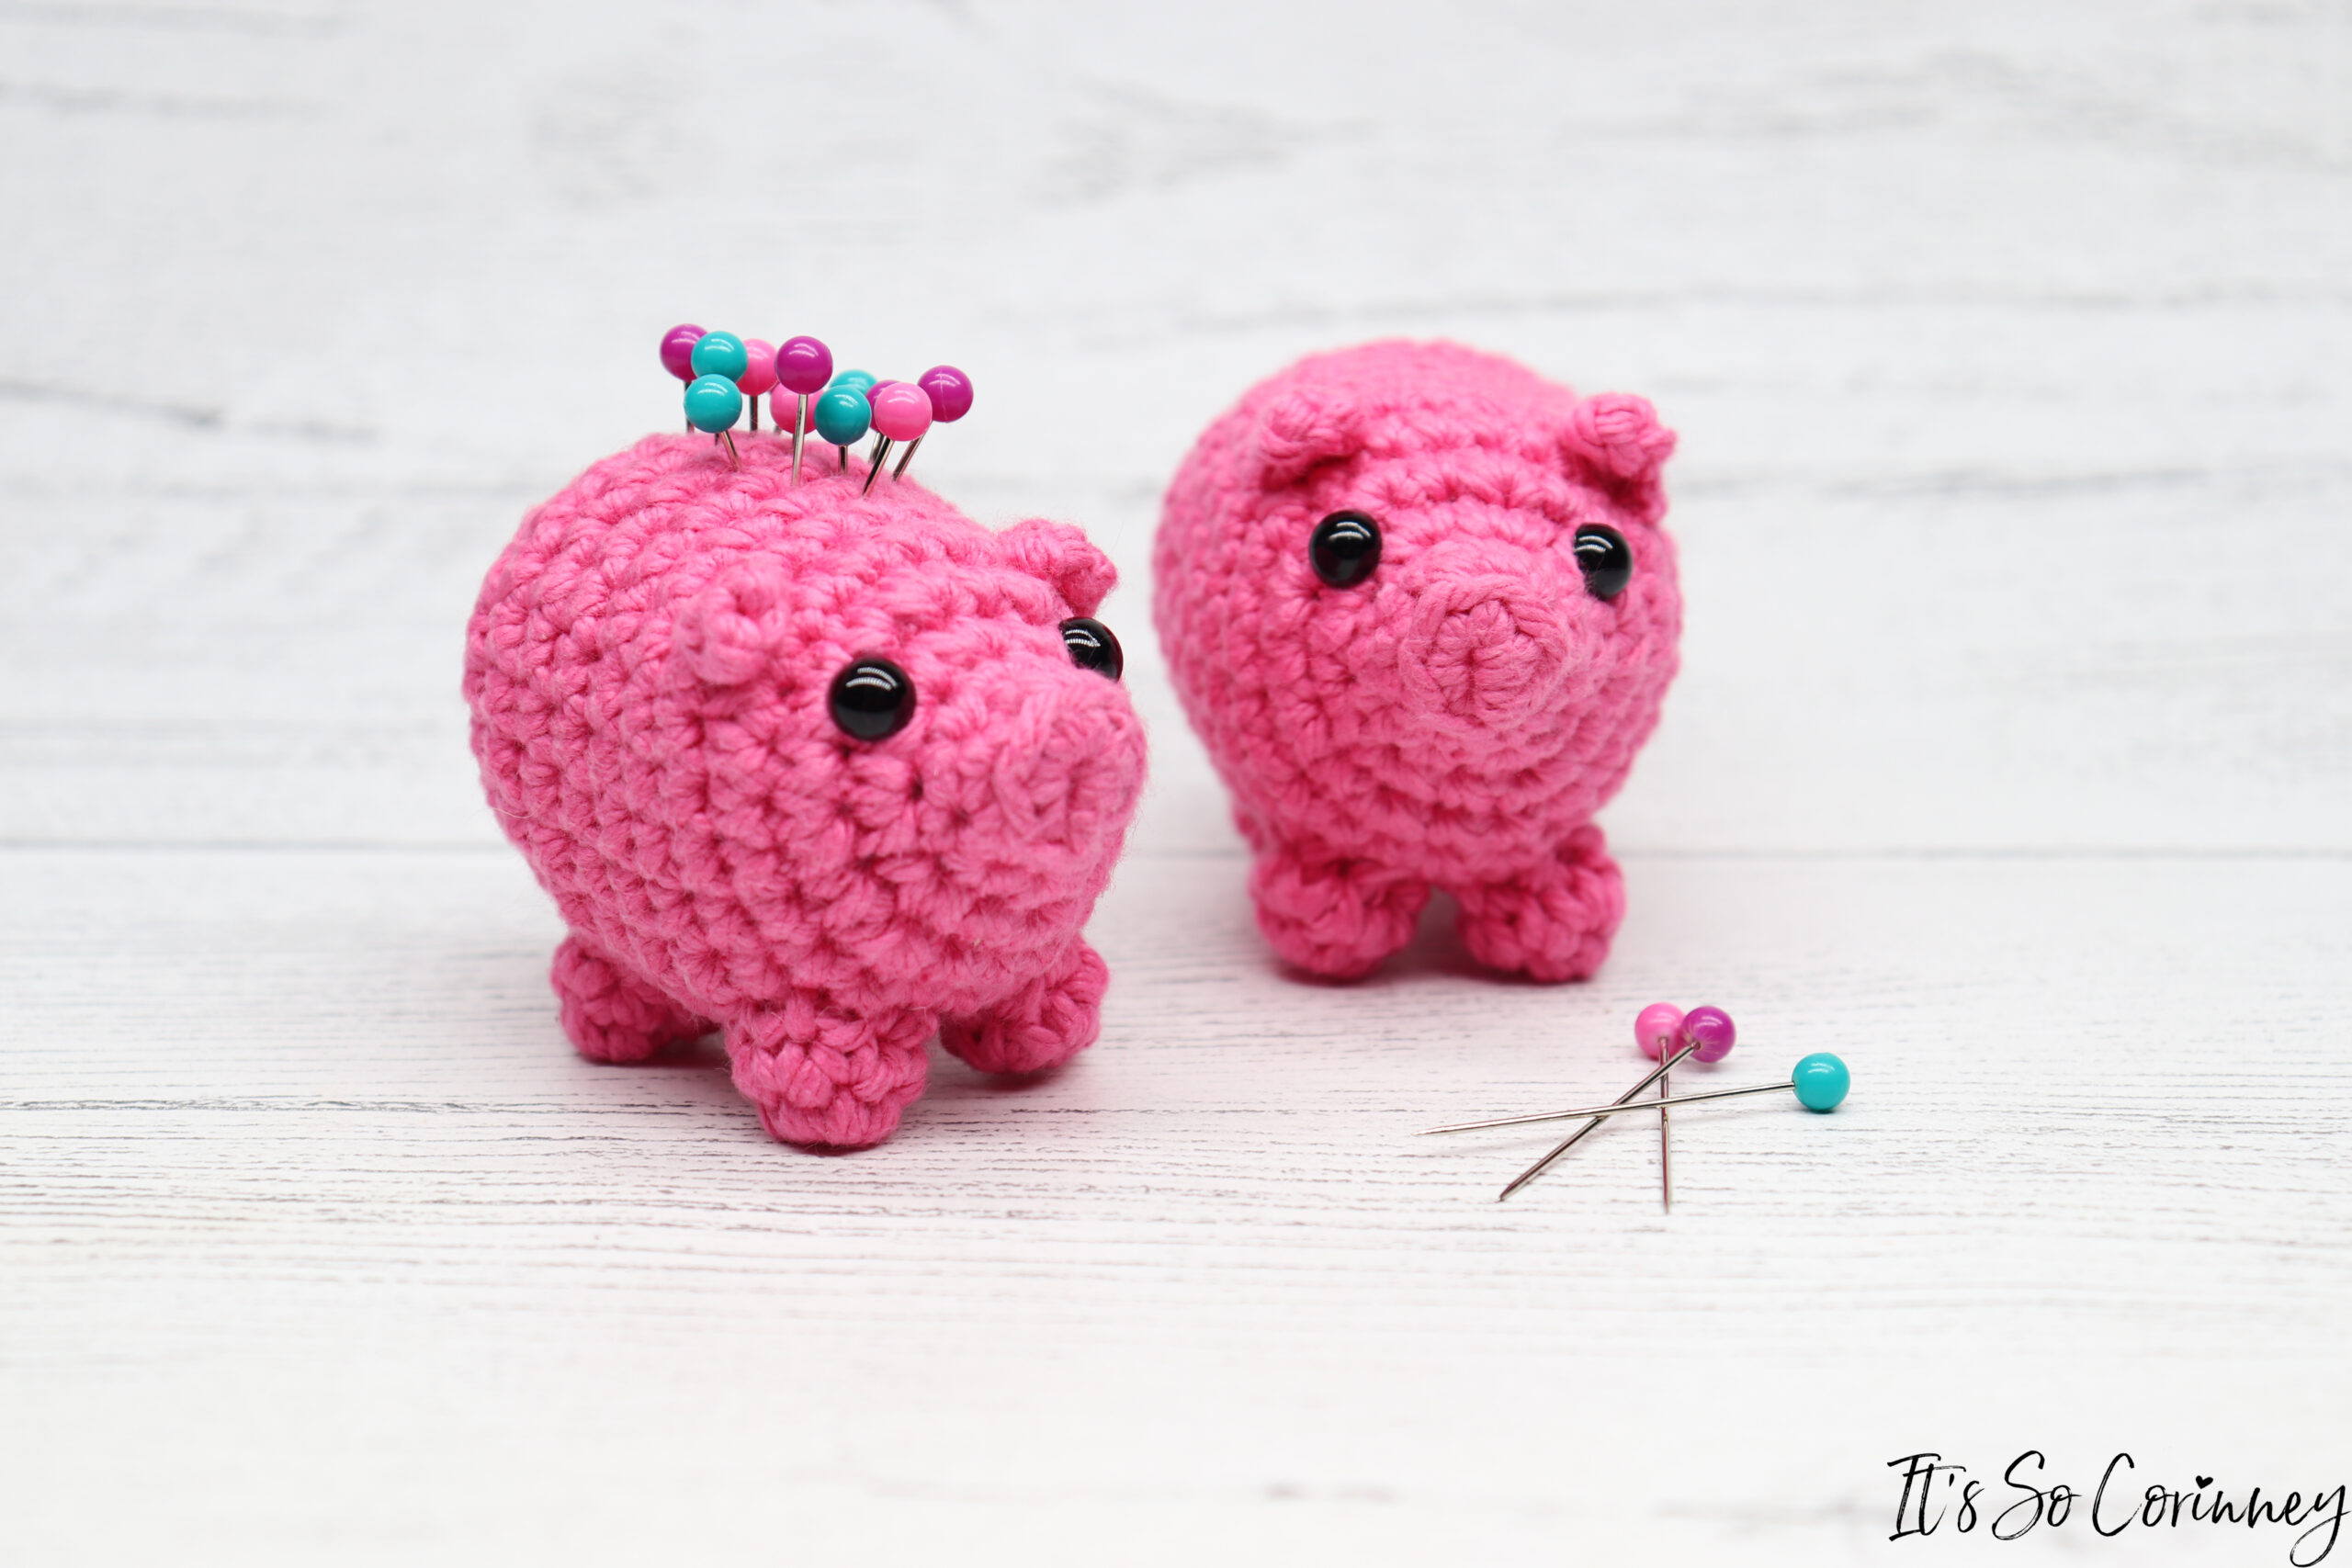
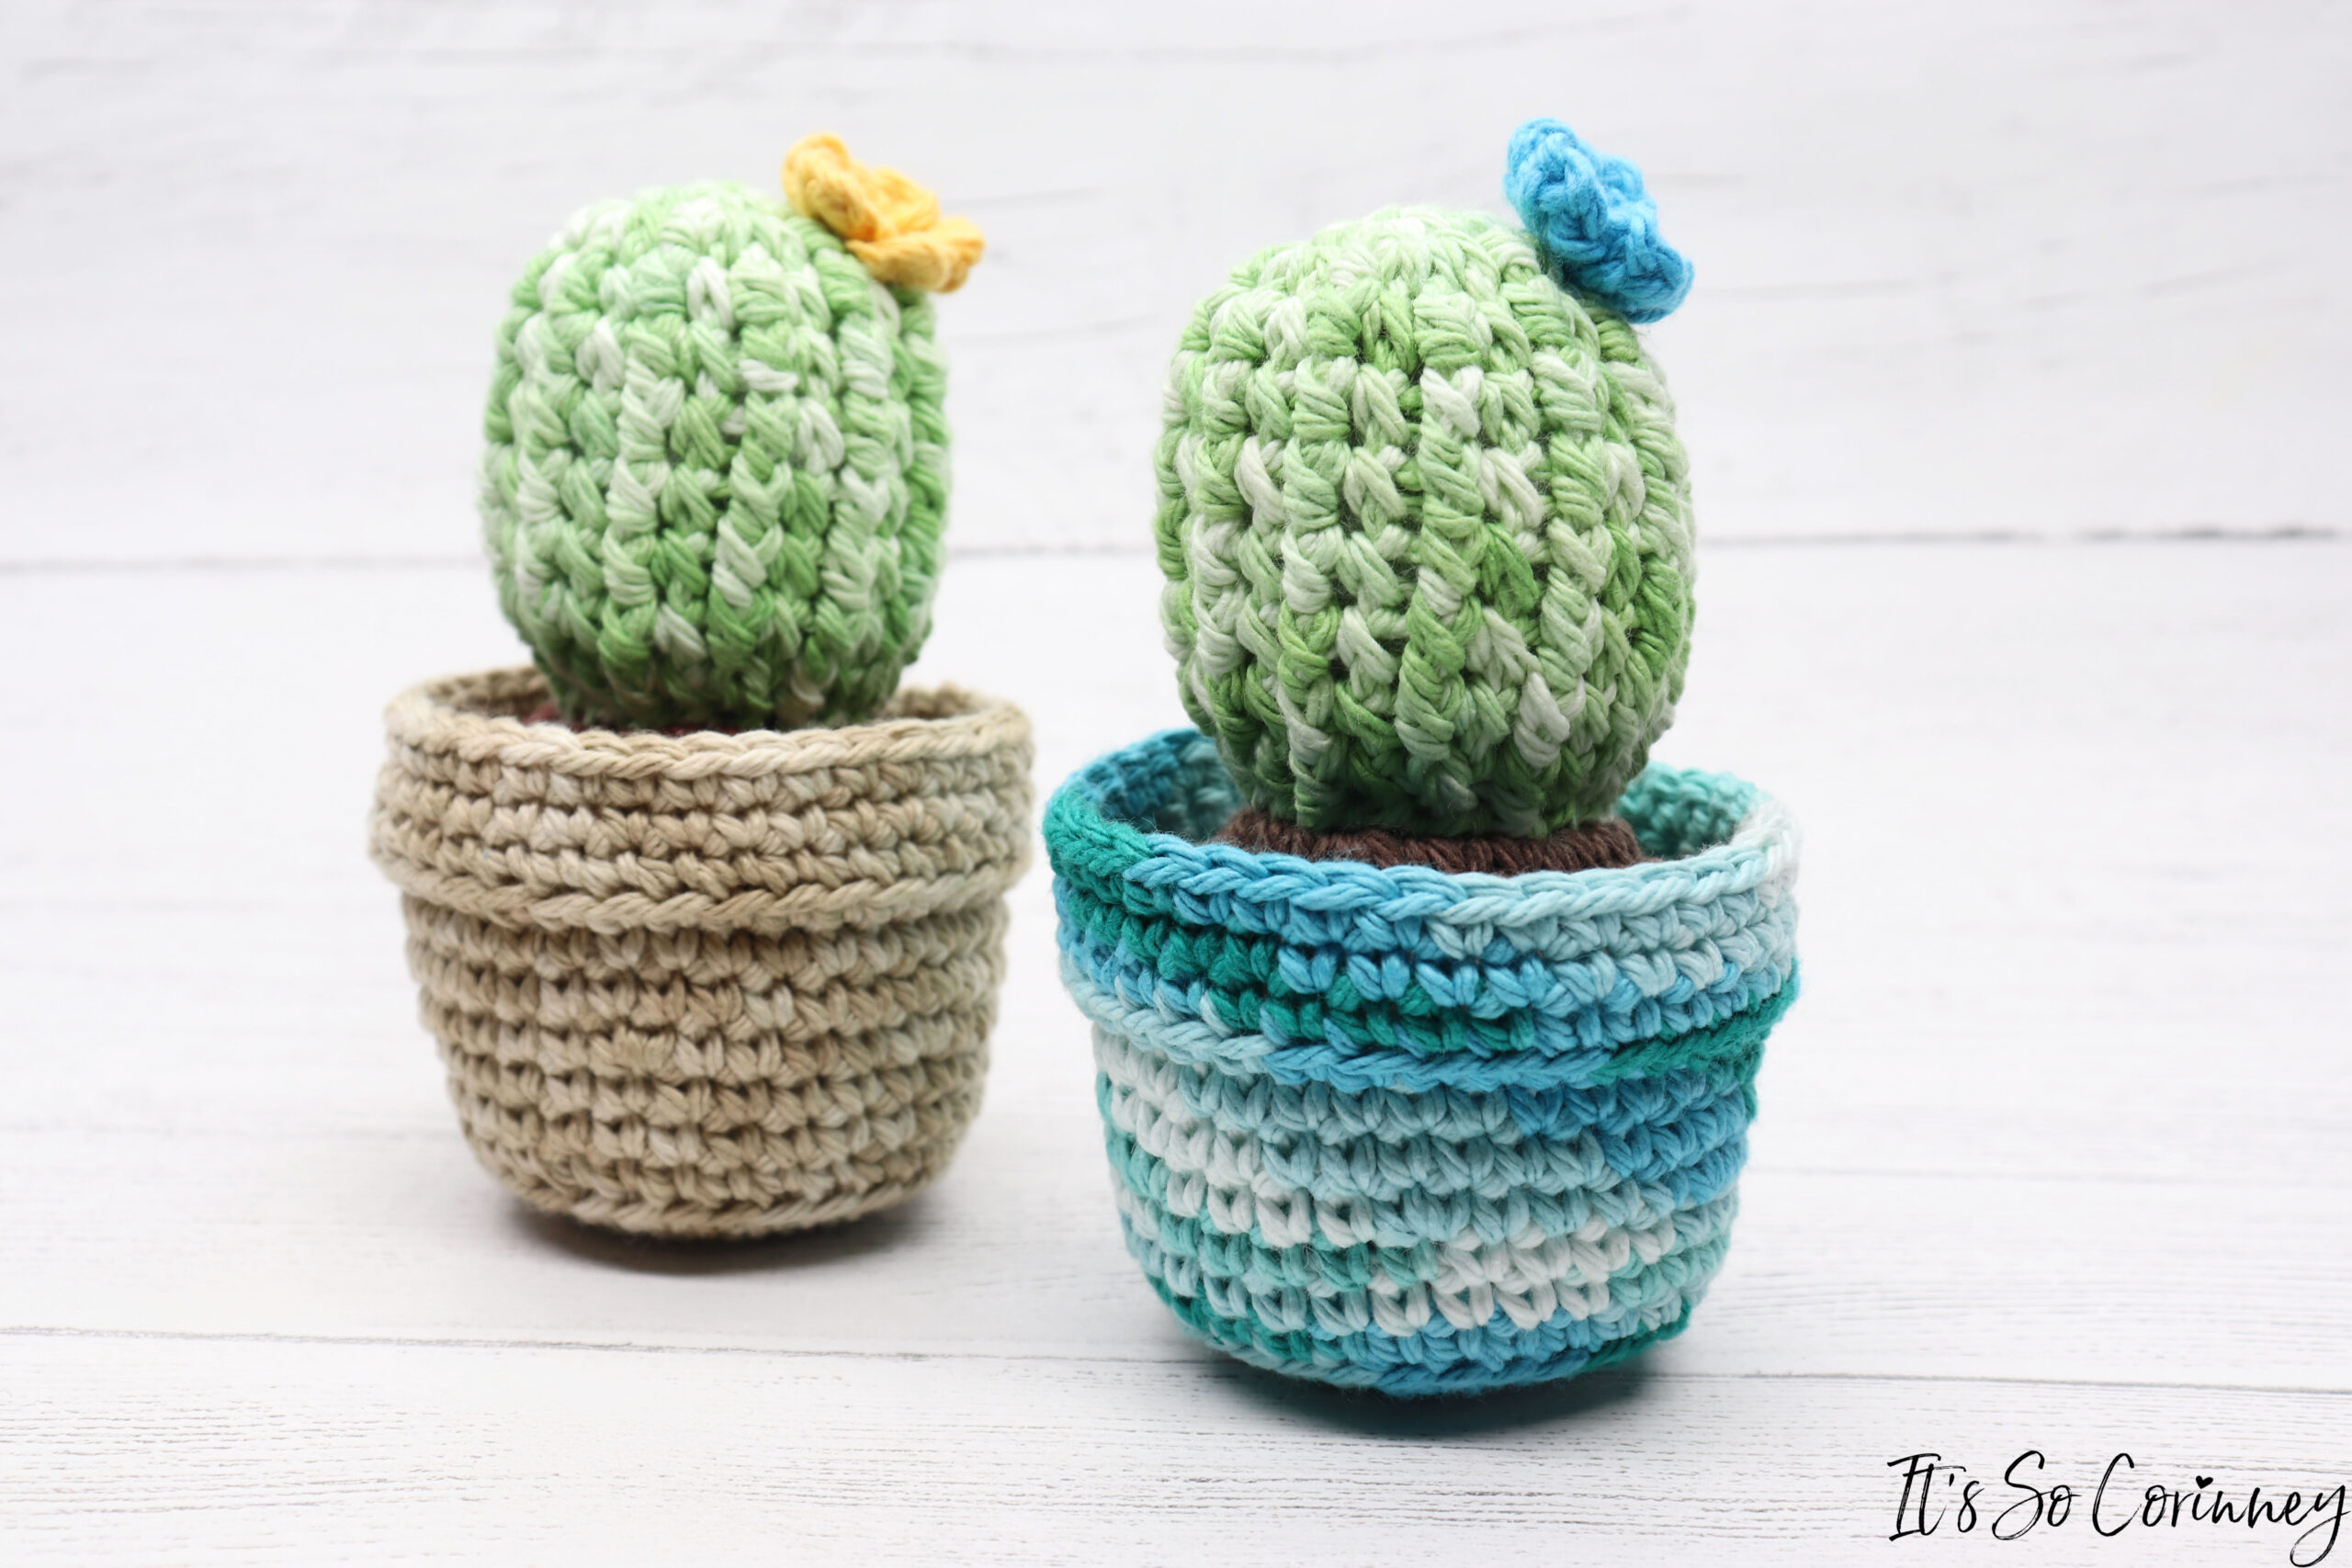
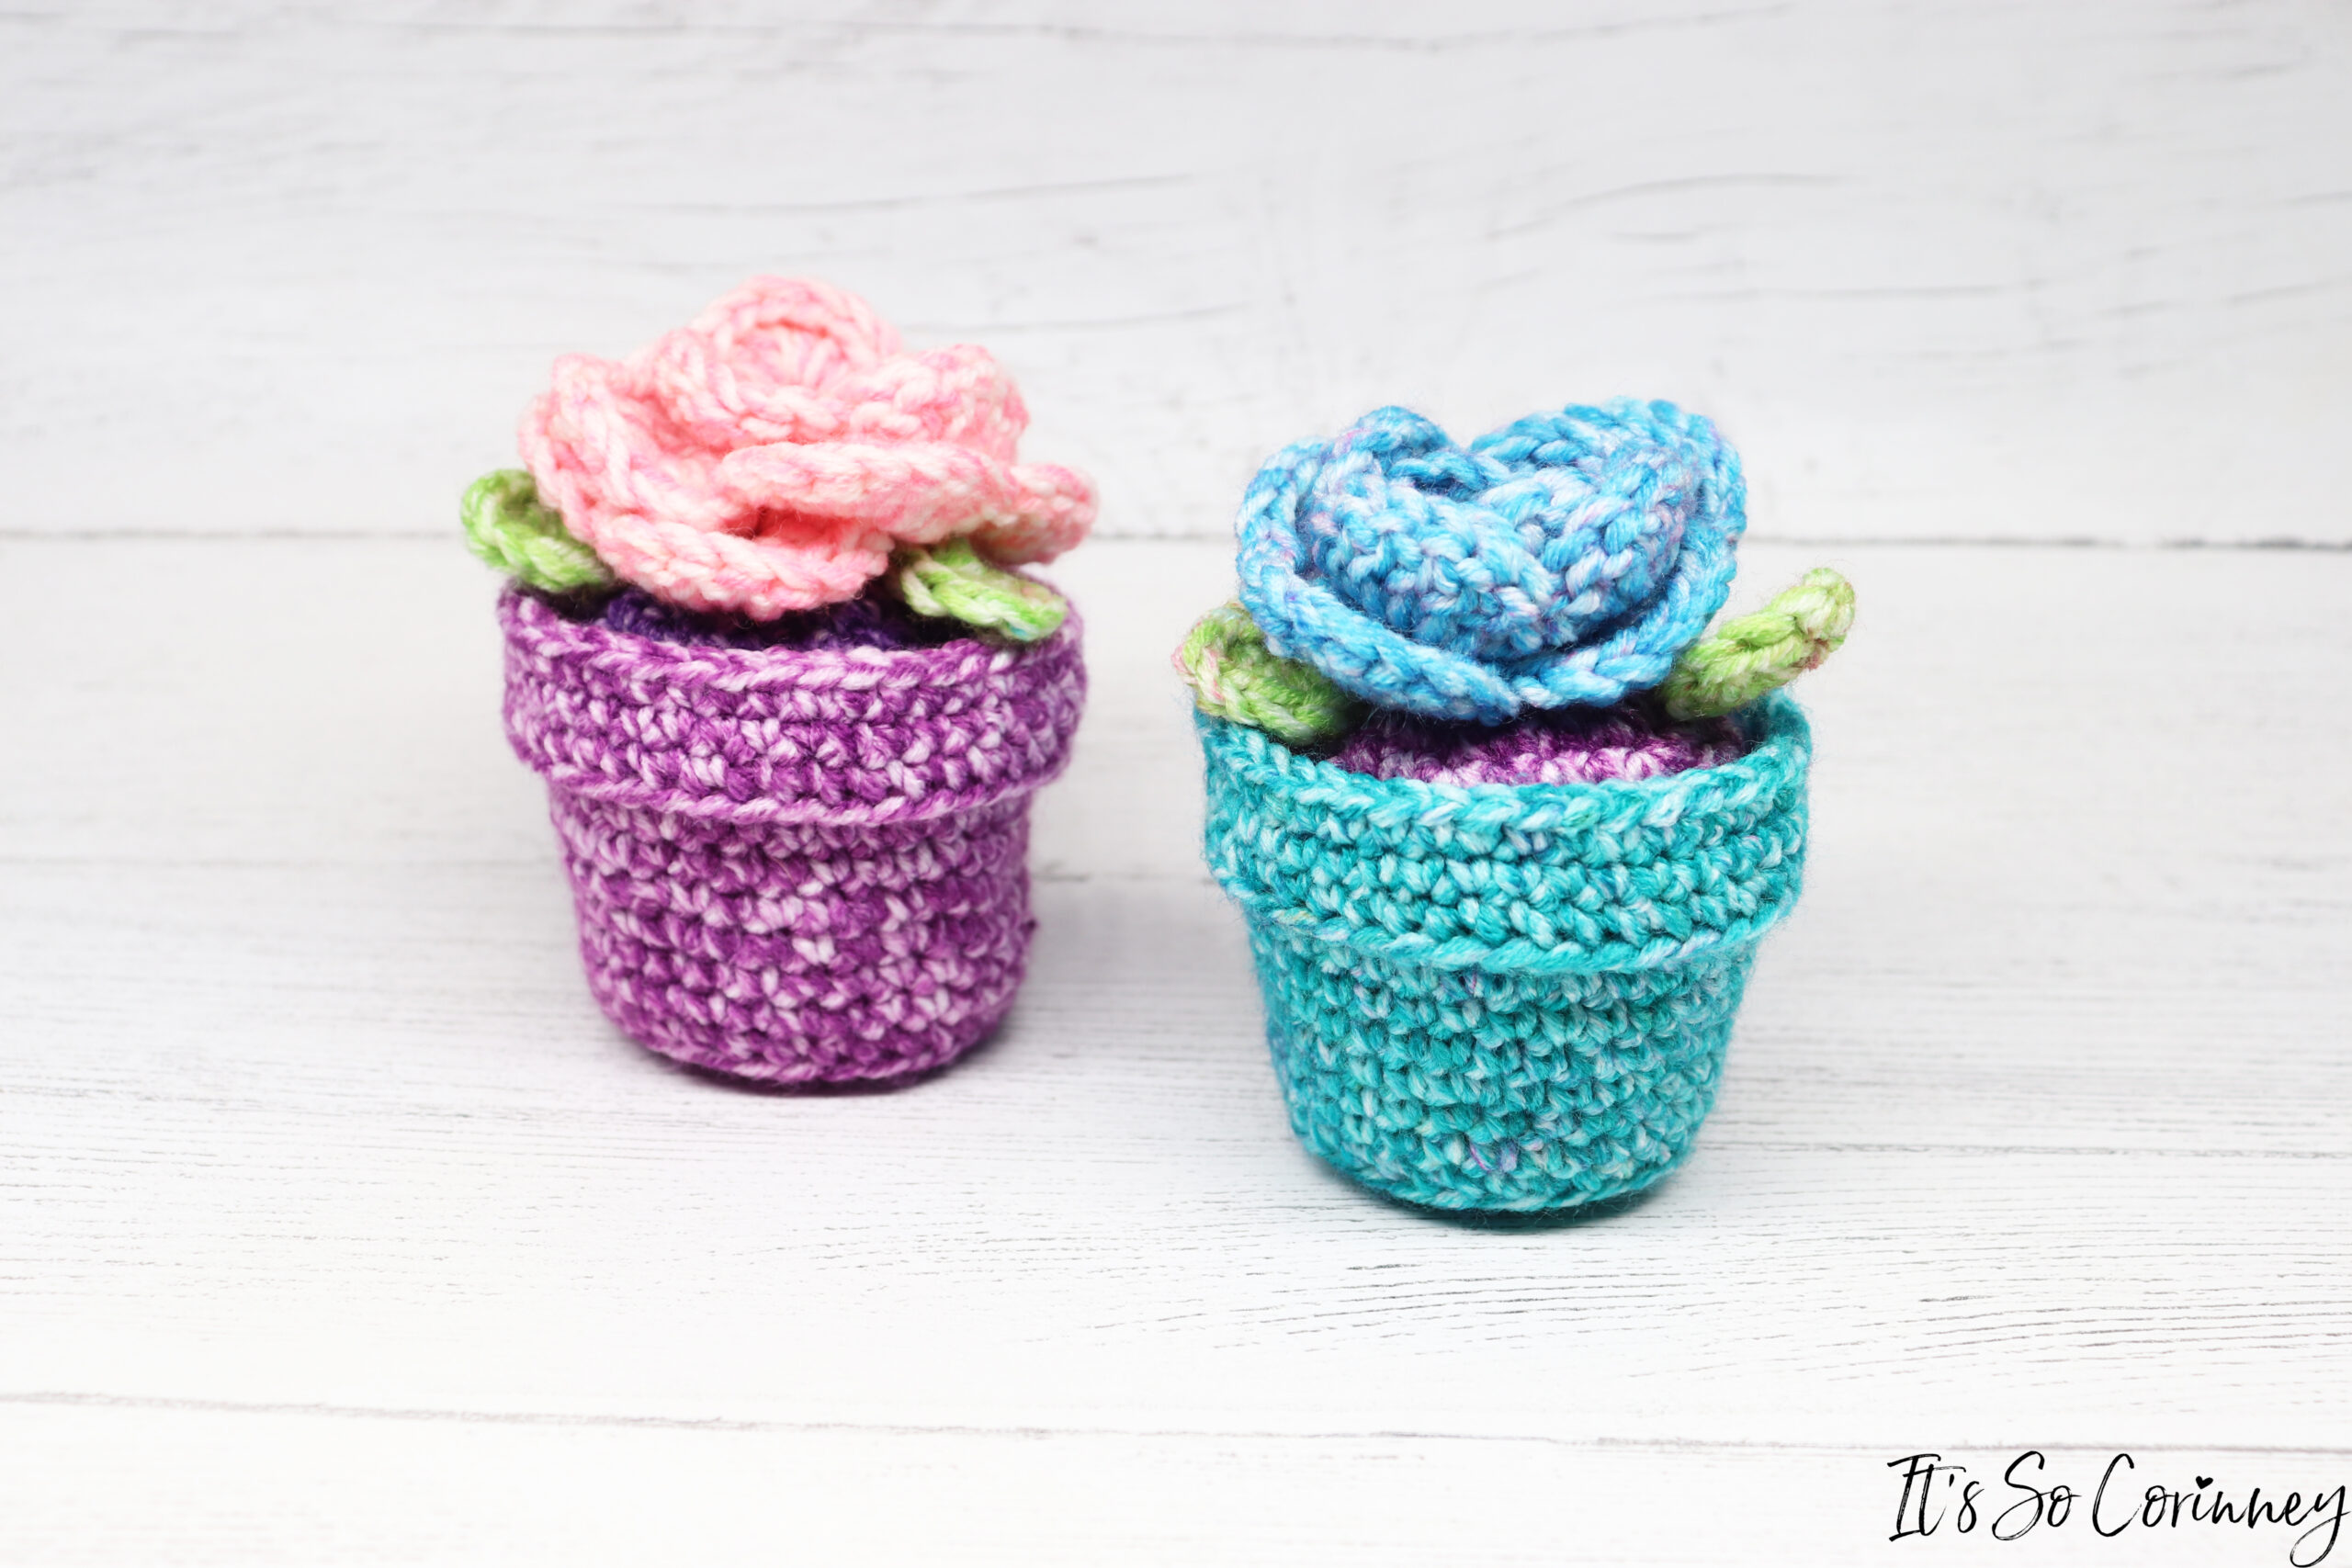
Recently, I had an opportunity to sell some of the crafts that I make at a local craft fair. As I was getting all of my supplies ready for the craft fair, I decided that I really wanted to make shirts for my sister and me so we could match. I spent way more time than I should have trying to come up with something to put on our shirts.
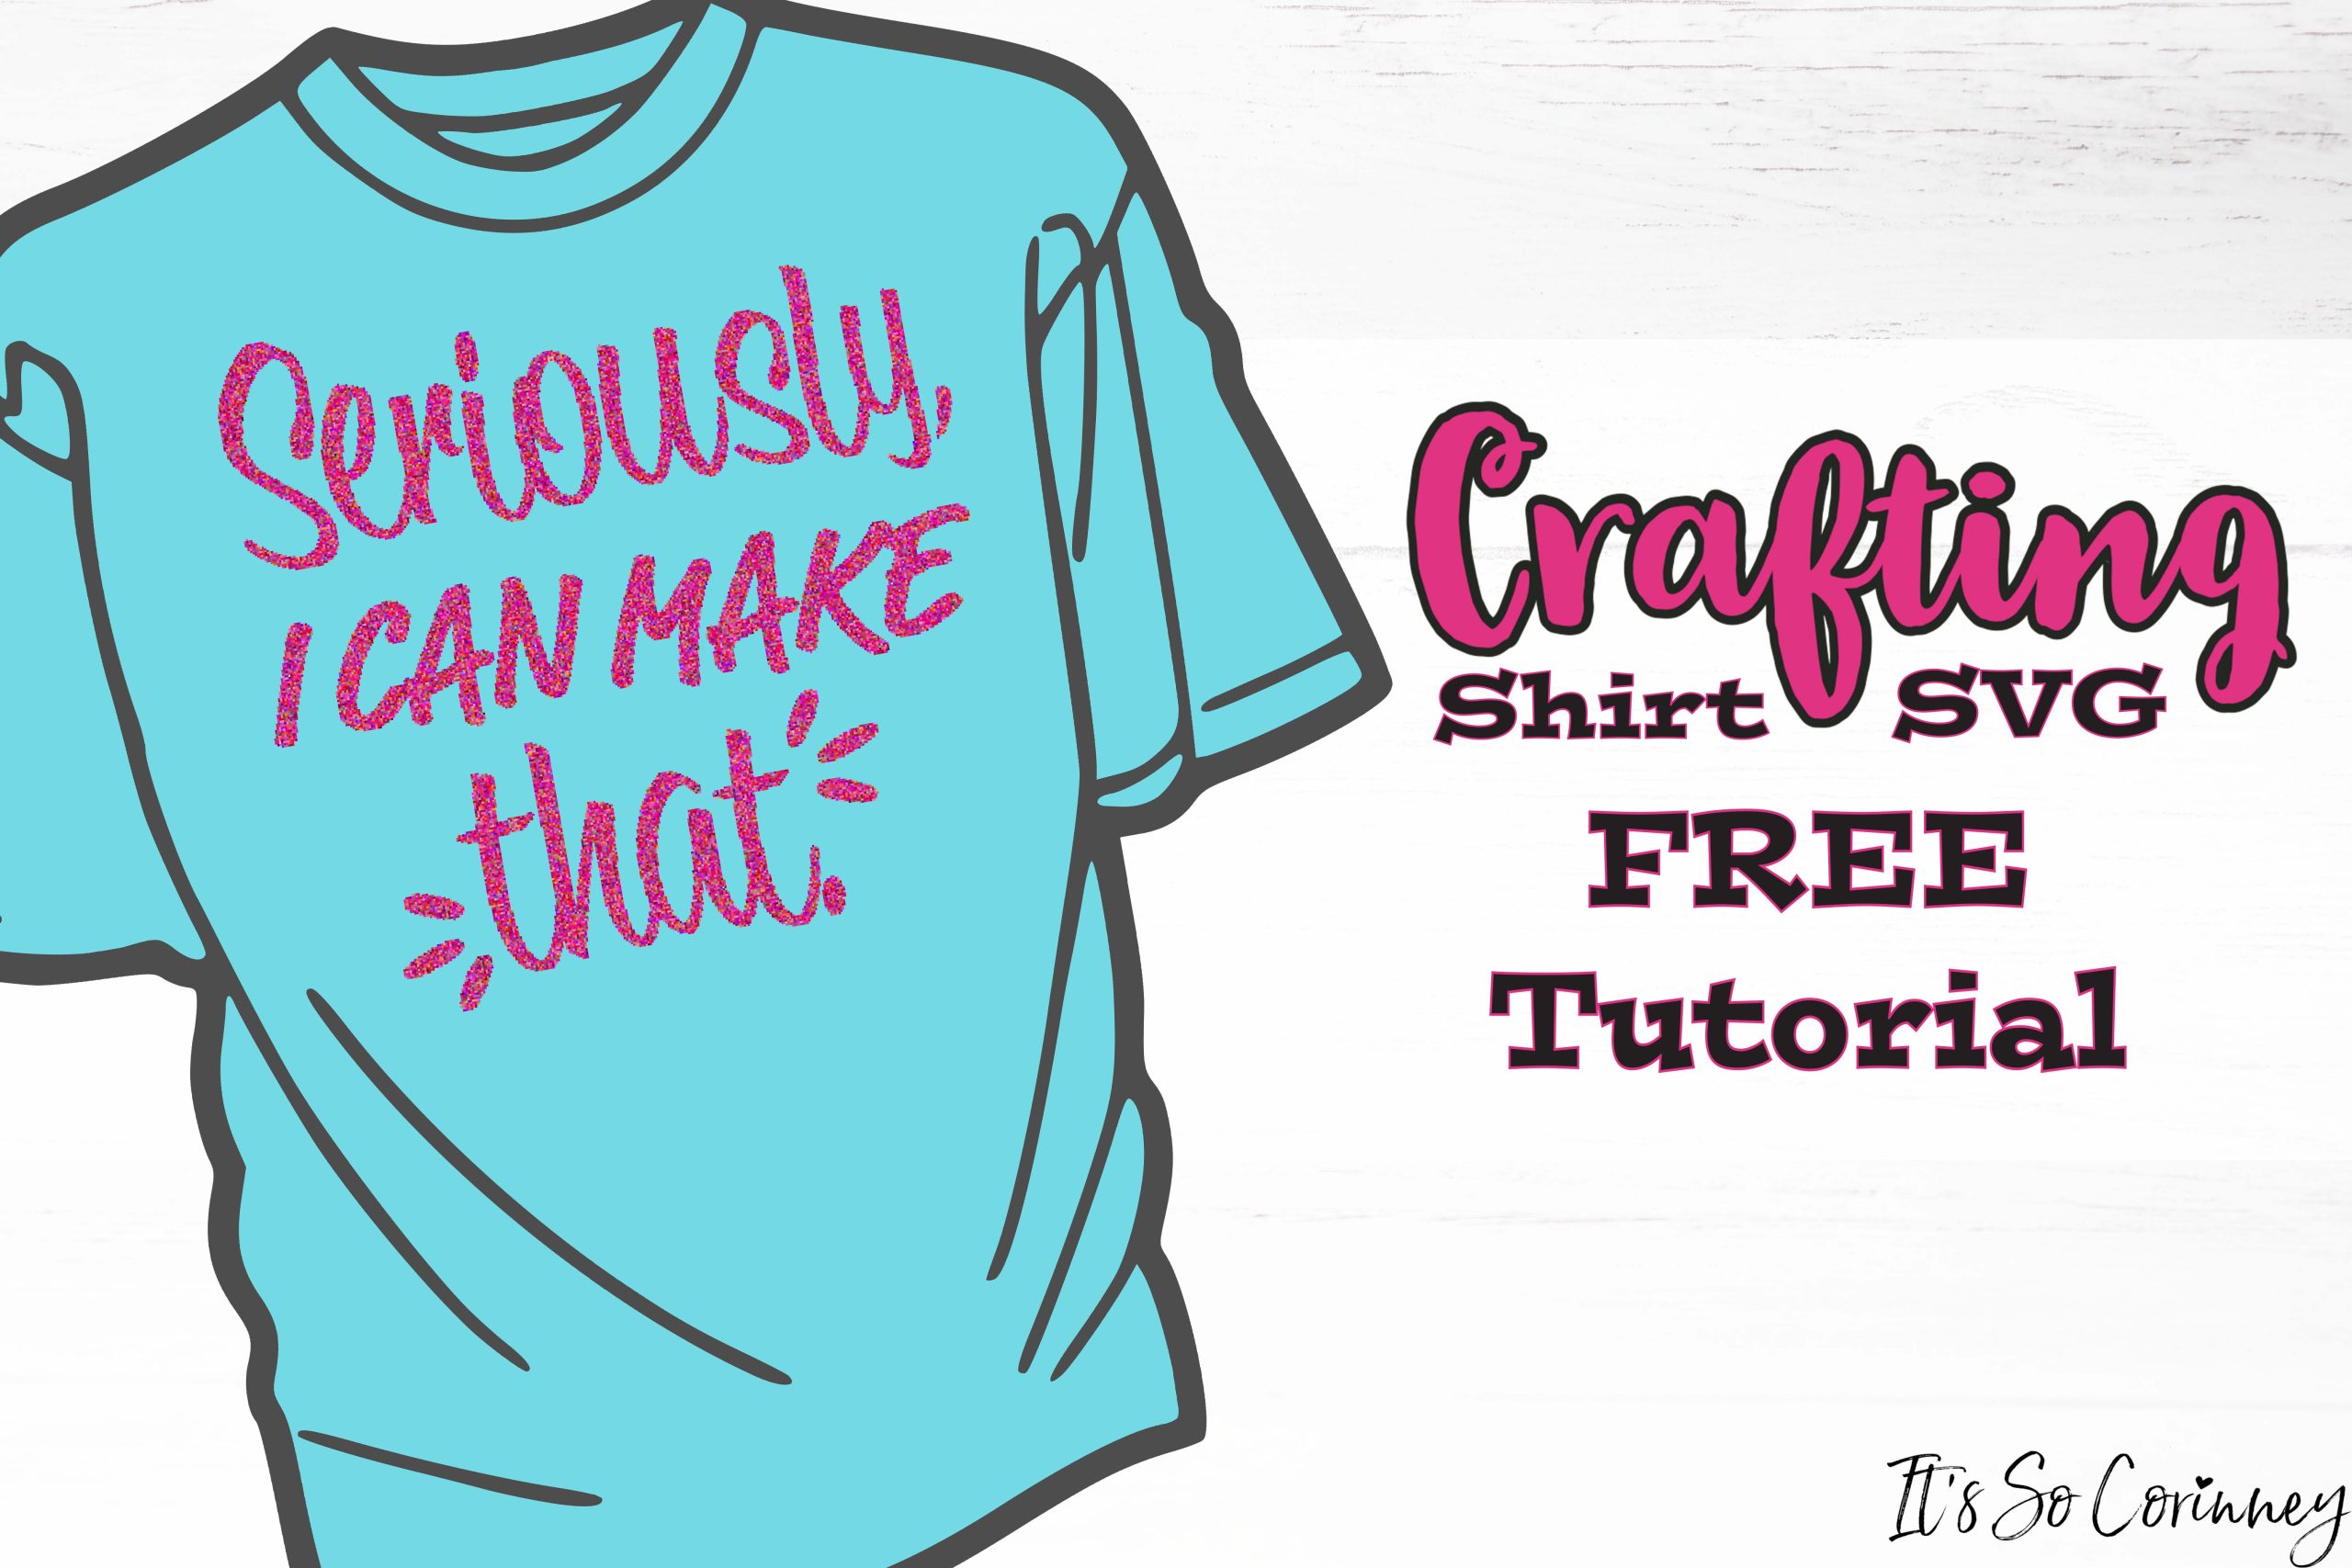
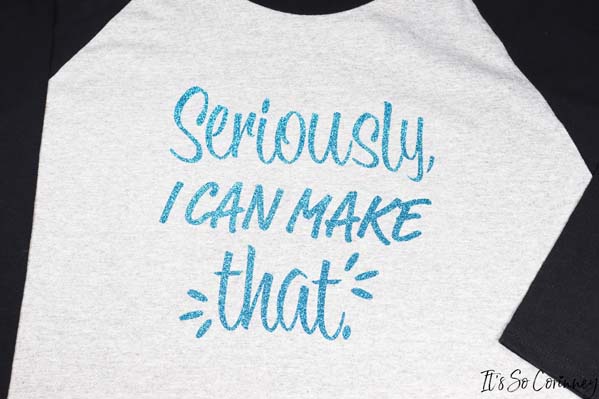
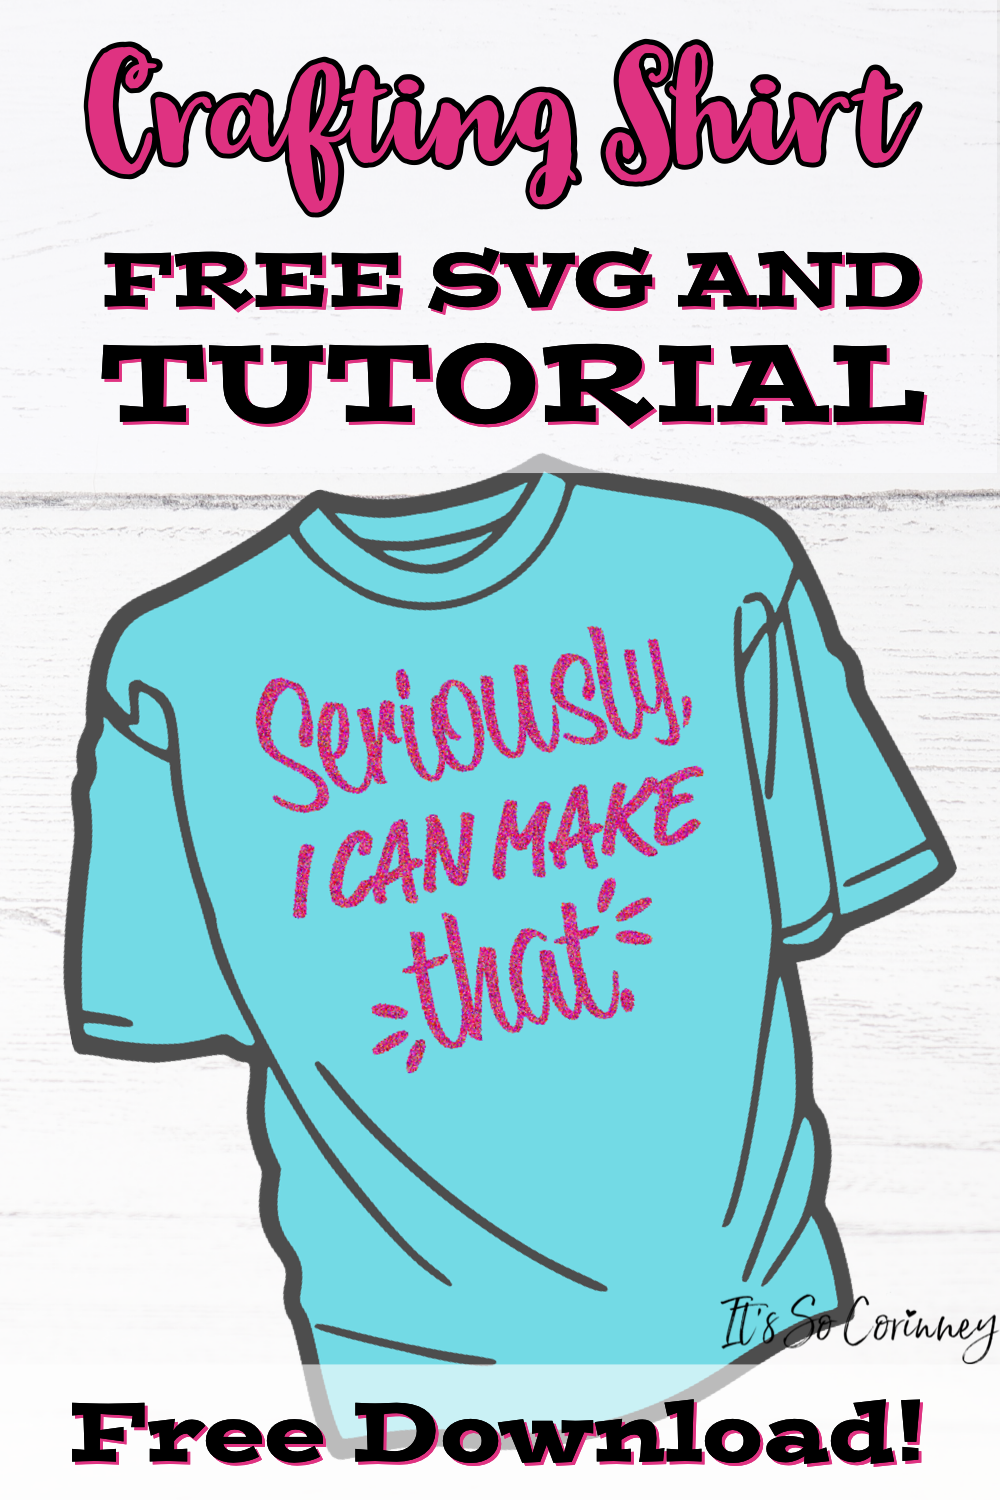
After I had stressed over what saying I should put on the shirts for days, it finally hit me! I should put my favorite and probably overused saying, “I Can Make That”. So, I got busy designing a crafting shirt SVG that says just that to put onto the shirts! When I had finished the SVG and pressed the iron-on vinyl onto the shirts I was SO happy with the way they turned out!
This post contains affiliate links. That’s just a fancy way of saying if you click on a link and purchase something I get a little money (total score for me). For more information, see my disclosure here.
What You Need!
- Iron On Vinyl ~ I used glitter vinyl
- Cricut Machine
- Shirt or Bag
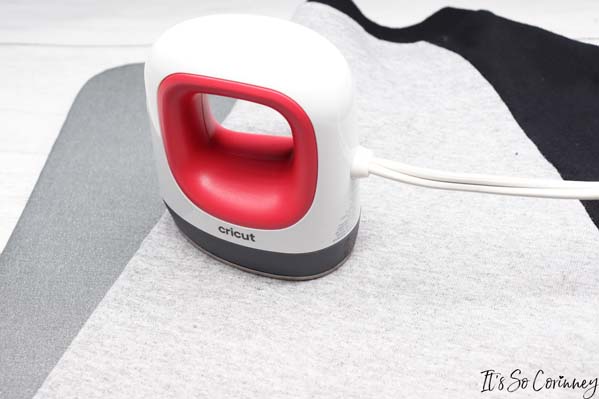
- Cricut Heat Press ~ Or you could use a regular iron
- Pressing Mat ~ Optional
- Free #70 ~ Seriously, I Can Make That SVG and PDF Download ~ Available in The Pattern Stash! Head on down to the bottom of the page, fill out the form, and instantly receive an email with the password!
Cricut Supplies Used!
FYI!
Before you begin ironing on the crafting shirt SVG be SURE to visit The Cricut Heat Guide. This handy online guide will help you know exactly how long you should press the specific vinyl that you’re using.
What To Do!
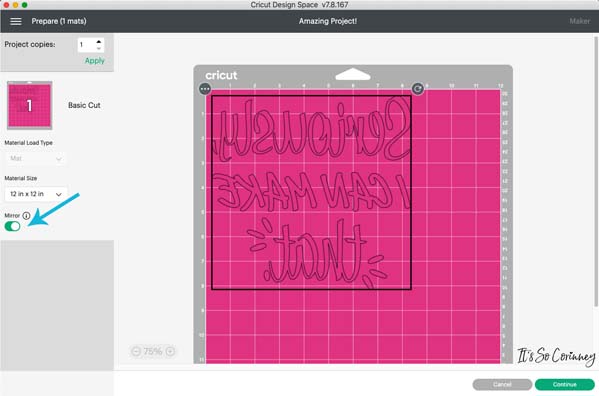
To begin the super cute crafting shirt you need to download the free SVG file from The Pattern Stash and upload it into Cricut Design Space. Need help doing this? Check out my post How To Upload SVG Files to Cricut Design Space for step-by-step instructions! Once loaded into Cricut Design Space make sure to lay your iron on vinyl with the carrier sheet (the plastic side) DOWN on the cutting mat. Also, after you click the Make It button you need to click the Mirror button on the next screen (see arrow on below picture).
Once you have your crafting shirt SVG cut and ready take your shirt and fold in half and press so you can see exactly where the middle is.
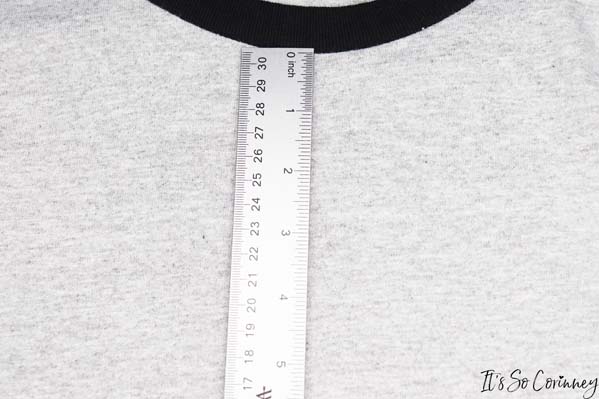
Next, measure 3 inches down from the collar to know where the top of the crafting shirt SVG should go.
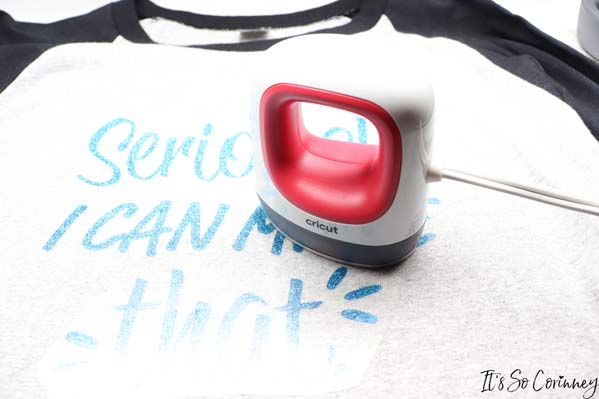
Then after you’re happy with the placement use your heat press and press the vinyl onto your shirt or bag.
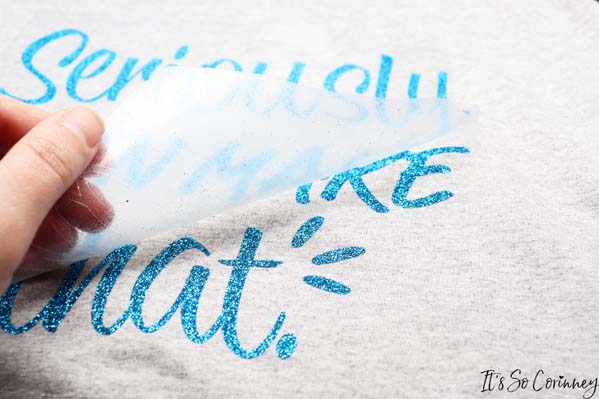
Next, remove the plastic carrier from the vinyl.
And….then you’re done! Your shirt or bag is complete and so cute!
Wasn’t this so easy to make? This super cute shirt is the perfect shirt for any crafter! Now it’s your turn to make this super easy crafting shirt or bag! And…don’t forget to grab your FREE crafting shirt SVG available in The Pattern Stash! Just fill out the below form and instantly receive an email with the password!

Pin Me!
Want To Up Your Sewing Skills?
Are you ready to stop putting off sewing projects and gain confidence in sewing? This instant download digital book comes with over 50 pages of sewing knowledge to help you gain confidence in your sewing! Also included is 5 bonus printable sheets to help you keep your sewing projects and supplies more organized!
Love The Craft Tutorials On The Blog?
Do you enjoy the craft tutorials on the It’s So Corinney blog? If so, would you consider leaving a tip to help me keep the blog going? Your generous support would help me purchase more craft supplies and caffeinated products to create new and exciting craft tutorials to share with you!

